Dauphine Jeans
If you had told me a year ago that I would be making my own jeans and that they would fit me better than store bought I wouldn’t have believed you. Yet here I am a year and a half into my sewing adventures and that’s exactly what I have done! To say I am happy about it is an understatement. Jeans have always been a struggle for me, prior to kids the issue was length. I could never find any long enough. After kids I added the problem of larger hips and smaller everything else.
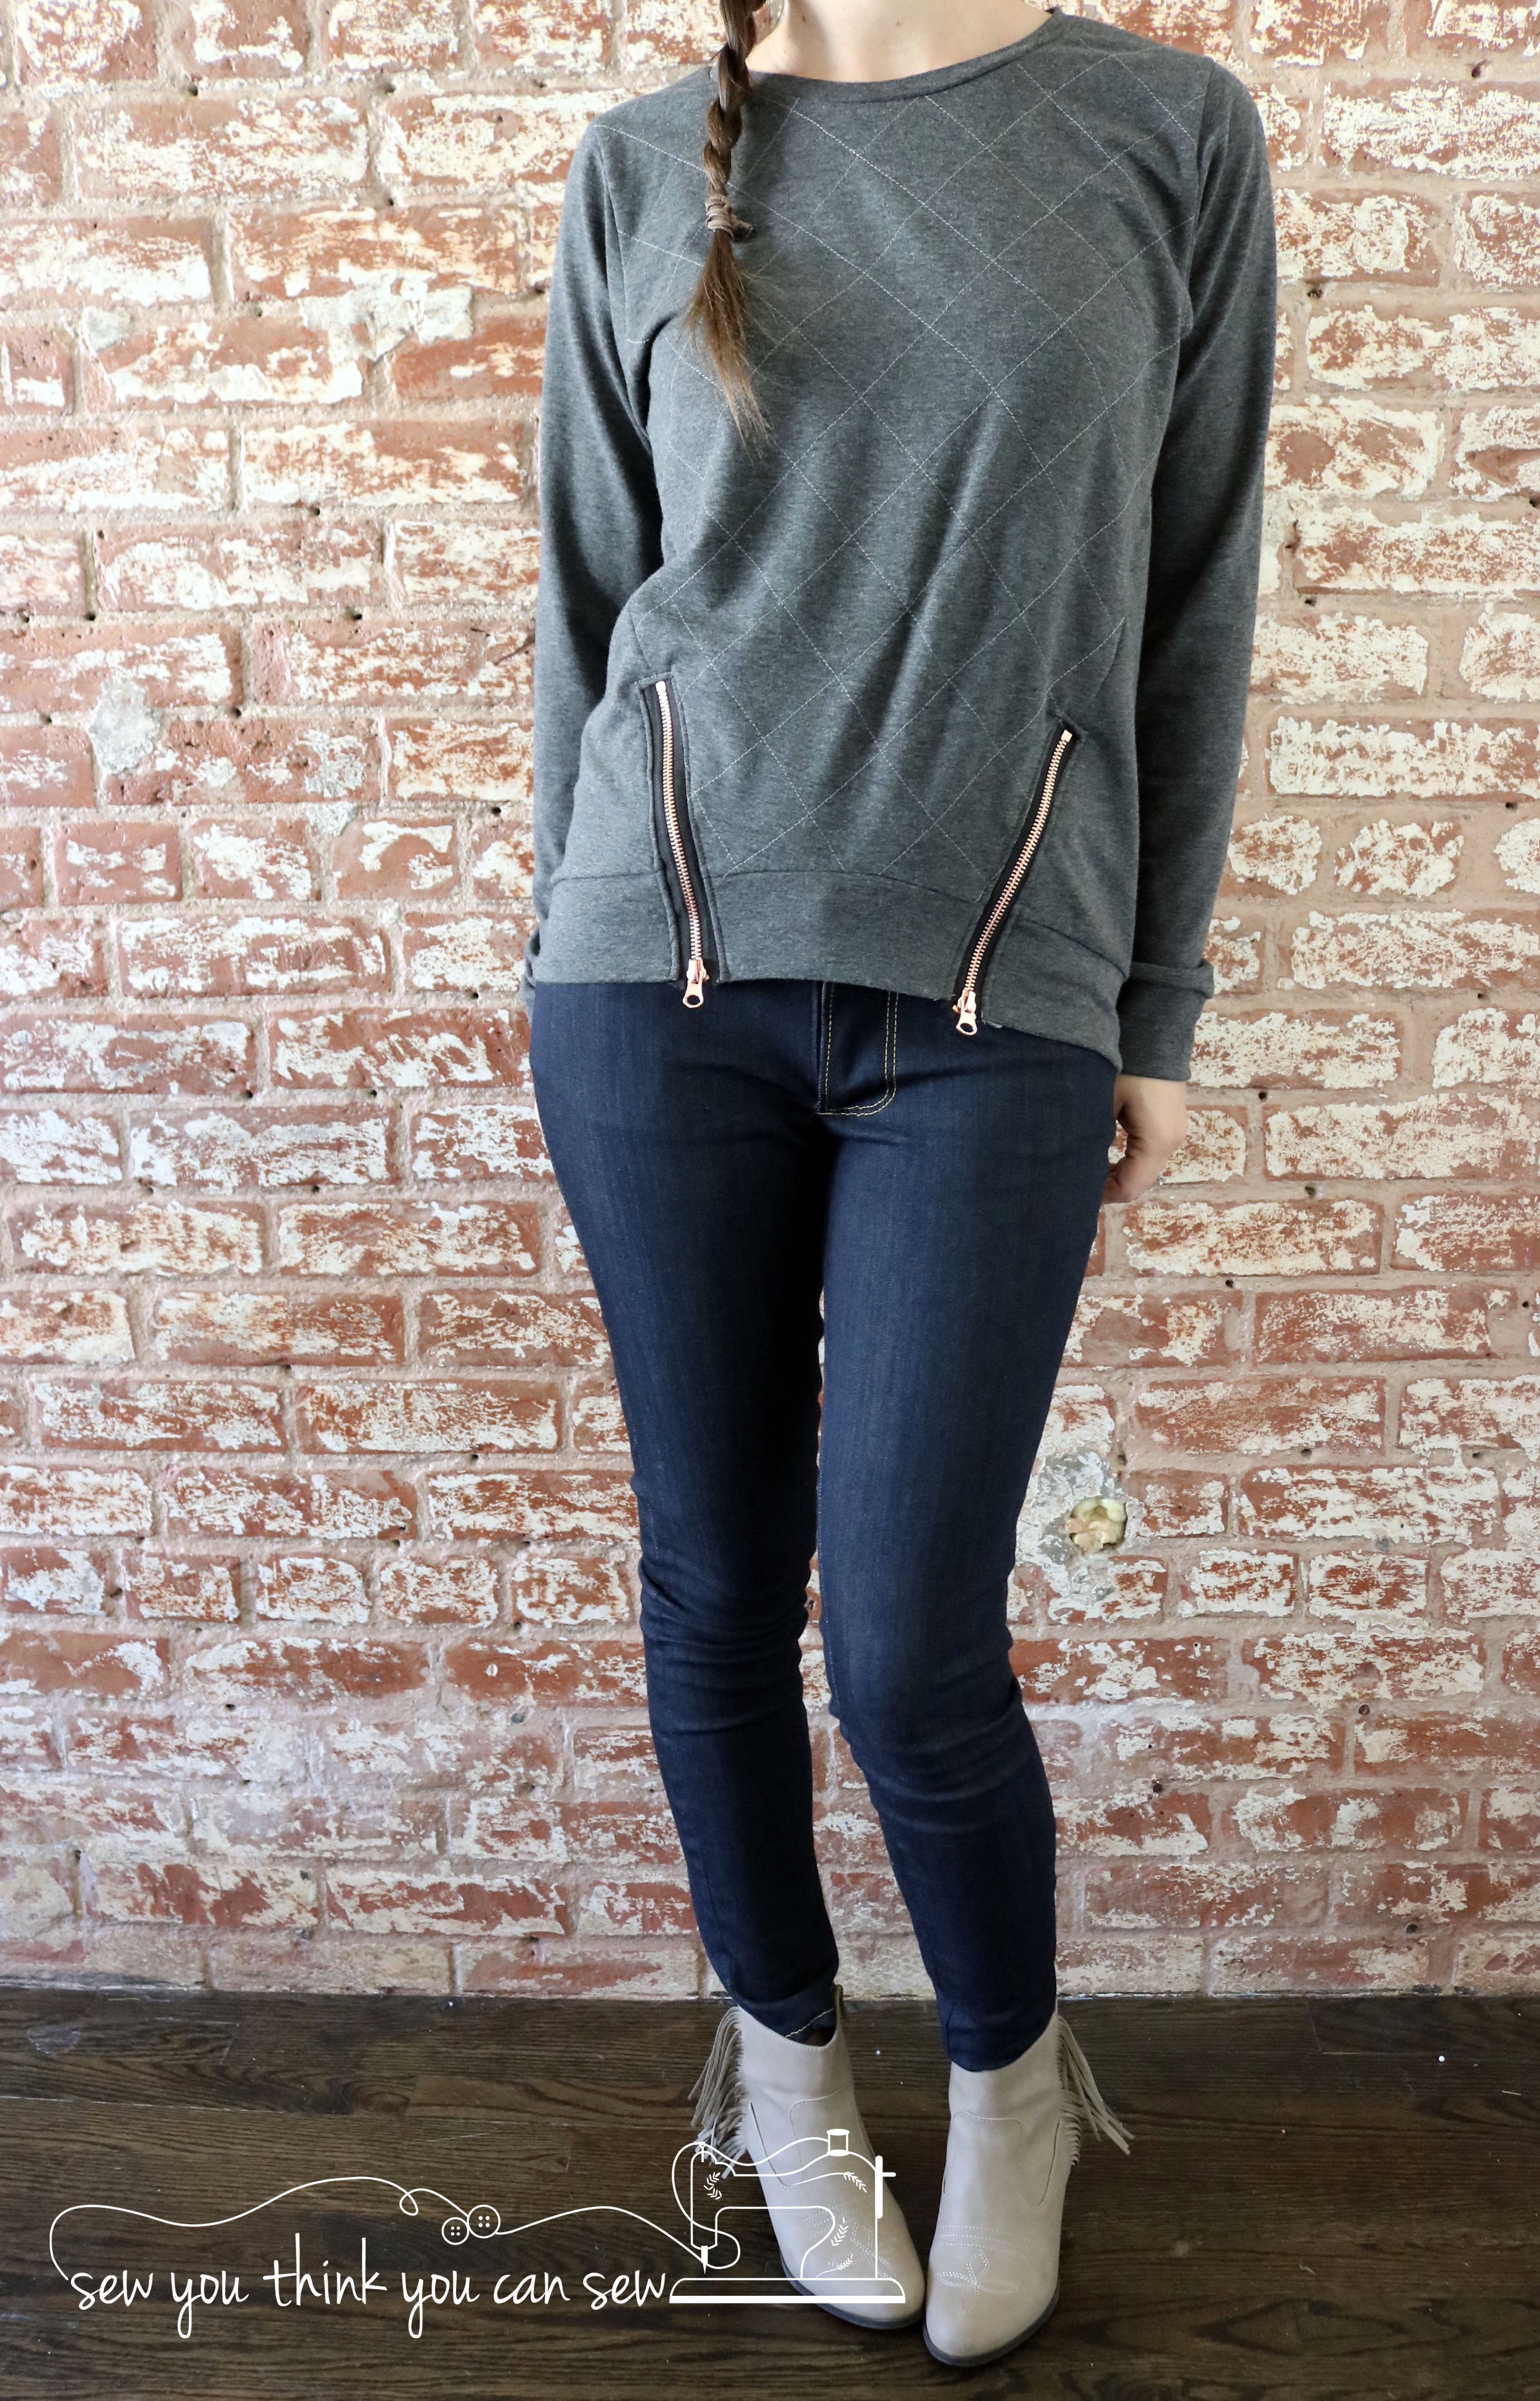
At the beginning of the year I set a goal for myself to make real pants that actually fit. I love you leggings but sometimes a girl needs to look more put together! So when I heard the DIBY Club was needing testers for their new skinny jean pattern the Dauphine Jeans I jumped at the chance to test. I knew any pattern by DIBY Club would be extremely detailed and well put together which eased my trepidation slightly.
I sewed up the mid rise option. For my pair I used stretch denim from Colorado Fabrics, if you are ever in Denver I highly recommend checking them out. They have a sample denim table with high quality 2+ yard cuts for under 6 dollars a yard! I also used a Closet Case Patterns Jeans Hardware Kit I purchased at Fancy Tiger Crafts (Another amazing Denver fabric store). All told I spent about $30 to make a pair of jeans that fit me perfectly!
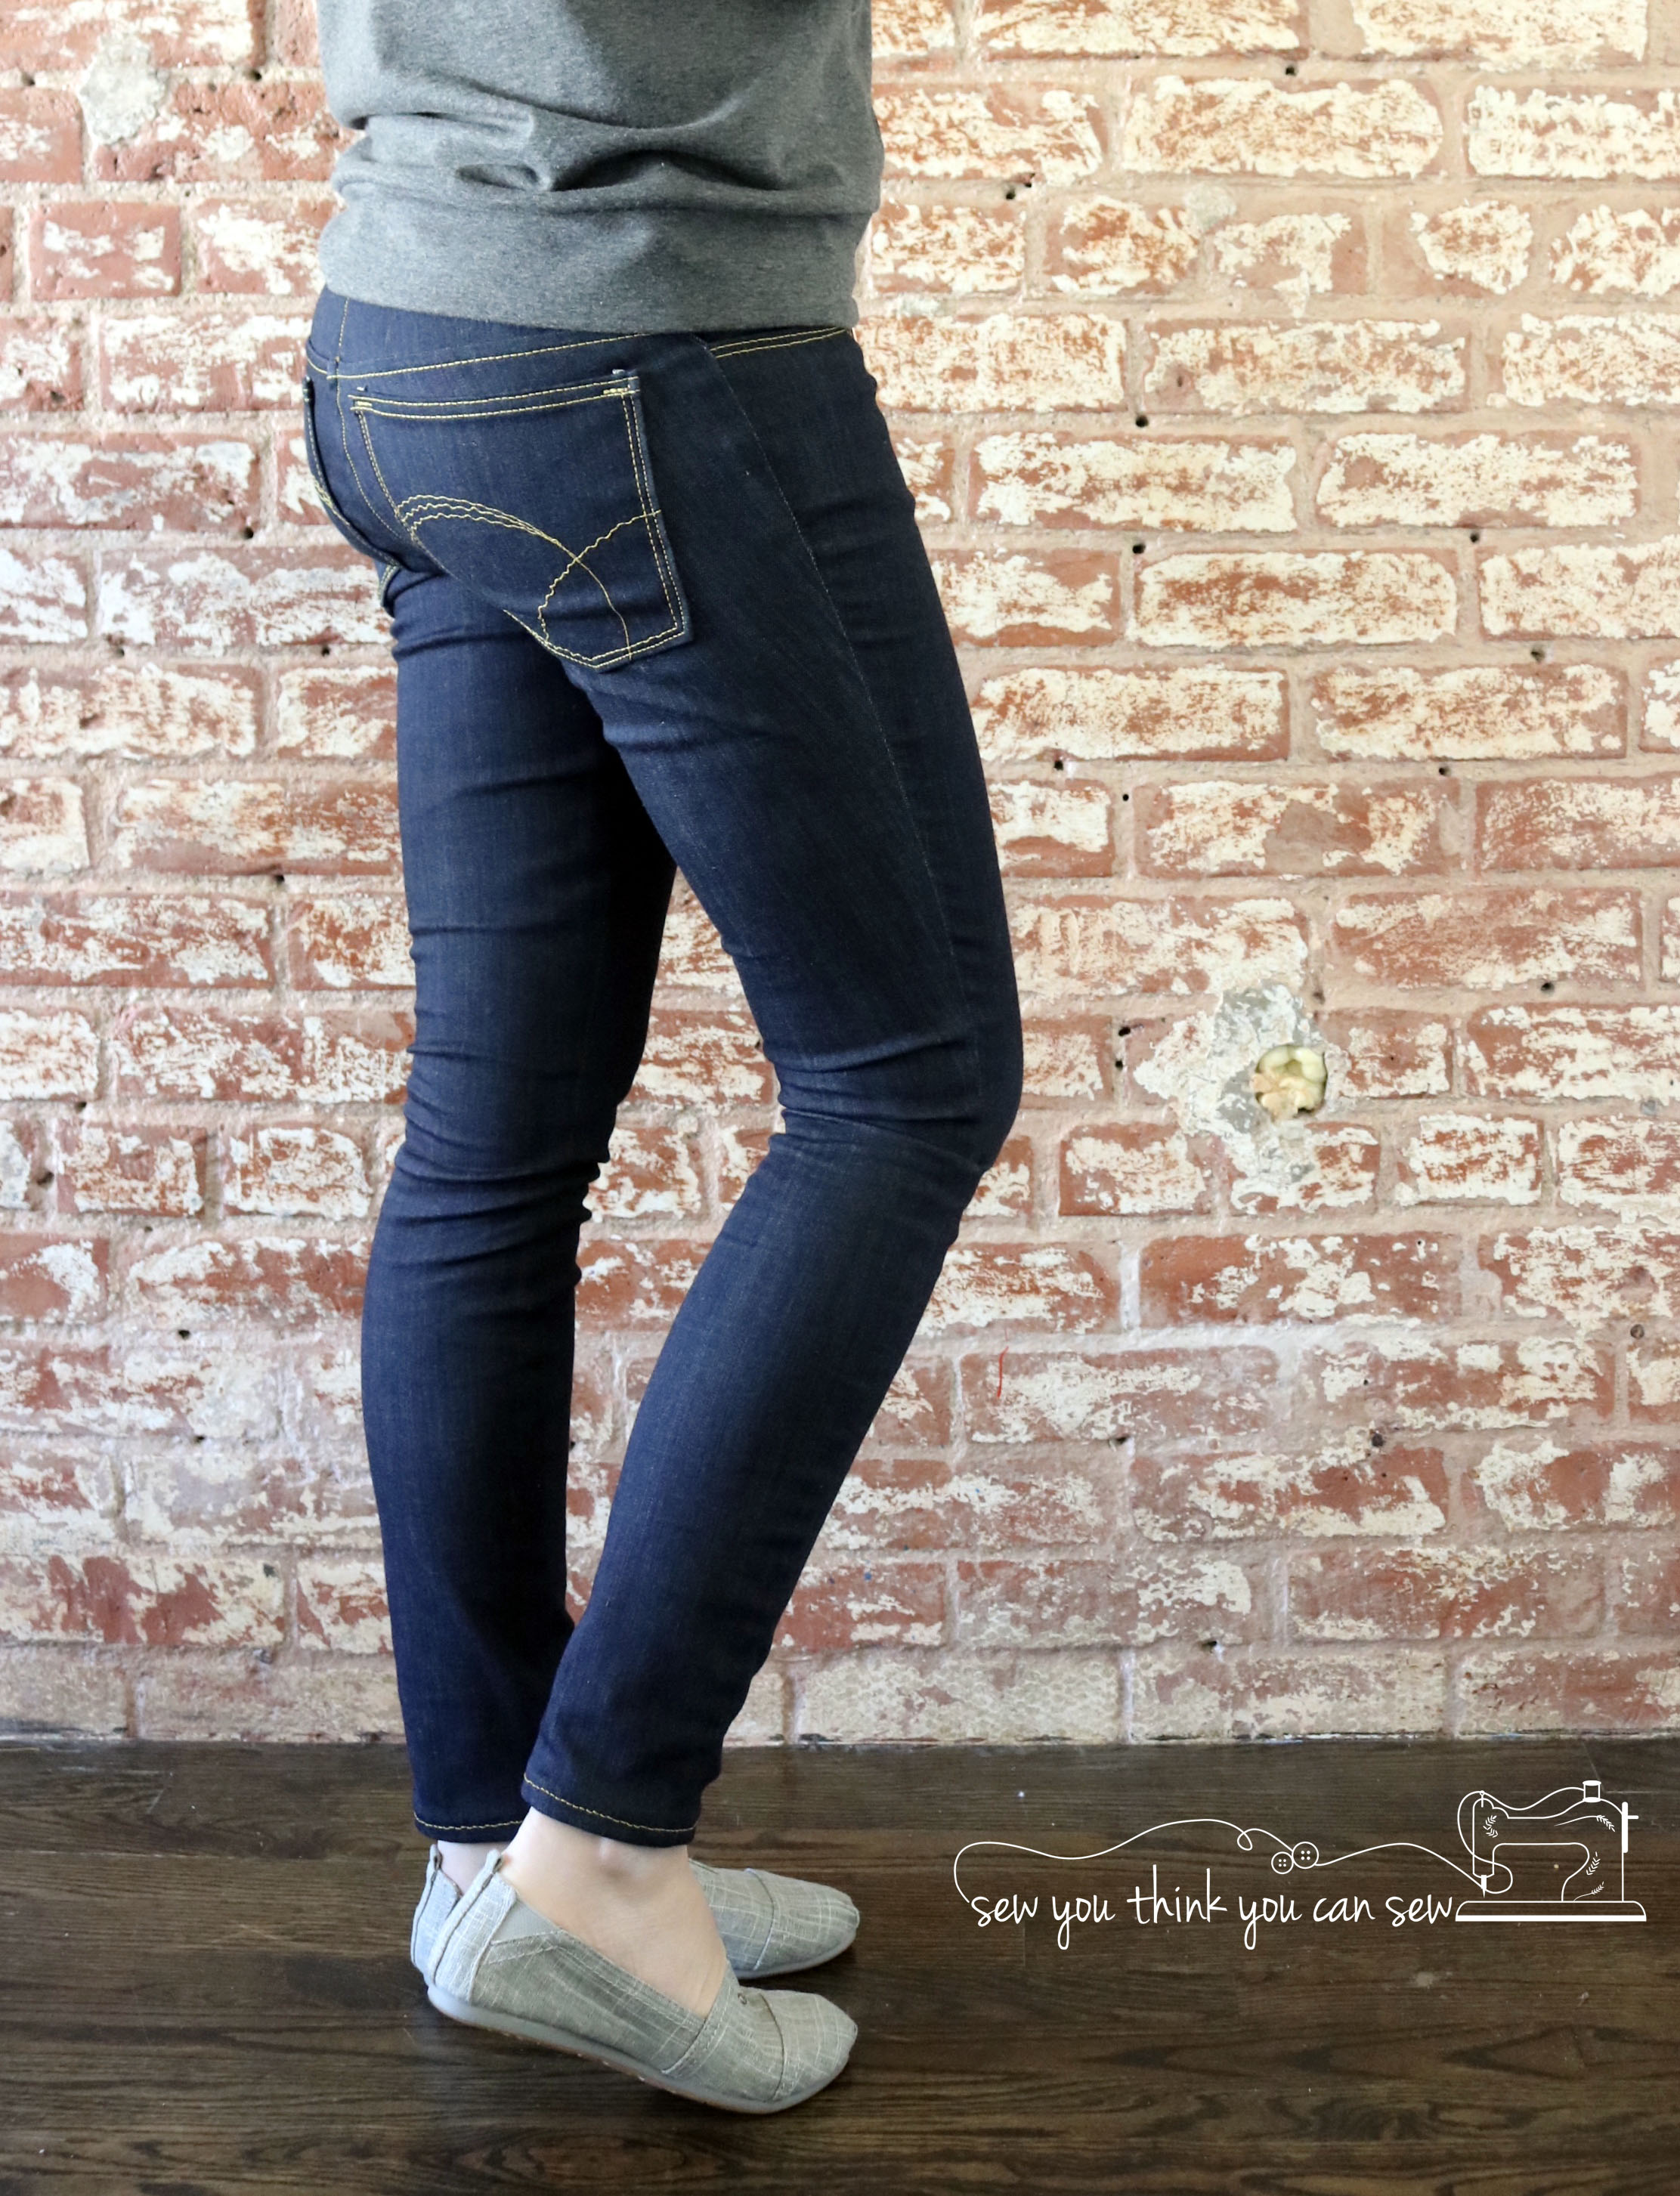
I learned quite a bit making the Dauphine Jeans, the biggest takeaway from them was that most of our bodies are shaped nothing like standard pants! The most important part of making a good fitting jean is grading, which obviously doesn’t happen when you purchase at the store. Here are my grading measurements just for reference.
Hip – Size 6 Thigh – Size 00 Knee – Size 0 Calf – Size 2 Inseam – Need an extra inch length
No wonder I can never find a pair of jeans I like! Jessica and Kelly have included detailed instructions as well as a video on how to properly grade a pattern. After watching the video I realized I have been grading incorrectly all along. I did not need to make any additional adjustments to the rise etc. for myself, but there are also detailed instructions on correcting a myriad of other fit issues.
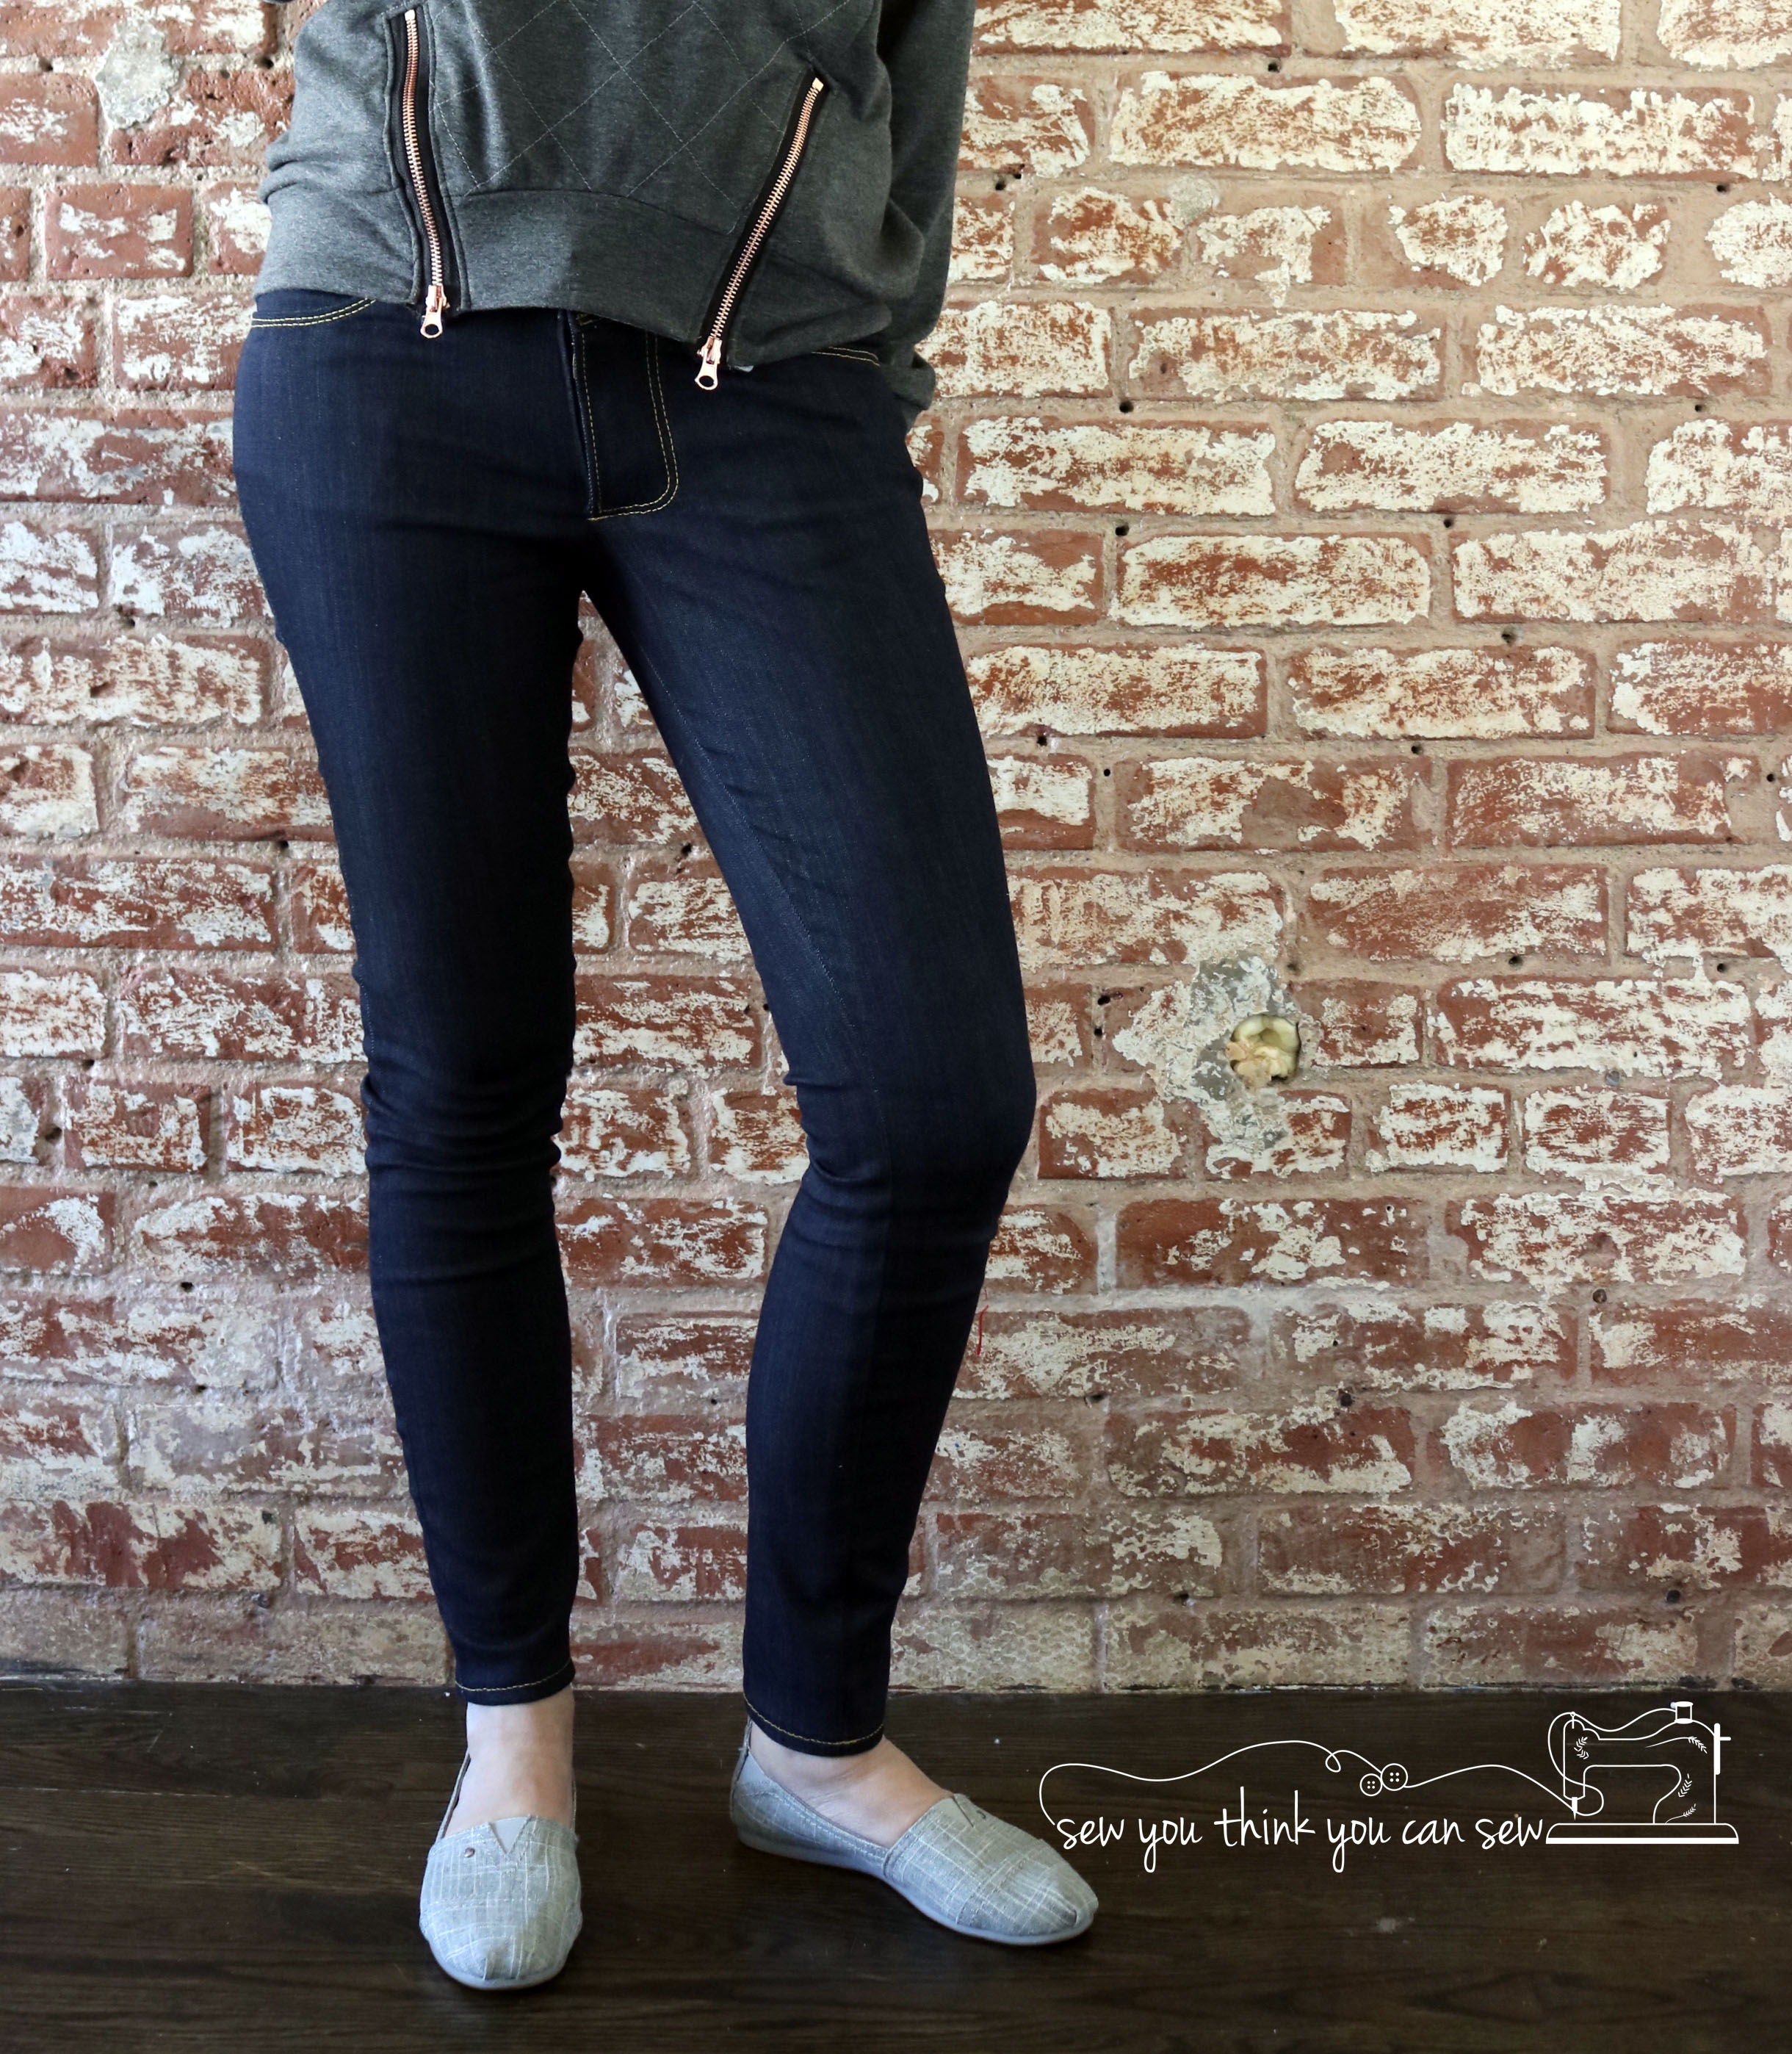
Also included in the pattern are several different pocket designs. I love the design that I picked! Unfortunately I didn’t realize that when doing the pocket topstitching you should raise the tension on your machine. Otherwise the stitching will eventually come out. You can see in the picture above the stitching is very wavy, that is because it has slowly come out as I have worn them this week. Next time I will raise the tension (from 4 to 6) so that I don’t have this problem!
The part I was the most nervous about on these was the zipper fly. I’ve done them before and had to read the instructions multiple times in order to do it. I don’t know if it was my past experience or the awesome video tutorial from DIBY but this time my fly was a breeze to make.
I can’t wait to make more Dauphines, I think my next pair will be black ponte as one of my all time favorite pairs of pants are black ponte skinnies.
The Dauphines are on sale now so make sure you grab them so you never have to wear store bought again!