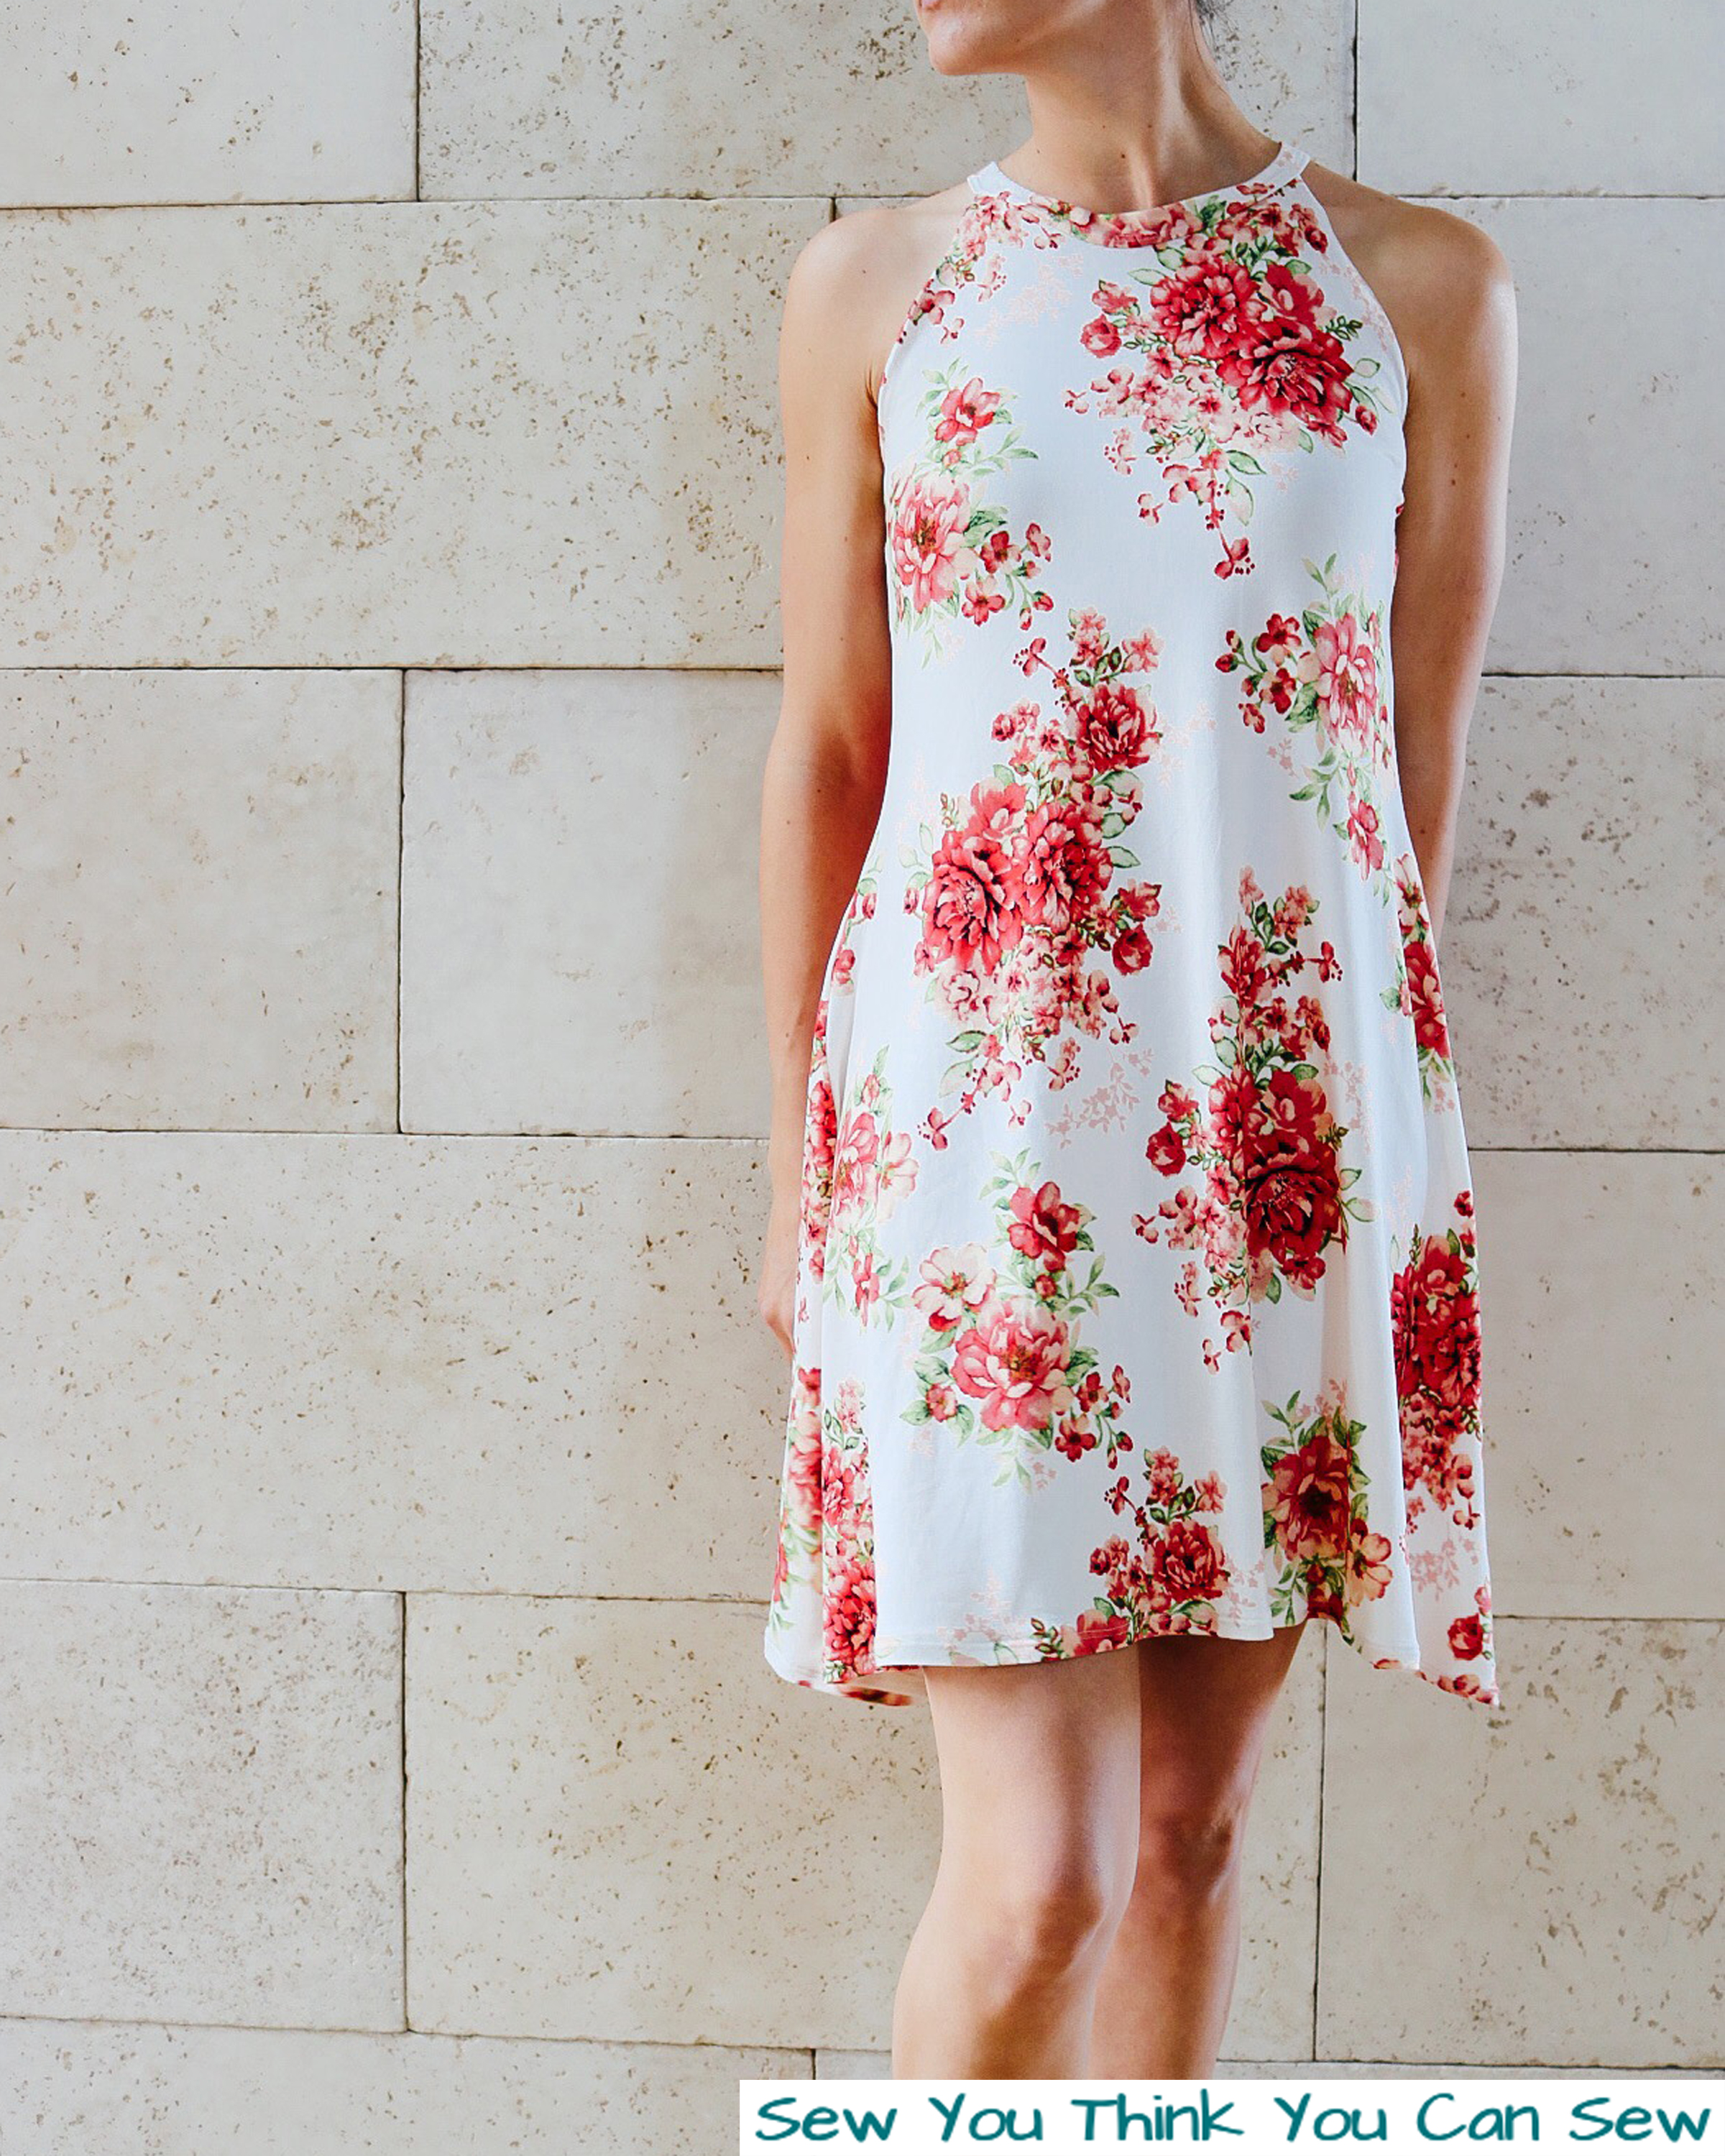
Journey Dress Hack
Spring has officially sprung and I’m heading to Scottsdale this week for spring break with the family. I wanted to make a cute dress that I could use as a swim cover as well for by the pool. My goal was something loose fitting with some sort of fun detail.
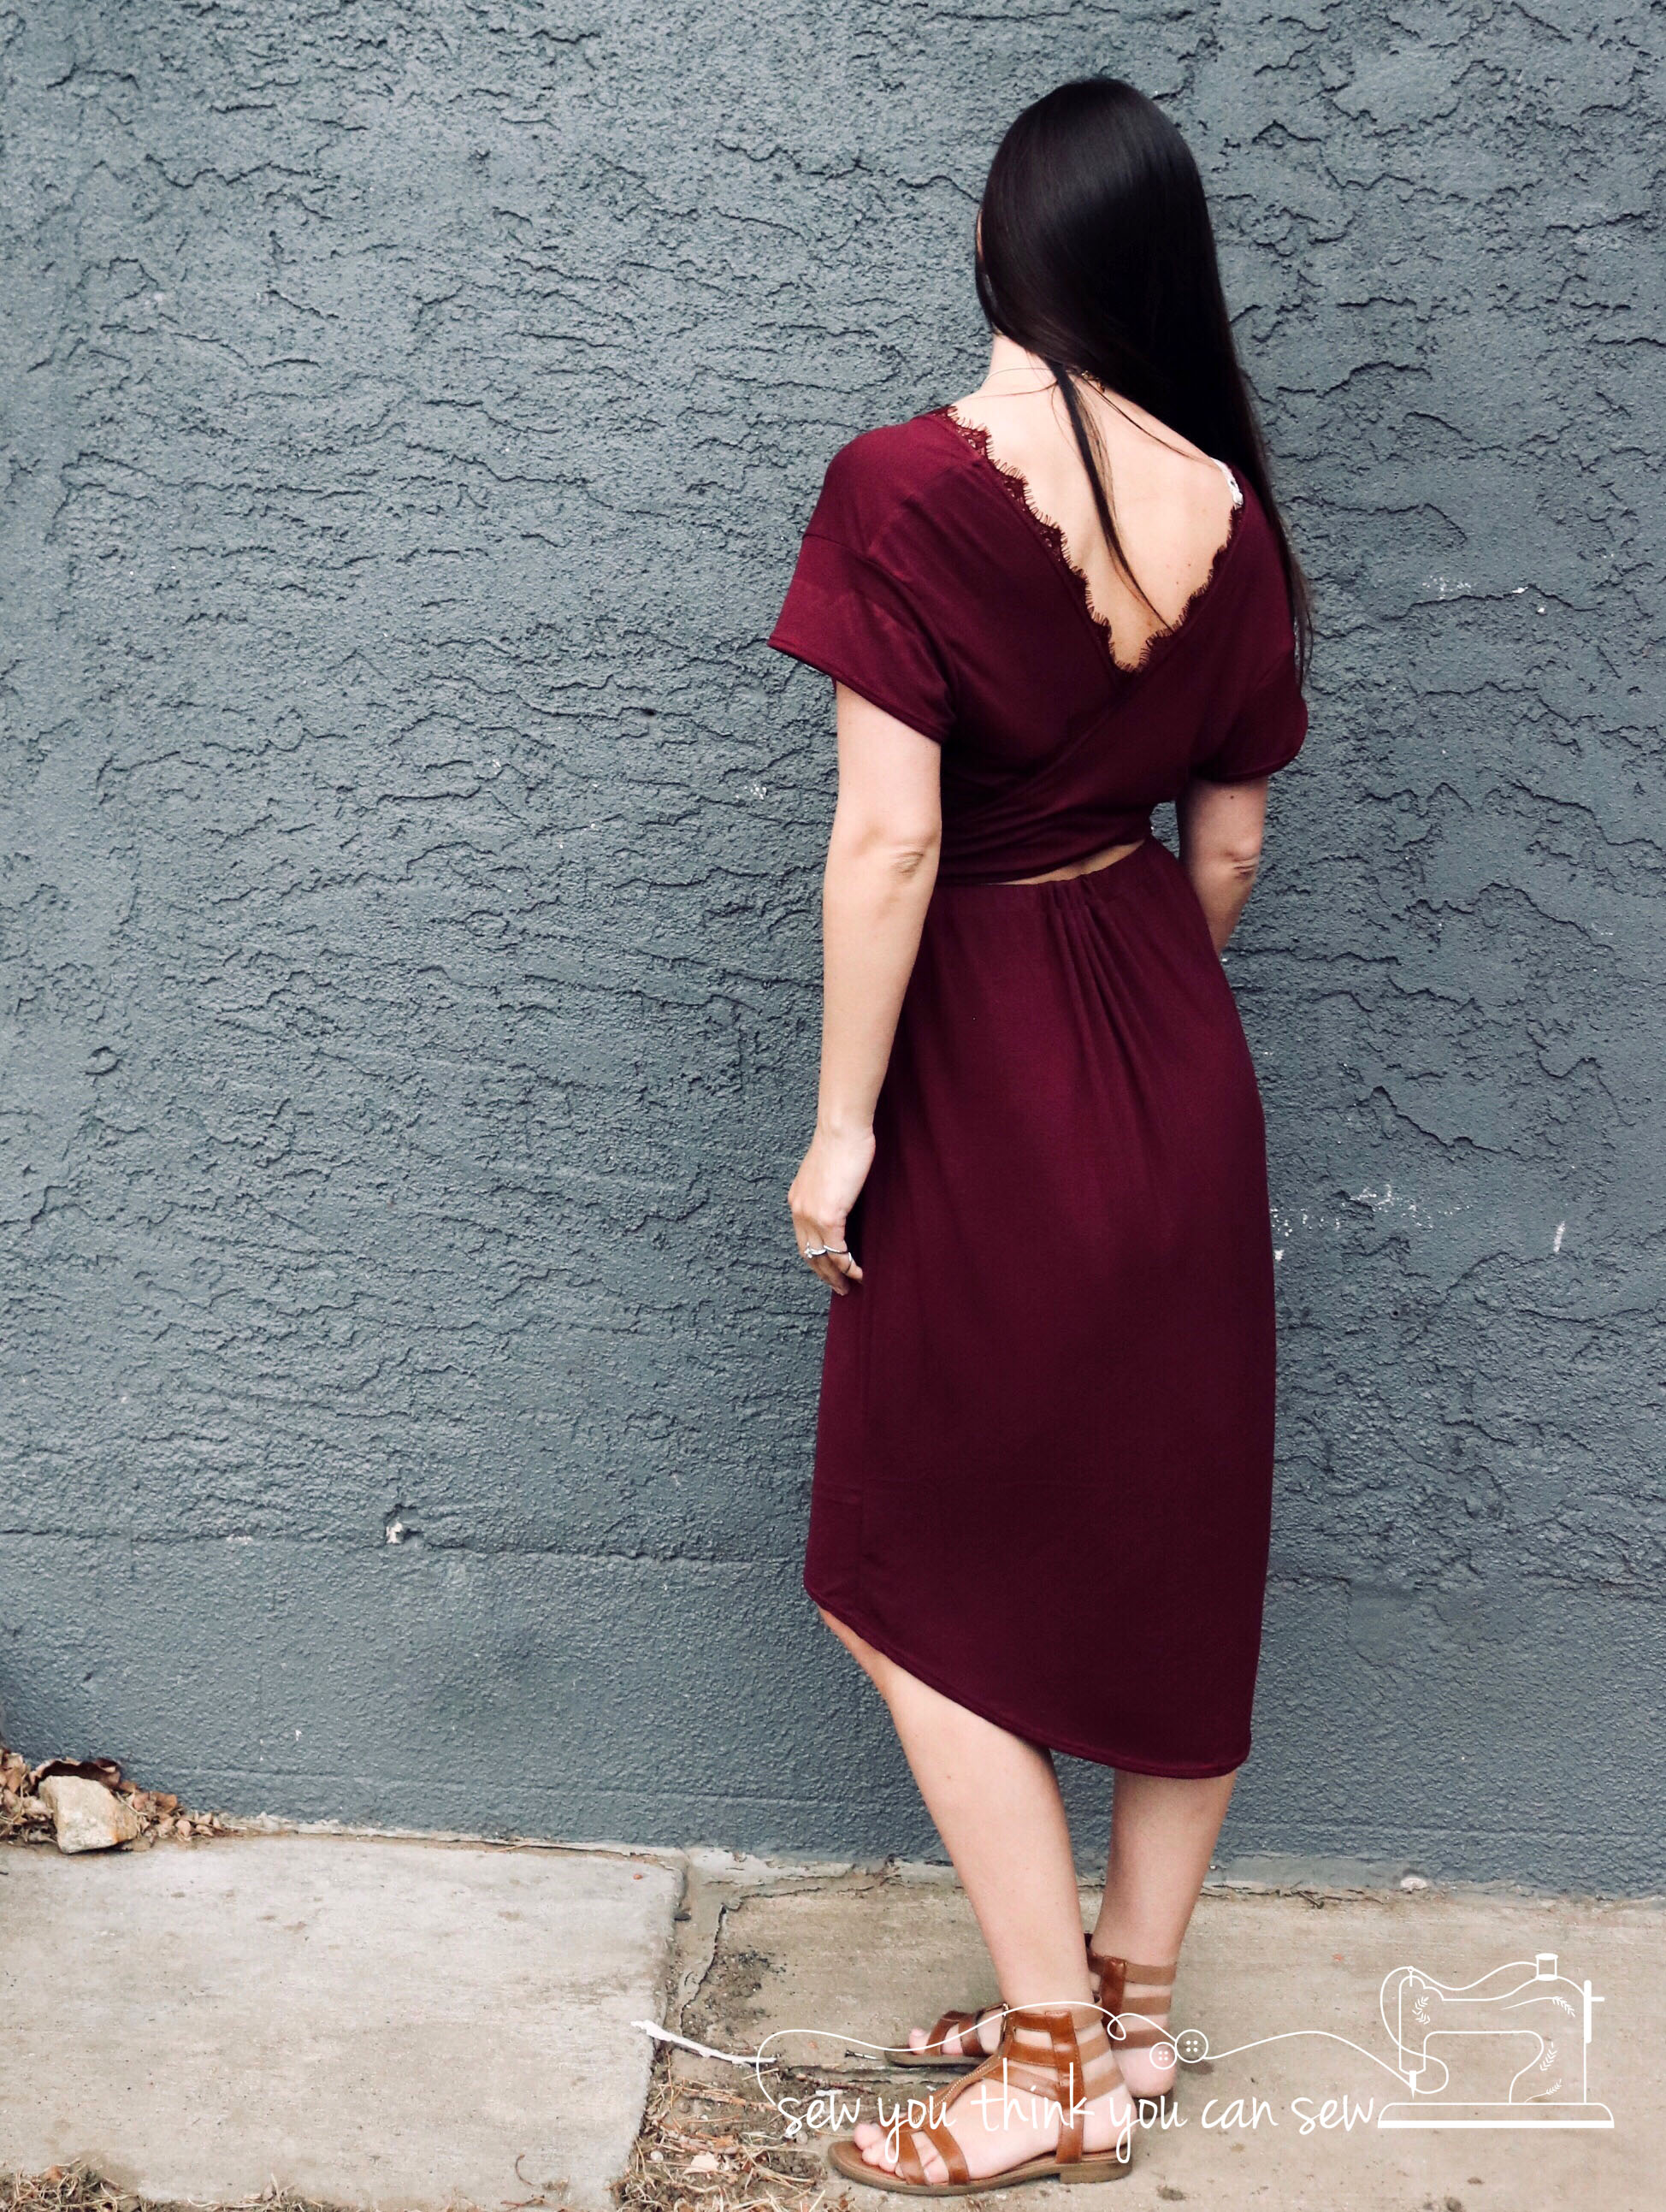
I have been admiring the Journey Romper pattern from Striped Swallow Designs for a while as I love the open back option with the wrap. This was just the sort of fun detail I was looking for so I decided to mash the Journey into a dress. There are so many fun views in the Journey Romper pattern I couldn’t decide which I wanted so I combined view B and view D on the romper as I wanted the front to cross over instead of a single piece. The Journey Romper comes in sizes XS to XXXL.
The final product turned out even better than I envisioned it and I see myself getting a lot of use out of it this summer! At the end of this post I will tell you how I combined the views and made it a dress instead.
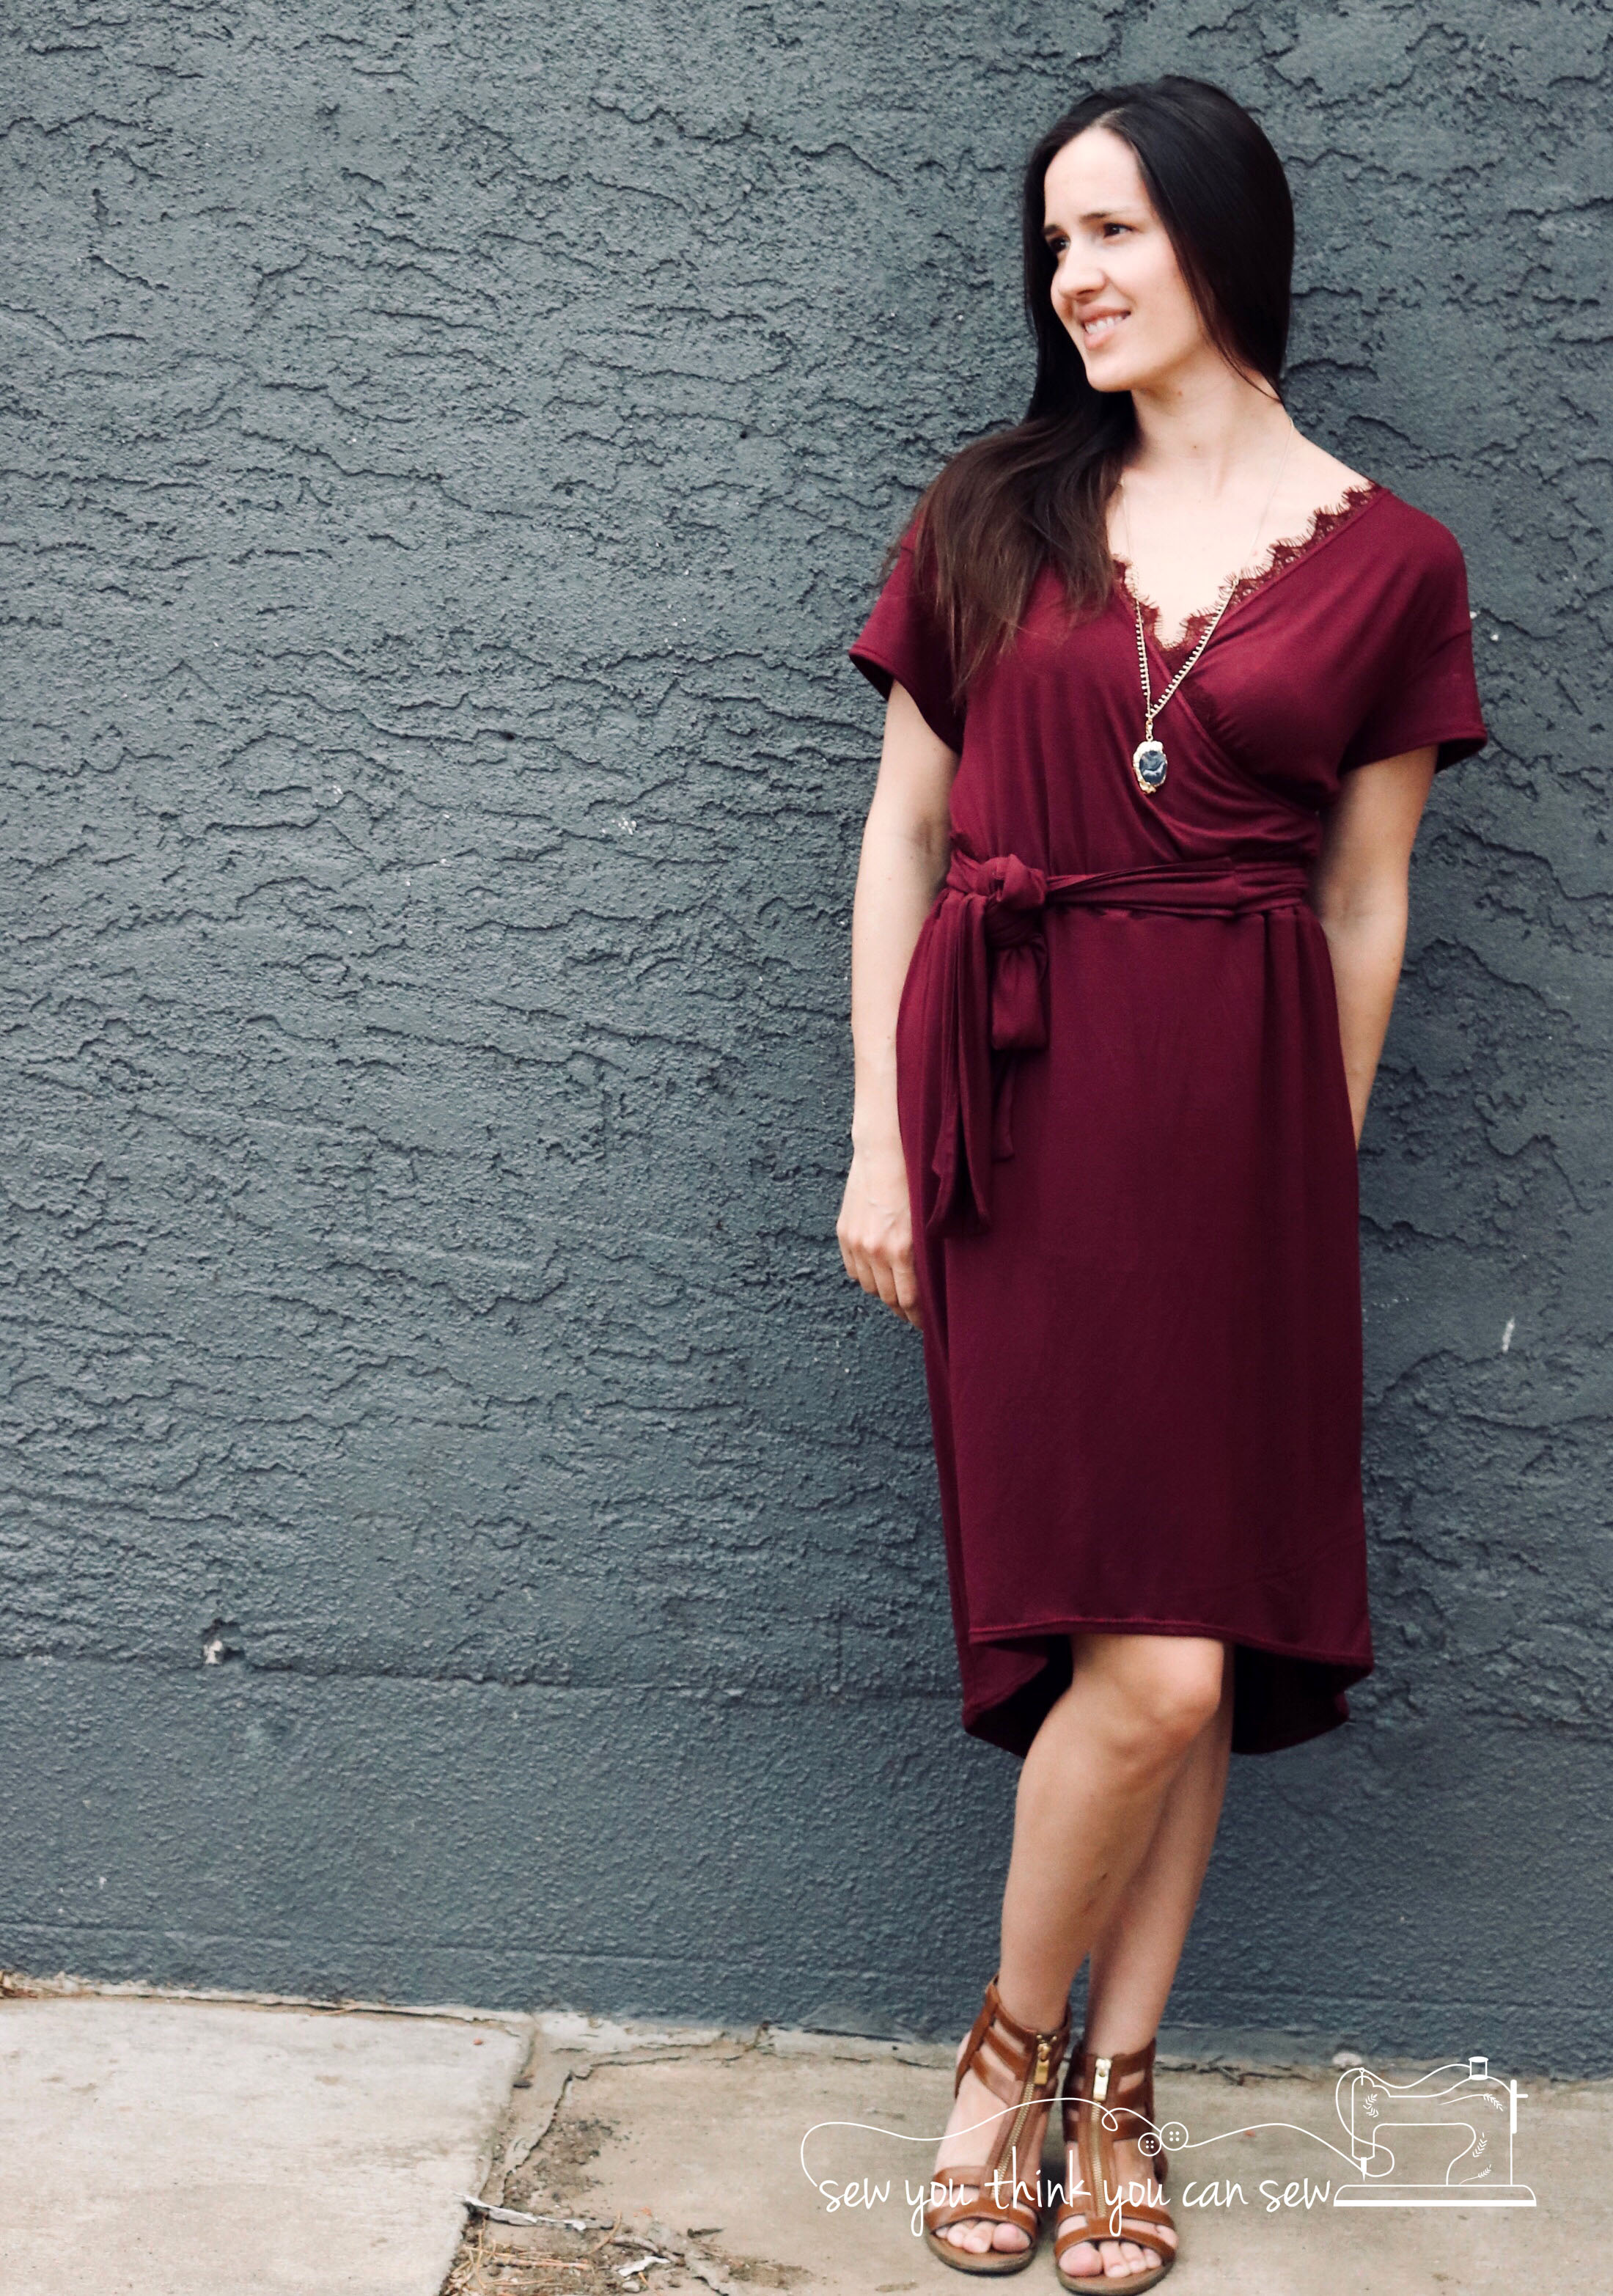
For my Journey dress I used a gorgeous burgundy rayon spandex from Surge Fabric Shop, rayon spandex is a good fabric choice for summer as it is lightweight and breathable. Unfortunately the burgundy is now sold out, but her maroon modal would work great as well. Modal is my new favorite summer fabric as it is lightweight and has gorgeous drape but it doesn’t pill as much as rayon spandex. If you use this link to sign up for an account you can get 10% off your first order! (affiliate link)
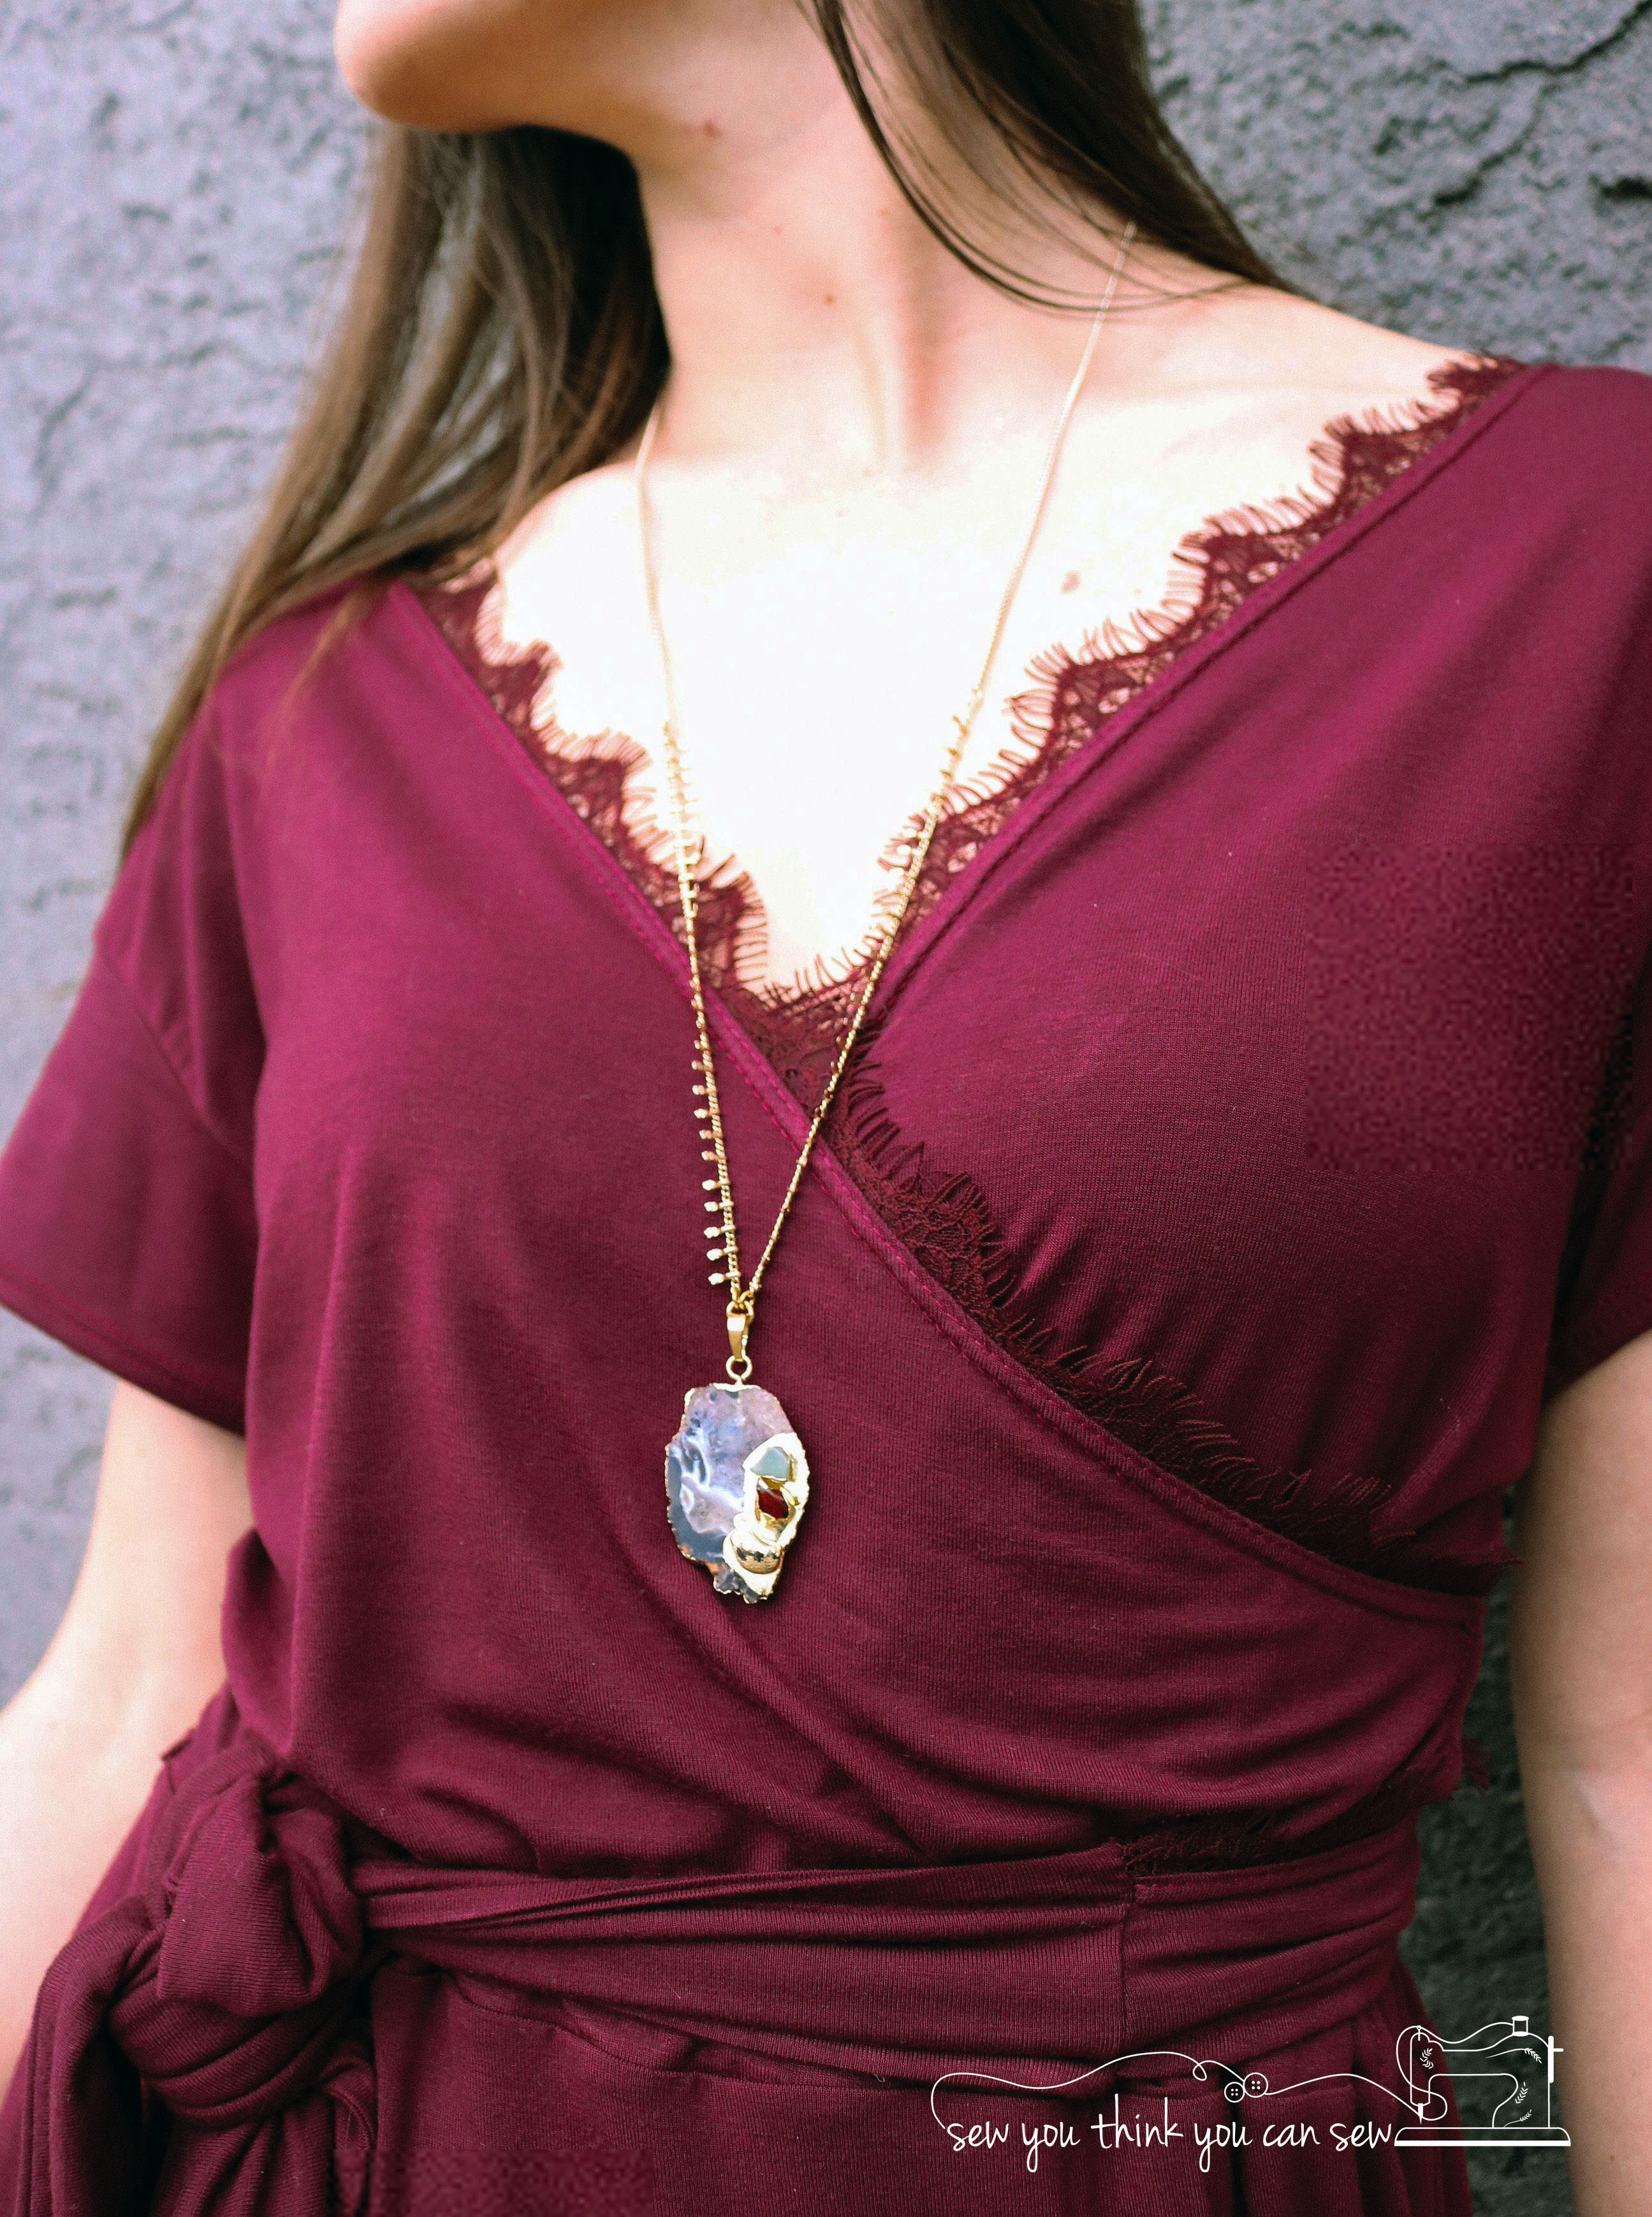
As a another fun detail I decide to trim it with this beautiful wine eyelash lace, also from Surge. I love the delicate look of it and also how easy it is to hem with lace as opposed to actually hemming or binding! In order to attach the lace I simply sewed it on with right sides facing. Then flipped the seam under, ironed and topstitched. If you are looking to replicate this look I would recommend purchasing 6 yards total of the trim if you are any larger than a size small (I barely had enough with the 3 yard piece I had), the trim comes in 3 yard increments.
Combining the Views
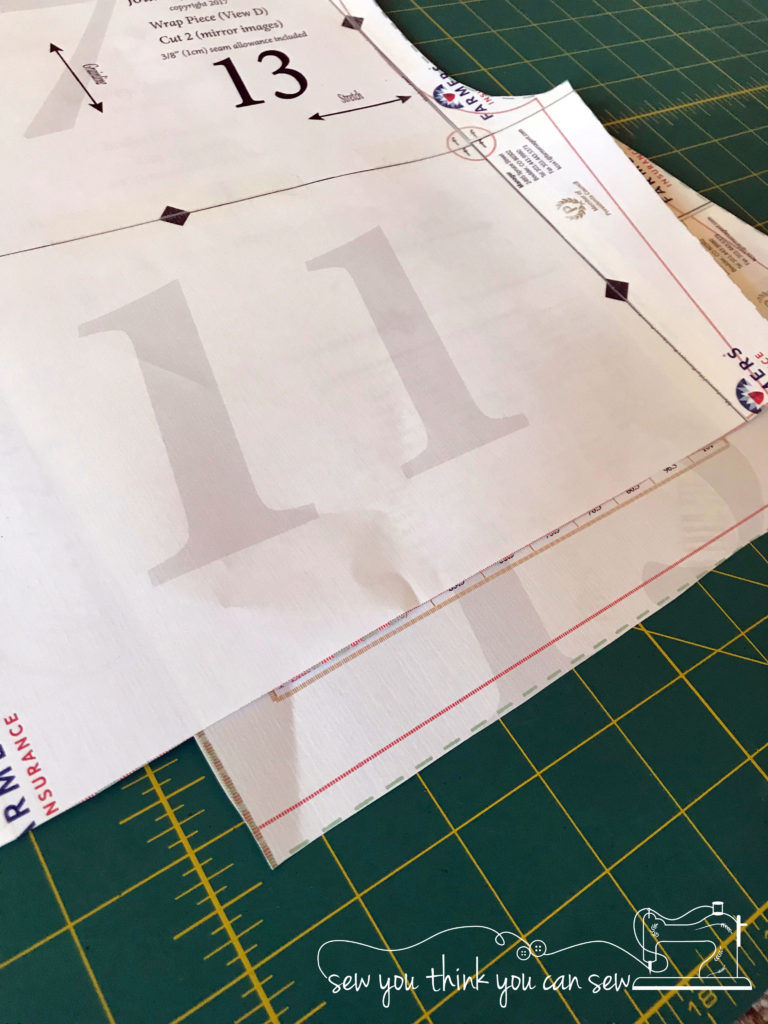
Combining the views is pretty straight forward. Start by printing and assembling all of view B as well as the front wrap piece of view D (piece 13). Then take your piece 13 from view D and lay it on top of piece 1 (front bodice) from view B aligning them at the shoulder and armscye. You will notice that 13 is not as long as 1. Cut the wrap piece horizontally and add as much length as you need in order to make them the same length.
Before adding length:
After adding length (now piece 1 is on top):
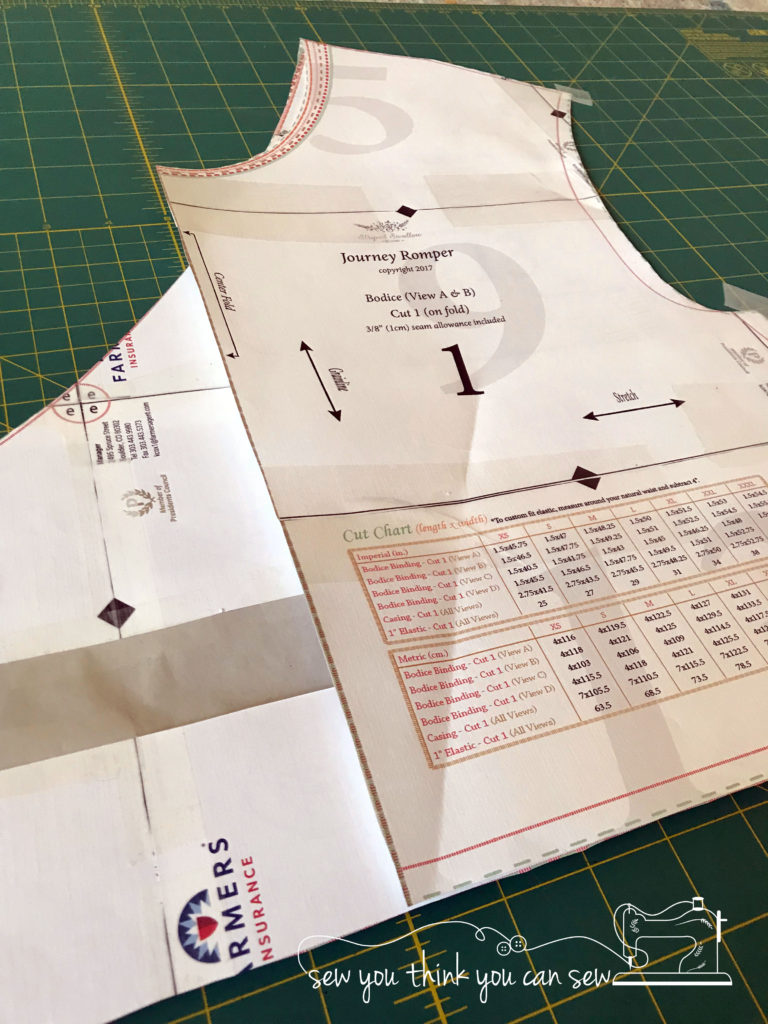
Now you can set aside piece 1 as you will not be cutting it. Cut out 2 mirror image pieces of your newly altered 13. When sewing you will treat them as if they are one piece, if it helps you may baste the bottoms of them together to hold them together.
Romper to Dress
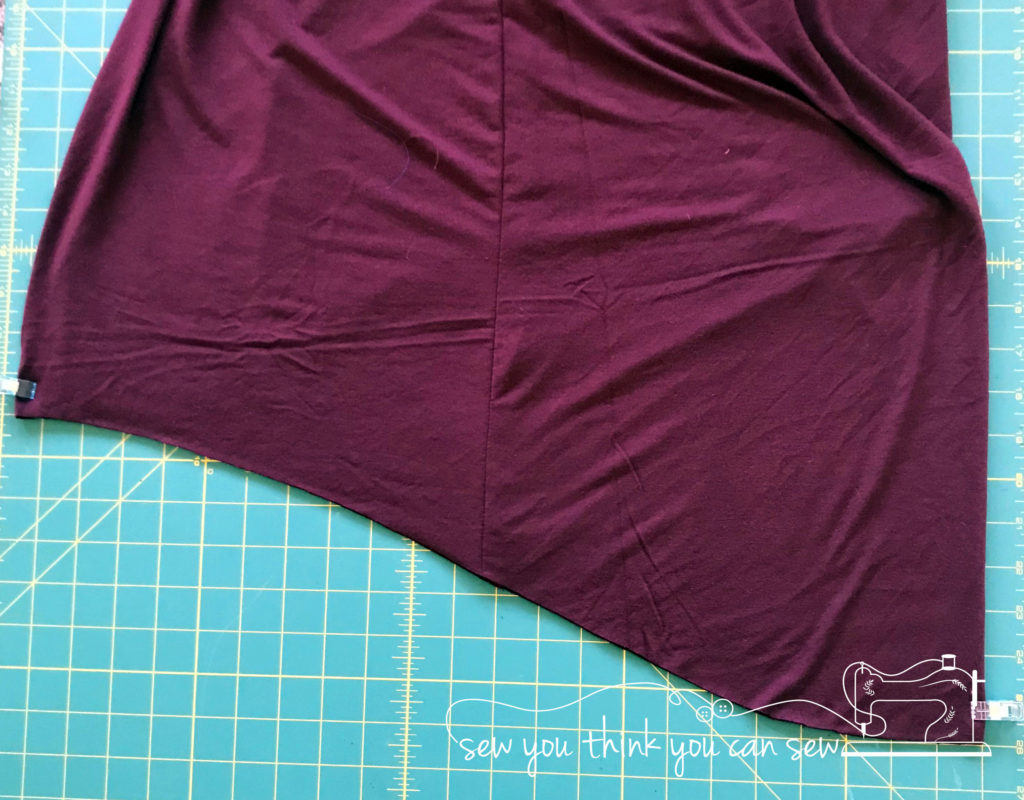
If you would like to make the dress instead of the romper simply measure the waist of the romper leg front (W), then cut two rectangles that are 30″ x W. Sew the sides together and then treat them the same way as the romper shorts to attach to the top.
I made my dress hi/low after I sewed it onto the dress and I knew where I wanted it to fall. I free handed the hi/low by laying out the skirt with the side seams together and cutting as shown below.
I hope this post has given you inspiration for your spring/summer sewing and shown you a new take on the Journey pattern! If you happen to make your own Journey dress please tag me on Facebook or Instagram as I would love to see what you make! (Facebook Erin Bradley Instagram @sew_youthinkyoucansew)