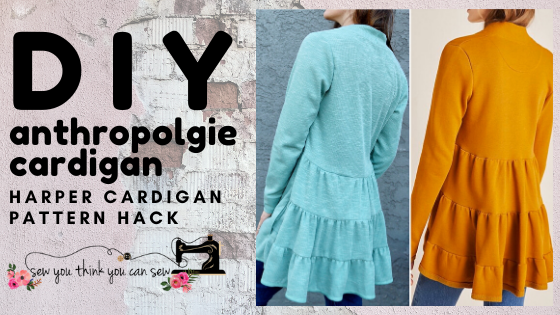
Harper Cardigan Hack
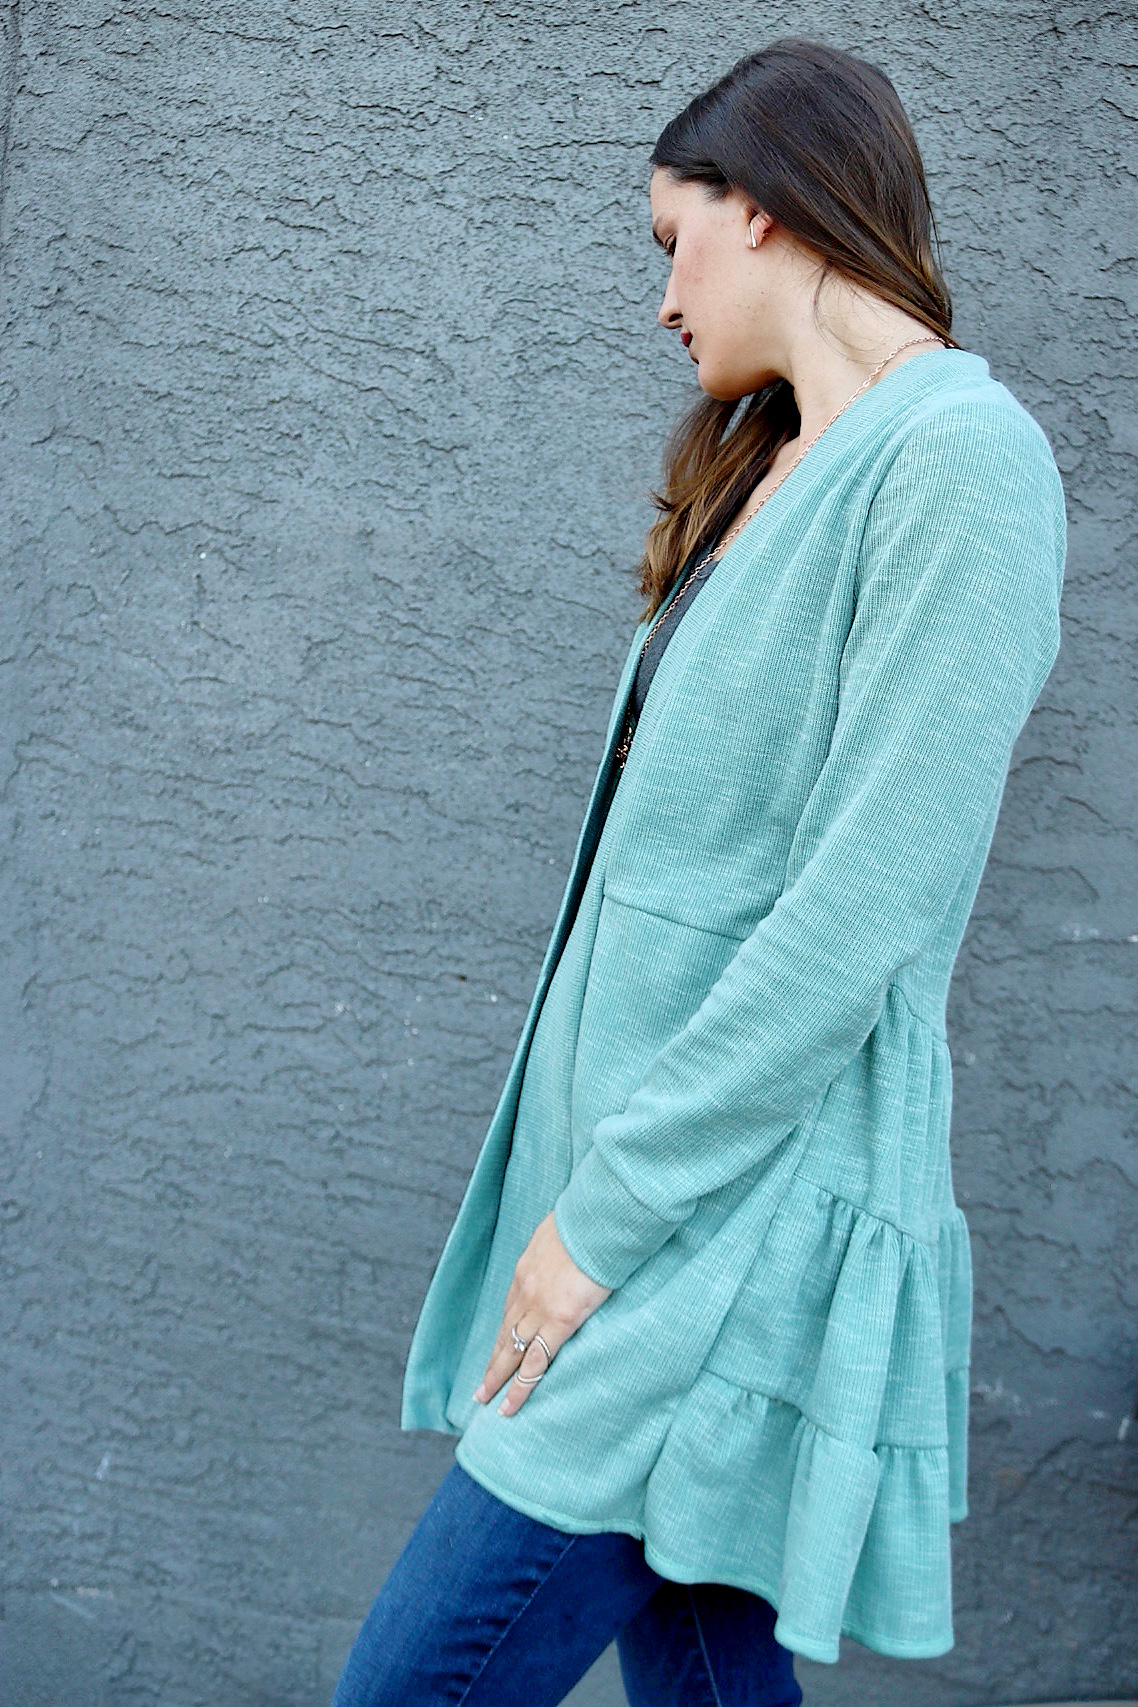
Recently Kayla from Surge Fabric Shop and I went to Los Angeles to do a little fabric shopping for the shop and we found some amazing stuff! This week one of my favorites was released, the Impressionist Double-Sided Sweater Knit! It's truly a unique and fun fabric perfect for just about any sweater or cardigan. I used the Eucalyptus color for my version and used about two yards of fabric to make a size small tall. I would recommend ordering an extra yard if you intend to make a larger size I was pretty close to running out of fabric!
I selfishly claimed the Eucalyptus color for sewing strikes because it is SUCH a pretty color! Then I sat around for a while trying to decide what to make with it that would do justice to it's texture and drape. Kayla sent me a link to an Anthropologie Cardigan and I knew I had to recreate it.
The Impressionist Double-Sided Sweater Knit is on sale through this Friday with the code IMPRESSIONIST15 so grab some now before you are sorry!
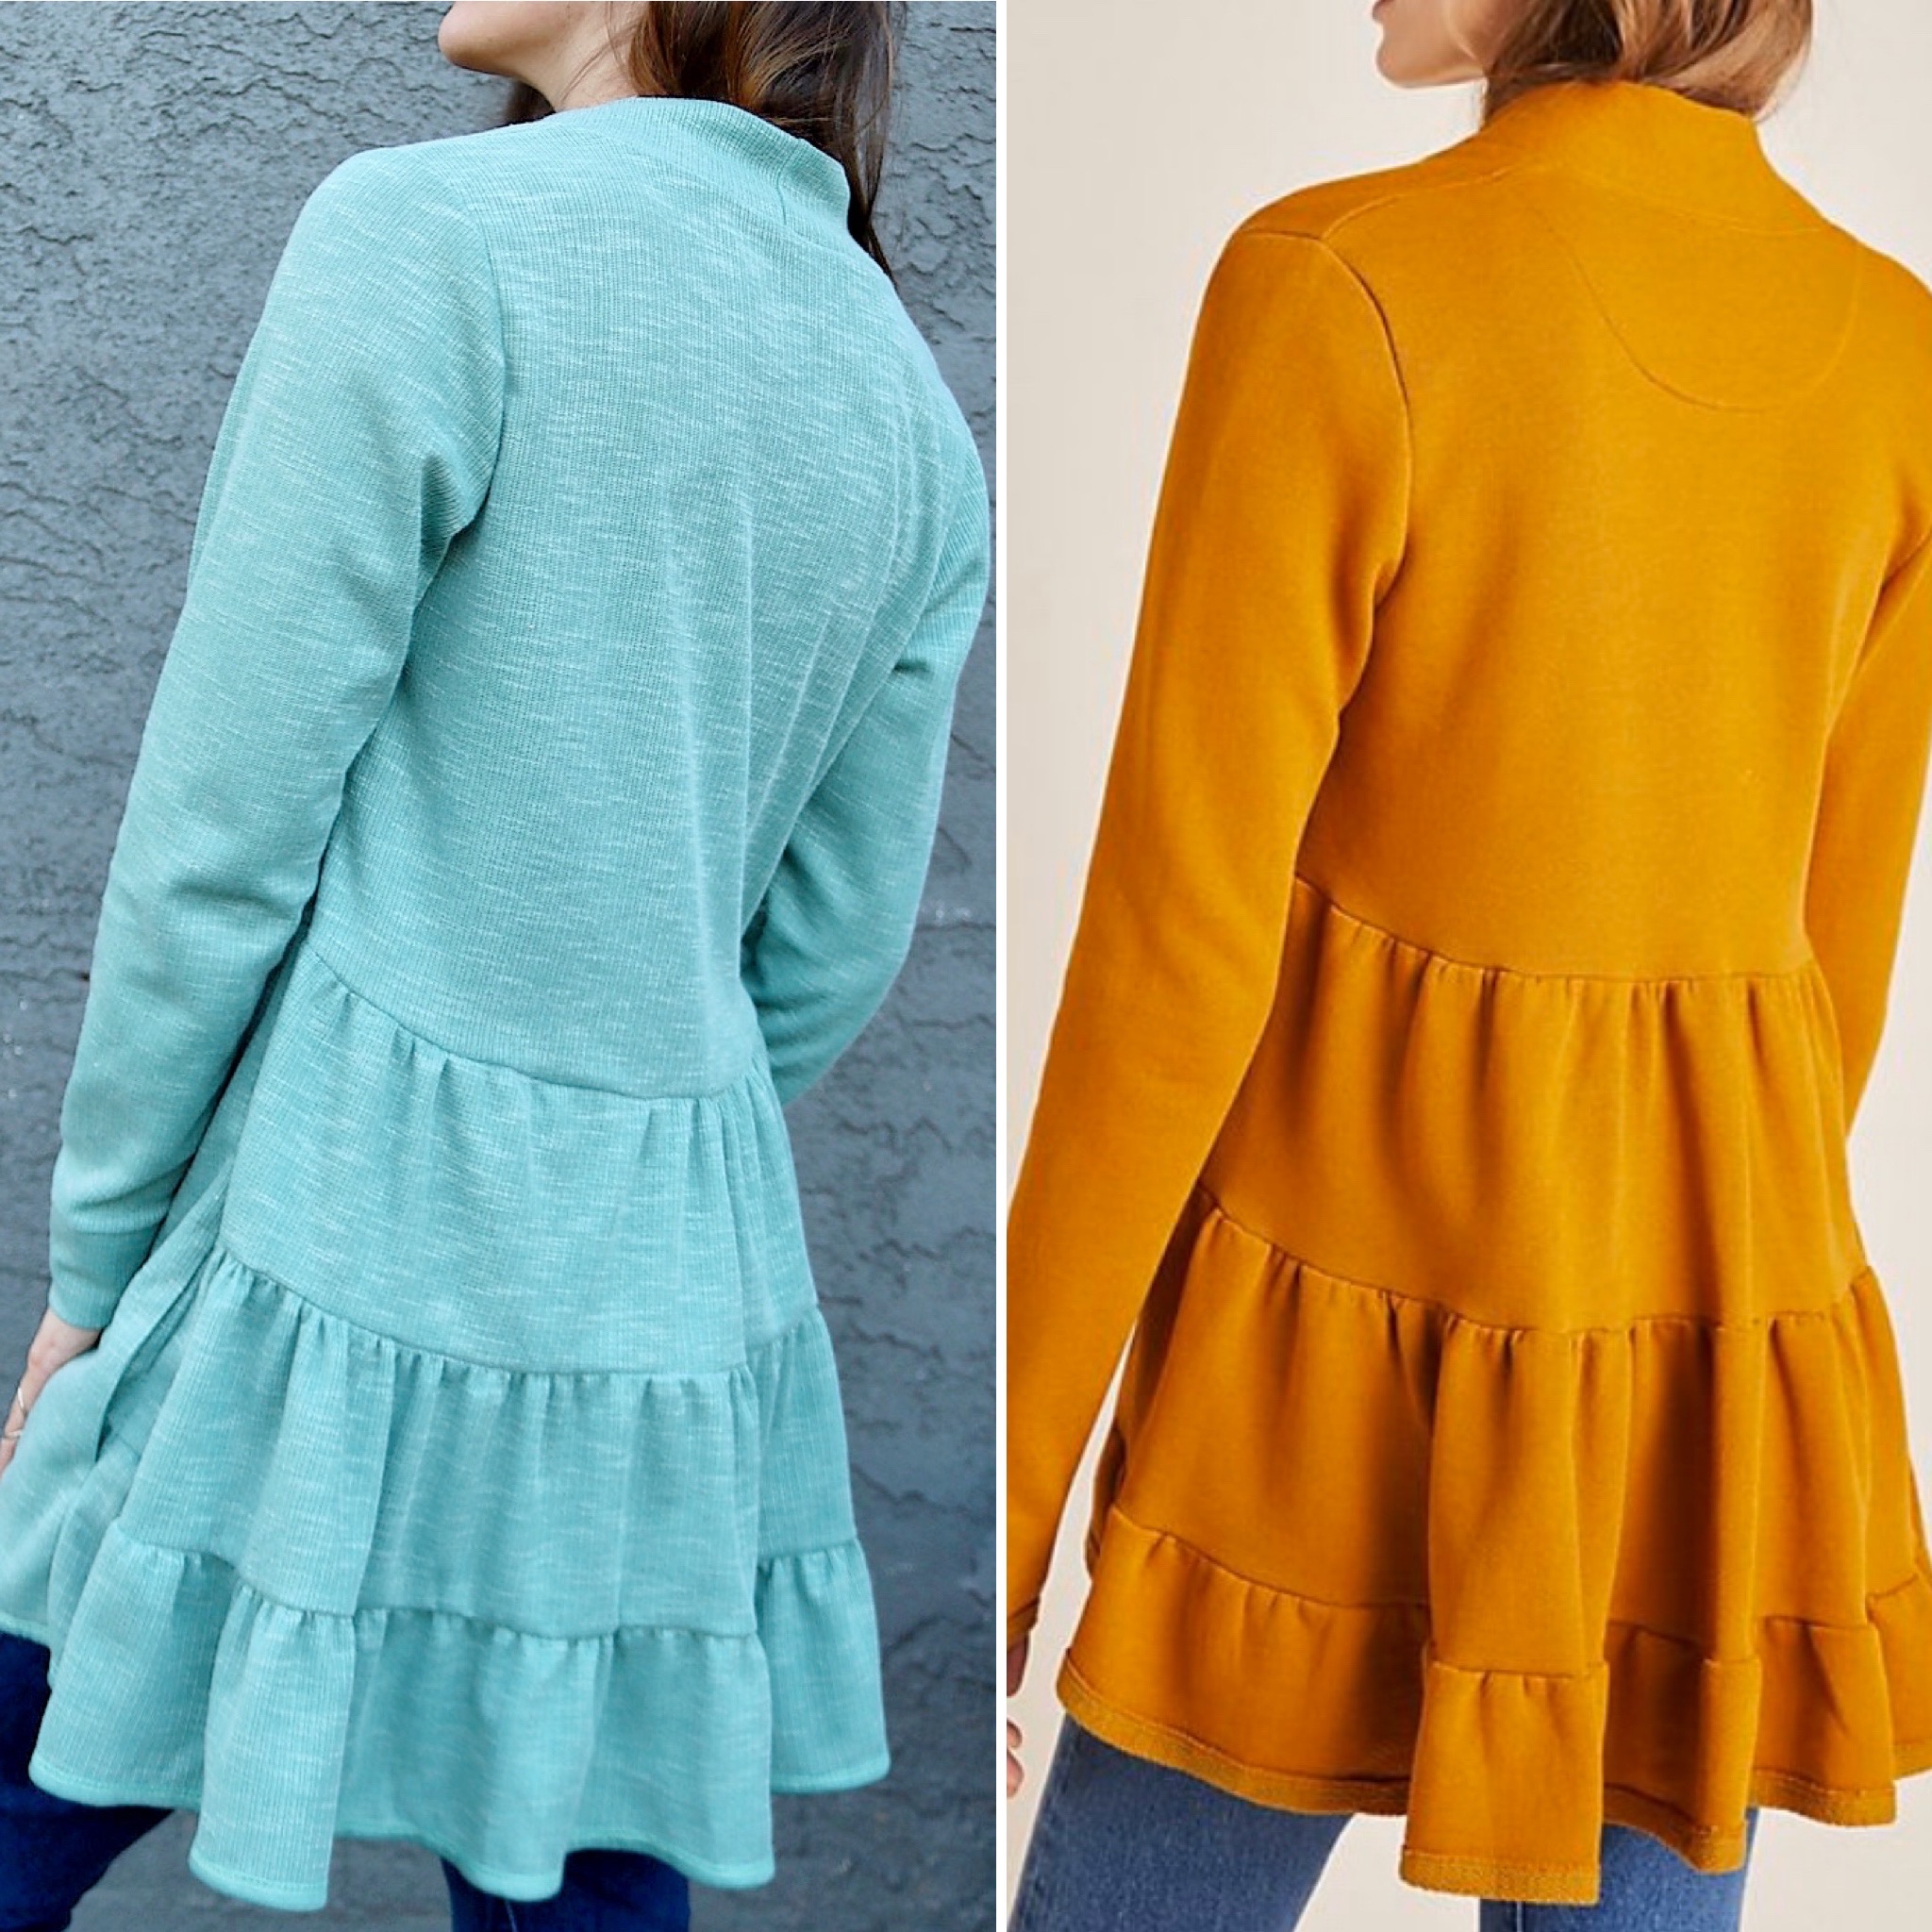
I have had an overwhelming number of people ask me how I did it so I decided I would write a quick blog post. Now I am writing this after the fact so please excuse the lack of photos and if you run into any issues I am happy to help!
Pattern
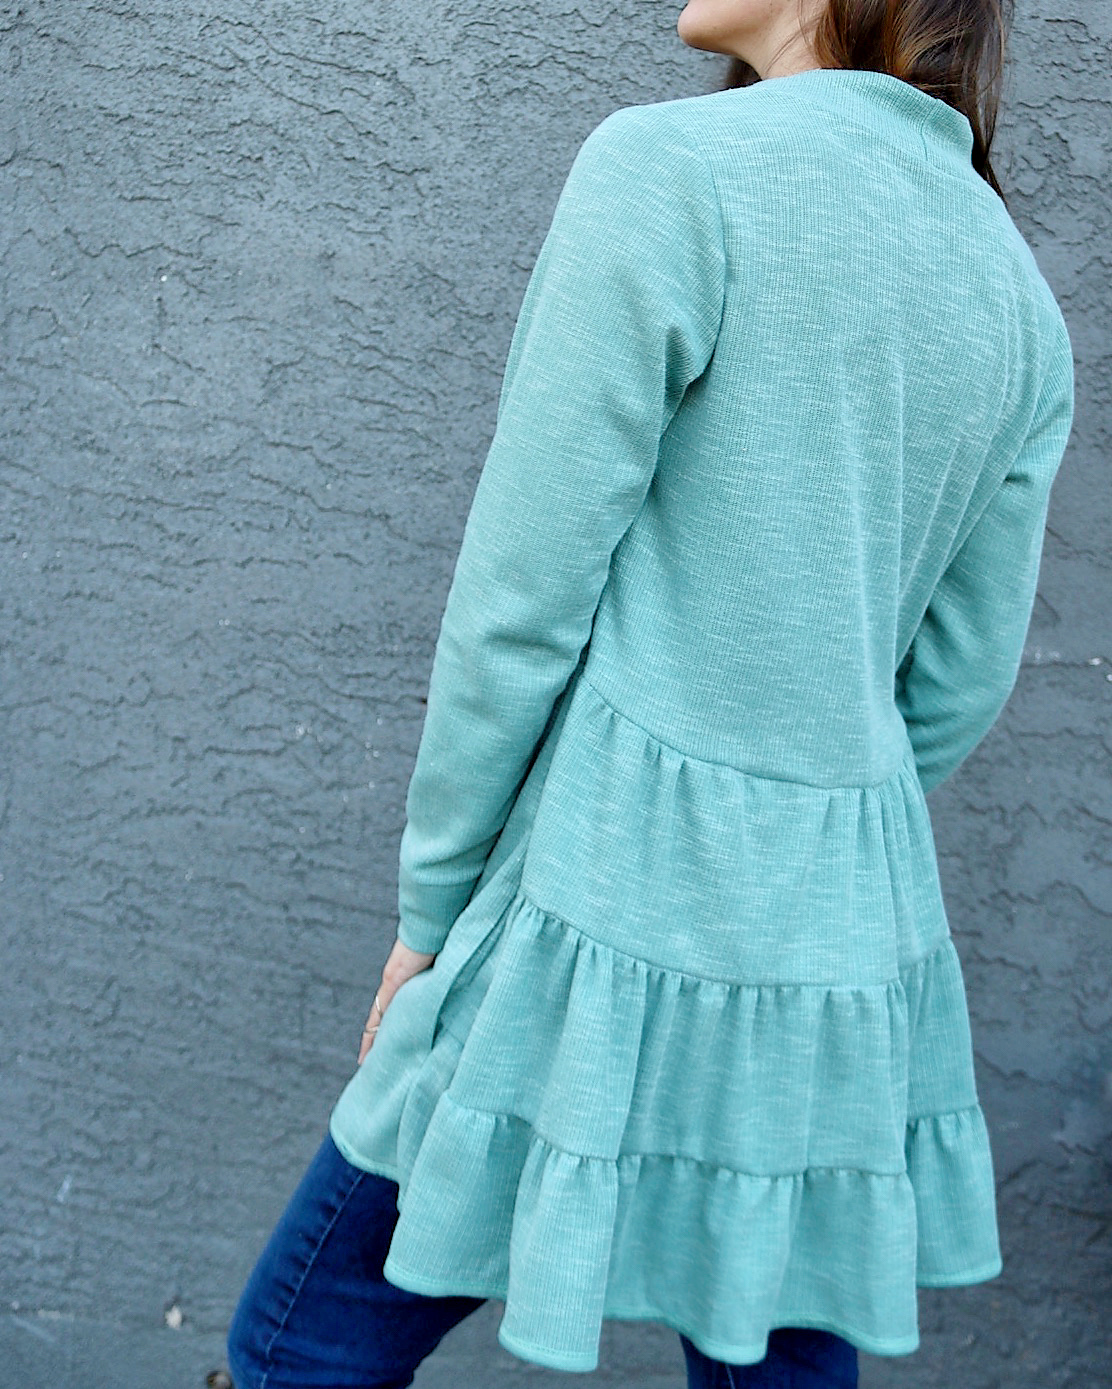
I used the FREE Harper Cardigan Pattern from Sinclair Patterns as my base pattern. The modifications I made was to add the ruffles to the back bodice and then I used the pocket construction from the Lotte Hoodie. I made a size Small Tall so keep in mind all my measurements going forward are based off of that so make sure you do your own calculations!
Modifications to Pattern Pieces
I started by cutting the pattern pieces at the lengthen and shorten line, this became my new front and back bodices. So cut two front bodice tops (mirrored) and your back bodice.
NOTE: If you are skipping the pockets you do not need to cut the front bodice piece you can skip the added seam. You will need to account for skipping the bottom band though so do not cut your front bodice pieces yet.
Also, when you cut the front band (Piece 4) cut it for the longline as well.
YOU DO NOT NEED TO CUT THE BOTTOM BAND PIECE (PIECE 6).
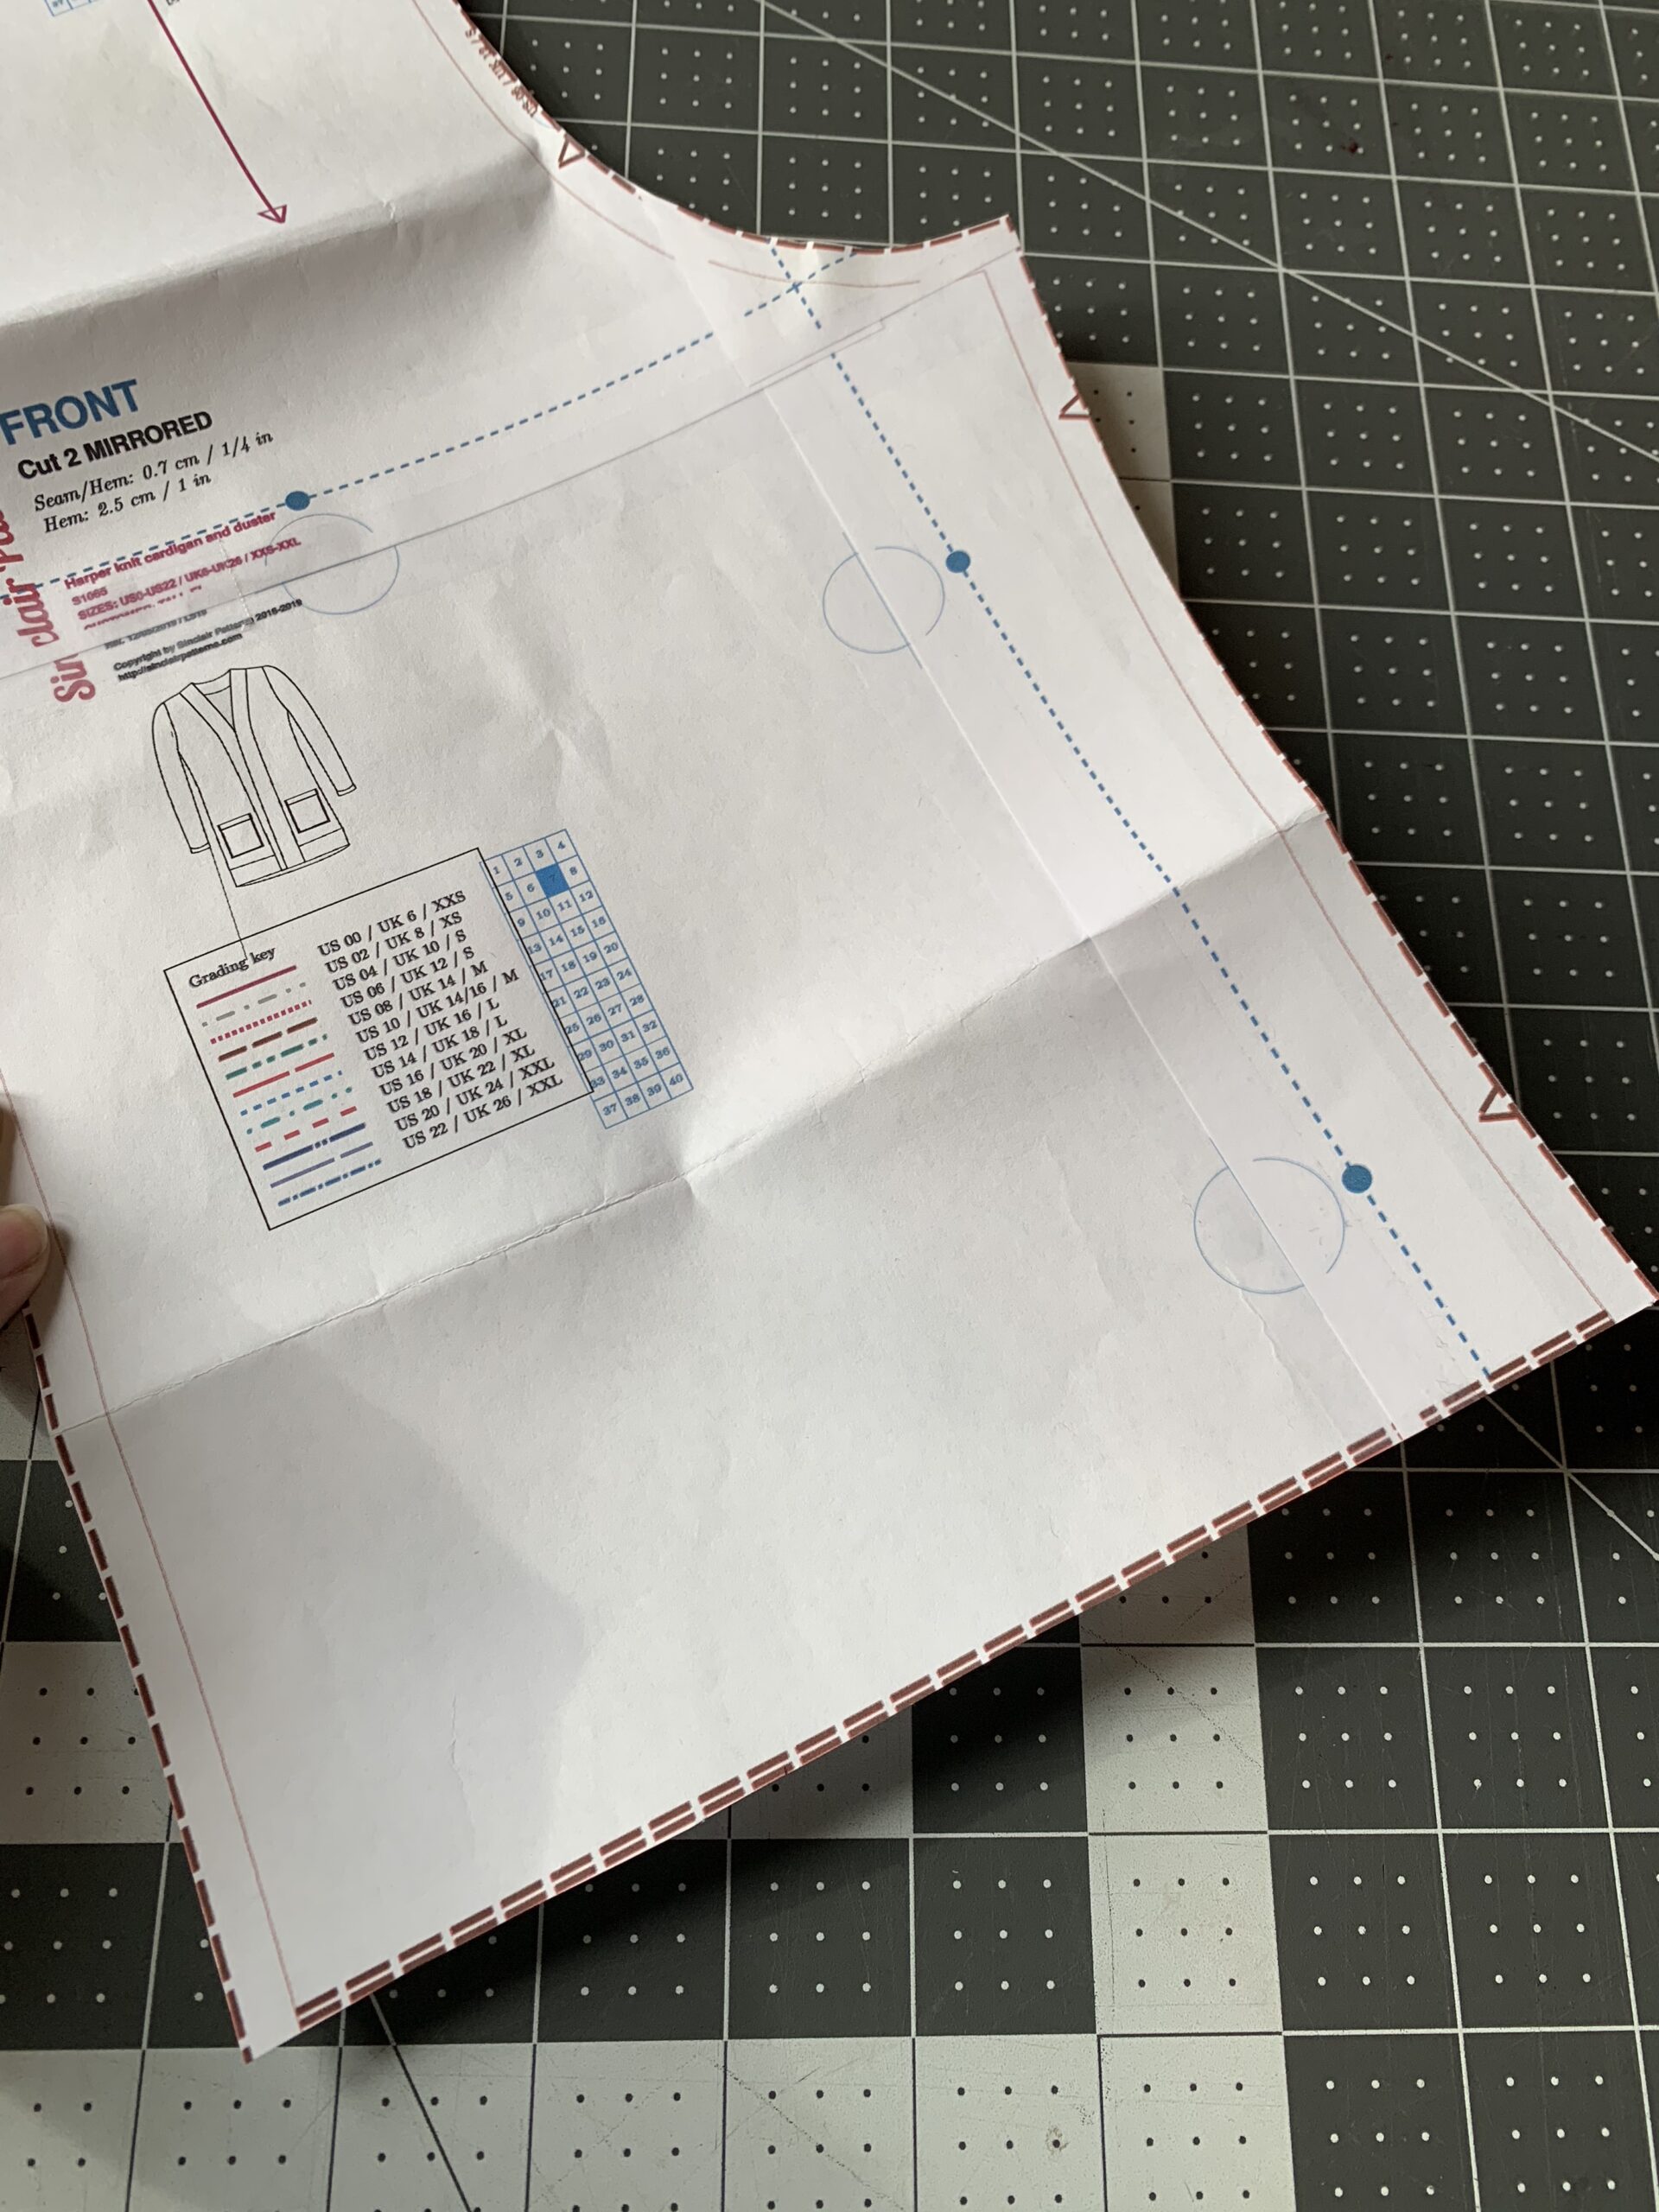
If adding pockets: Now grab the bottom piece of the front bodice (Piece 2) use the longline cut line as this will account for skipping the bottom band. You will cut a total of 6 mirrored pieces of this if you are doing the pockets.
If not adding pockets: Cut your front bodice piece on the longline cut line. Cut 2 mirrored.
Ruffles: For the ruffles we will be cutting a total of three, each one will be a different length so make sure you do your calculations ahead of time.
Begin by measuring the length of the front bodice piece from the cut line we made to the bottom of the hem. For me this measurement was 16.75" I then divided this by three to get a length of 5 5/8" which I then rounded up to 6" to accomodate my seam allowances. This 6" measurement is the height of each of our ruffle pieces.
To determine the length of the ruffle pieces begin by measuring the length of the back bodice piece, for me that was 18". Then multiply this number by 1.5 to give you the length of the first ruffle piece (27"). For the second ruffle take the length of the first ruffle piece and multiply that by 1.5 (40.5"). Finally the third ruffle which is the same calculation (40.5 x 1.5 = 60.75).
In summary I cut three ruffle pieces:
6" x 27", 6" x 40.5" and 6" x 60.75"
Assembly:
Attaching the ruffles: I began by attaching the ruffles to the back bodice. To do this start with the smallest ruffle and the top back bodice piece. Sew a gathering stitch on the ruffle piece and then attach using a 3/8" seam allowance (SAL).
Attach the remaining two ruffle pieces in the same manner, gathering the longer of the two pieces you are working with and then attaching.
I like to use a straight stitch on my regular machine to attach and then when I am done I serge the raw edges to finish.
Once the ruffles are attached the back bodice is complete.
Pocket assembly: Lay out your 6 bottom front bodice pieces in stacks of three. Decide where you want your pocket opening to be. I recommend starting the bottom of the pocket about midway up the second ruffle piece. Mine were a bit too low. As you can see in the photograph below.
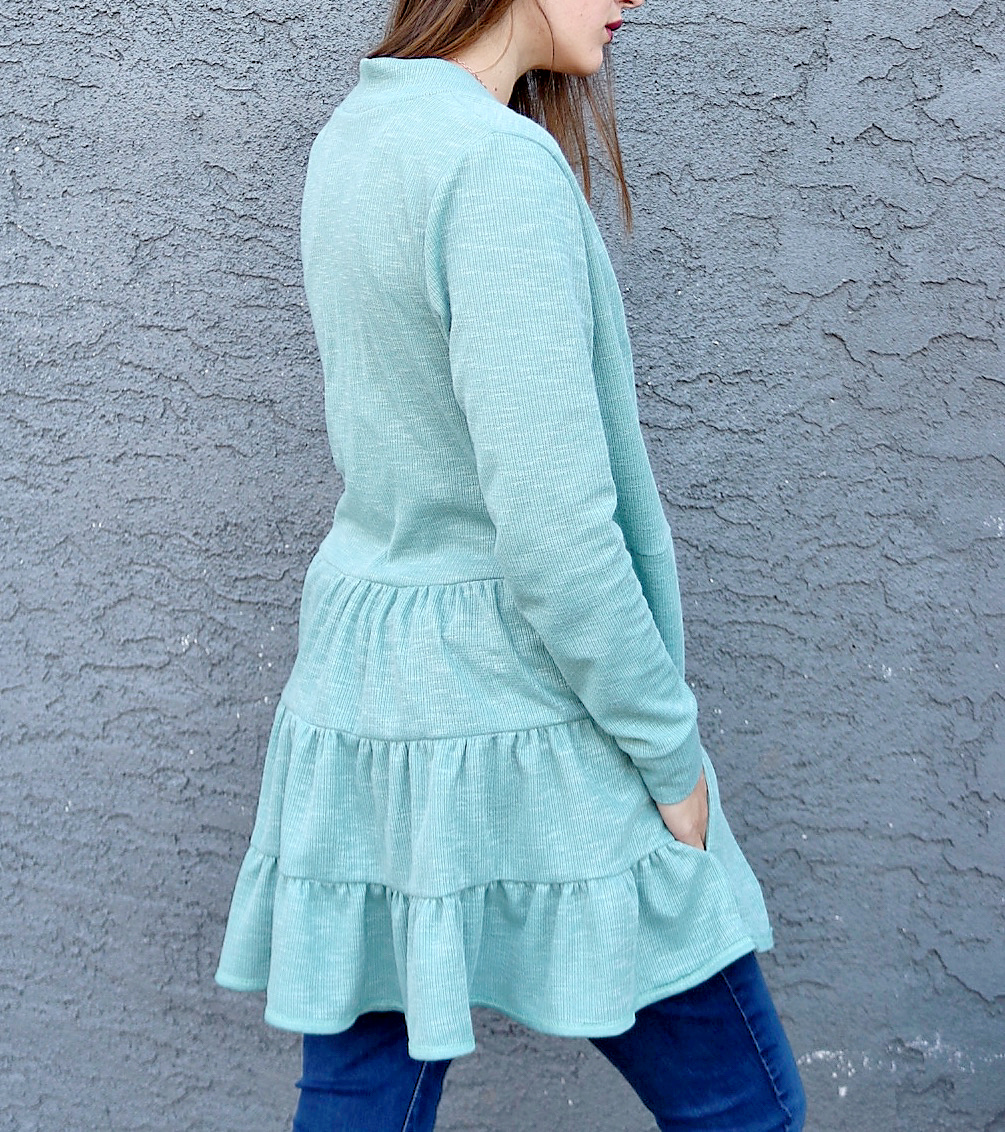
Once you know where the pocket opening will be align two of your front bodice pieces right sides together and straight stitch with your standard machine 3/8" between the top and bottom of your pocket opening. Then cut to your stitch lines and flip it right sides out and iron your stitching.
Grab your third bodice piece and with that right side facing align it with your piece with the pocket opening on it. the pocket opening piece should be on top with the solid piece in the back. Attach these pieces to the top front bodice piece right sides together. Now you can treat this as one completed front bodice.
Follow pattern instructions for attaching front to back bodice, attach sleeves and sew up your side seam. Then before attaching the front neckband you will hem the bottom of your cardigan. I did a reverse hem to add a little bit of a design element utilizing the double-sided fabric I used. We hemmed instead of using a bottom band so you can disregard the step in the pattern to attach the bottom band.
Attaching the front band: I attached the front band in the same manner as the pattern instructions. I did have to trim a little bit off of the piece prior to sewing it on as it was a touch too long, I simply laid it out next to the opening and trimmed a little off so it fit correctly.
I hope you found this post helpful, if you have any questions please feel free to reach out to me! This is somewhat lacking in details due to writing it after the fact!
If you would like to see more of my work follow me on Instagram here.


3 Comments
Susie B
Oh I love it.. Can see me making on in the winter.
Joleena
I love this hack! I do have a question though. When you are gathering the 3 ruffles do you gather them all to the original measurement (ie: your 16.75) or does it change as you go down? Thanks in advance! 🙂
sewyouthinkyoucansew
It changes as you go down. So the first one gathers to the original measurement and then you only do a gathering stitch piece you are attaching next.