
Juliette
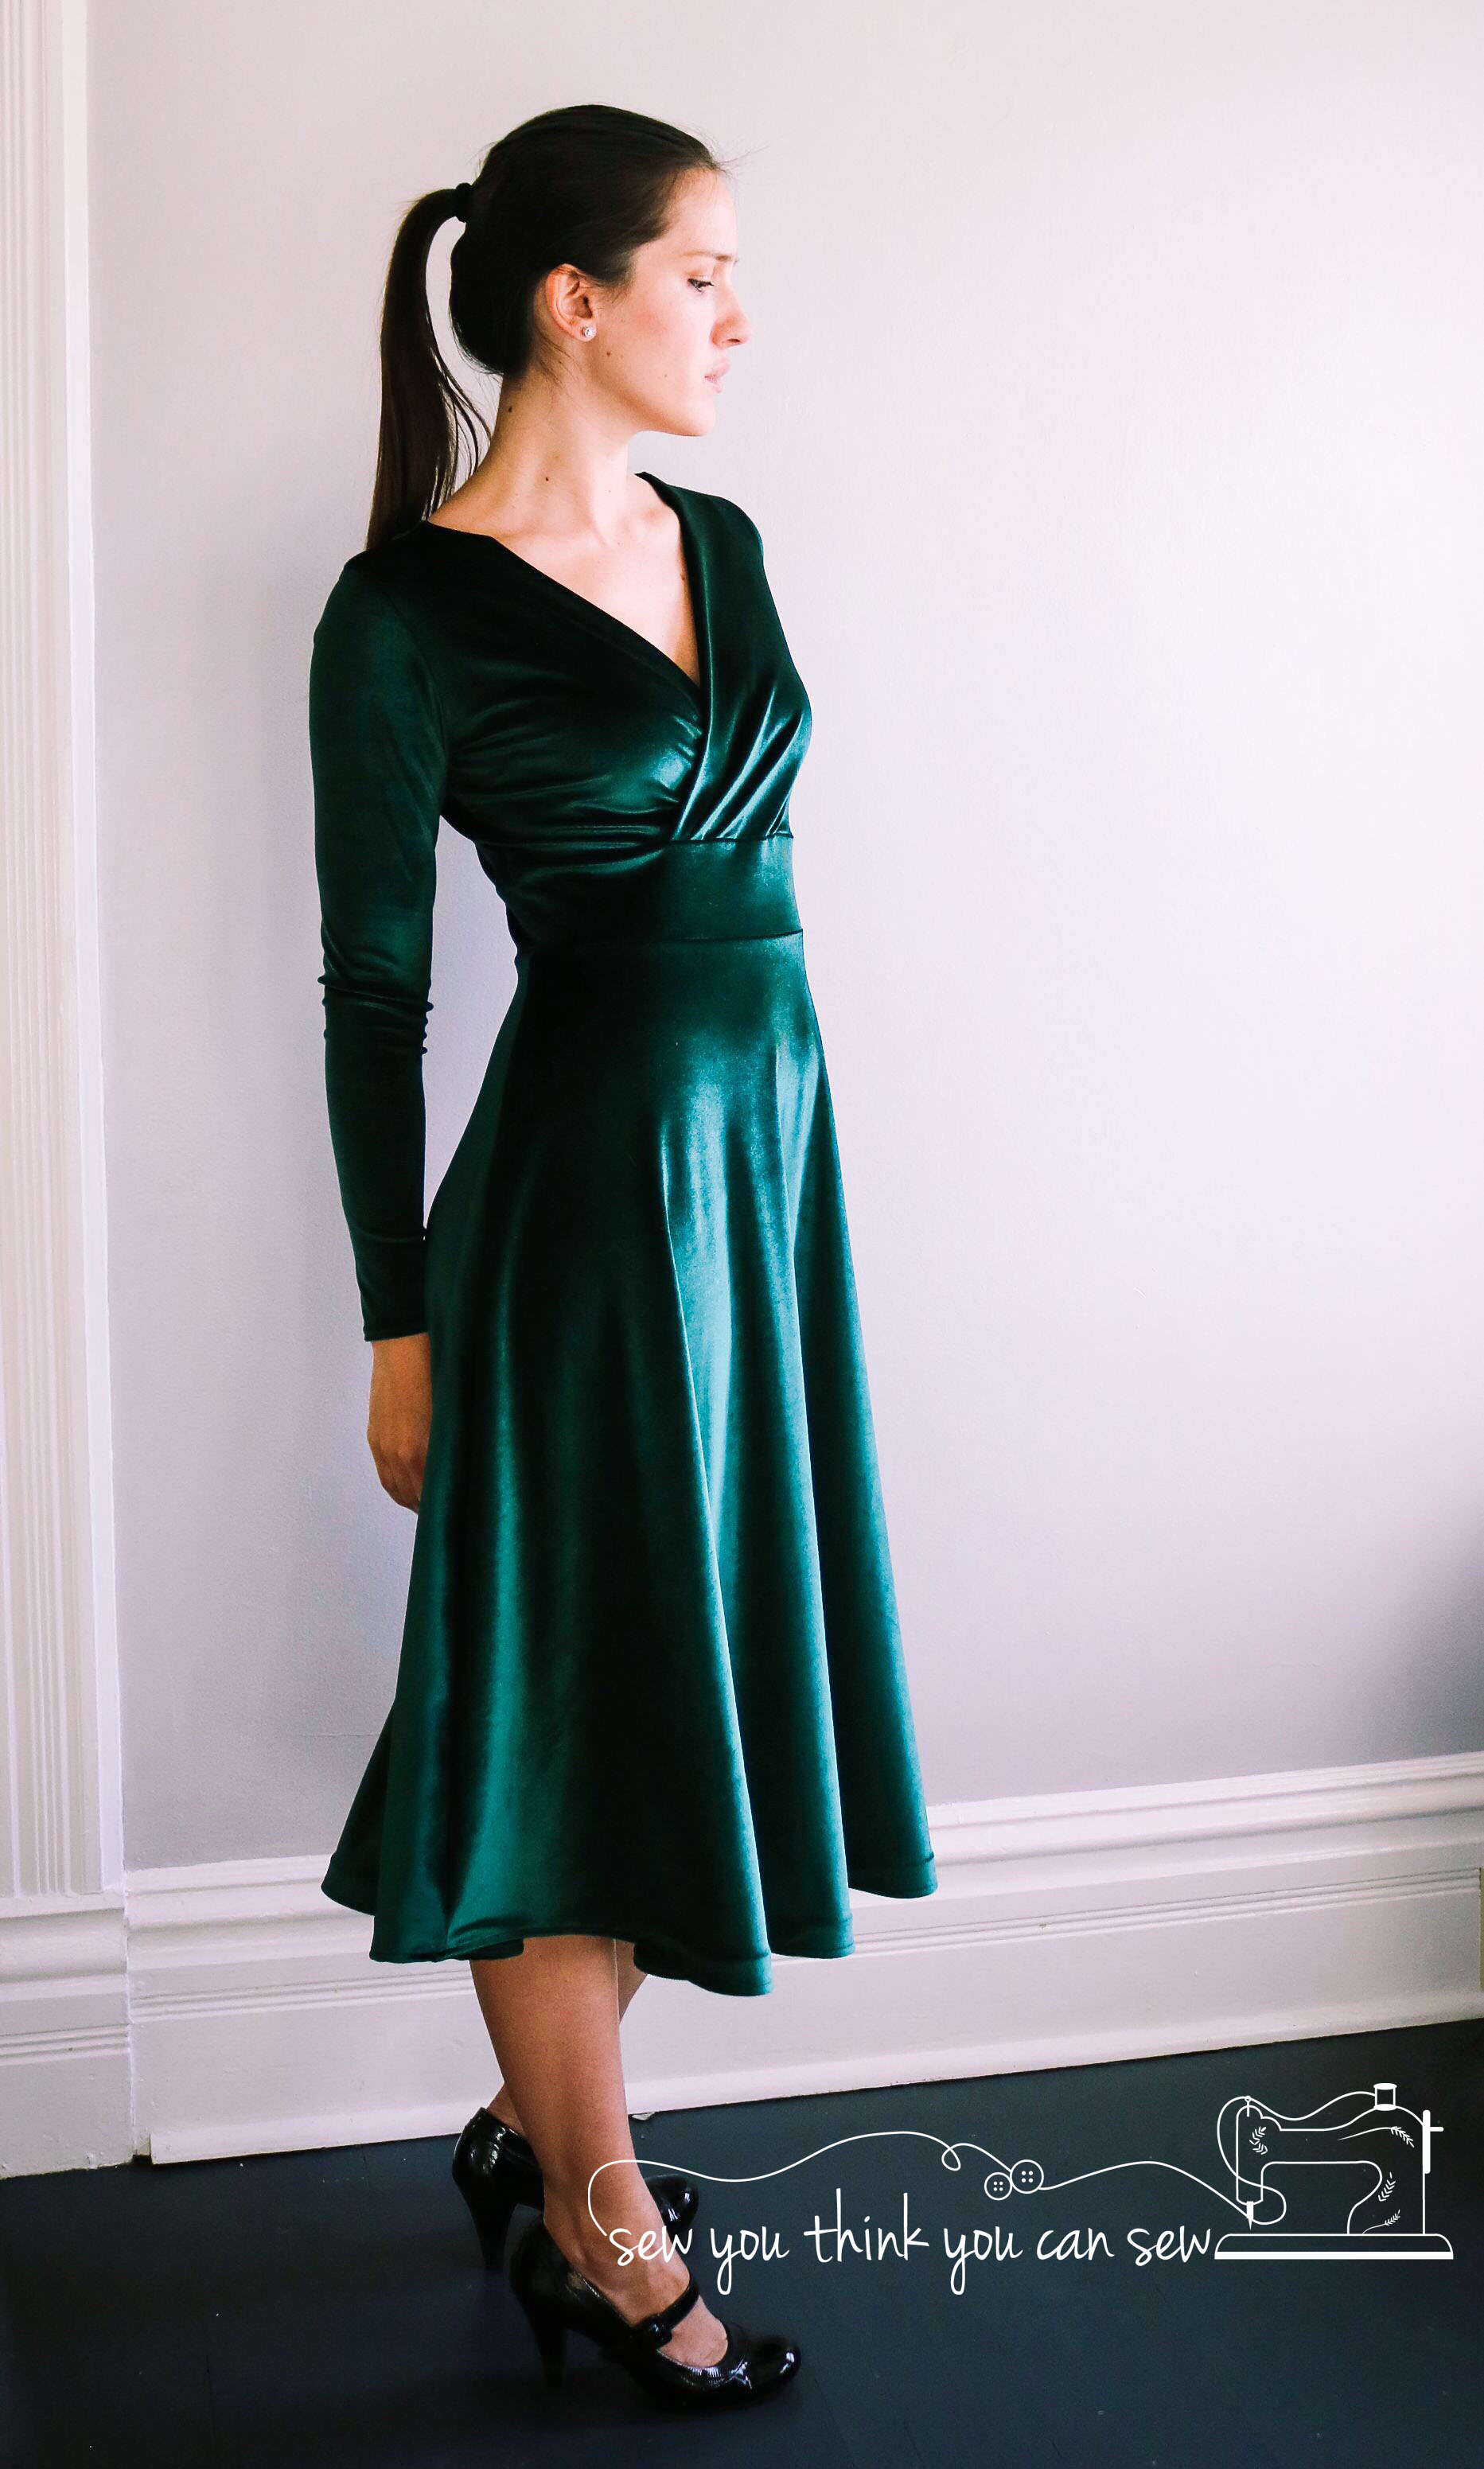
I’m thrilled to be part of the Fall Collection Blog Tour for Laela Jeyne Patterns. Their fall collection theme is family photos and they have something for everyone! The entire collection is on sale through the 21st of October so make sure you grab it before the sale ends! I tested the Juliette Dress and fell madly in love with it. I can’t stop making them and even plan to incorporate the bodice into my Halloween costume.
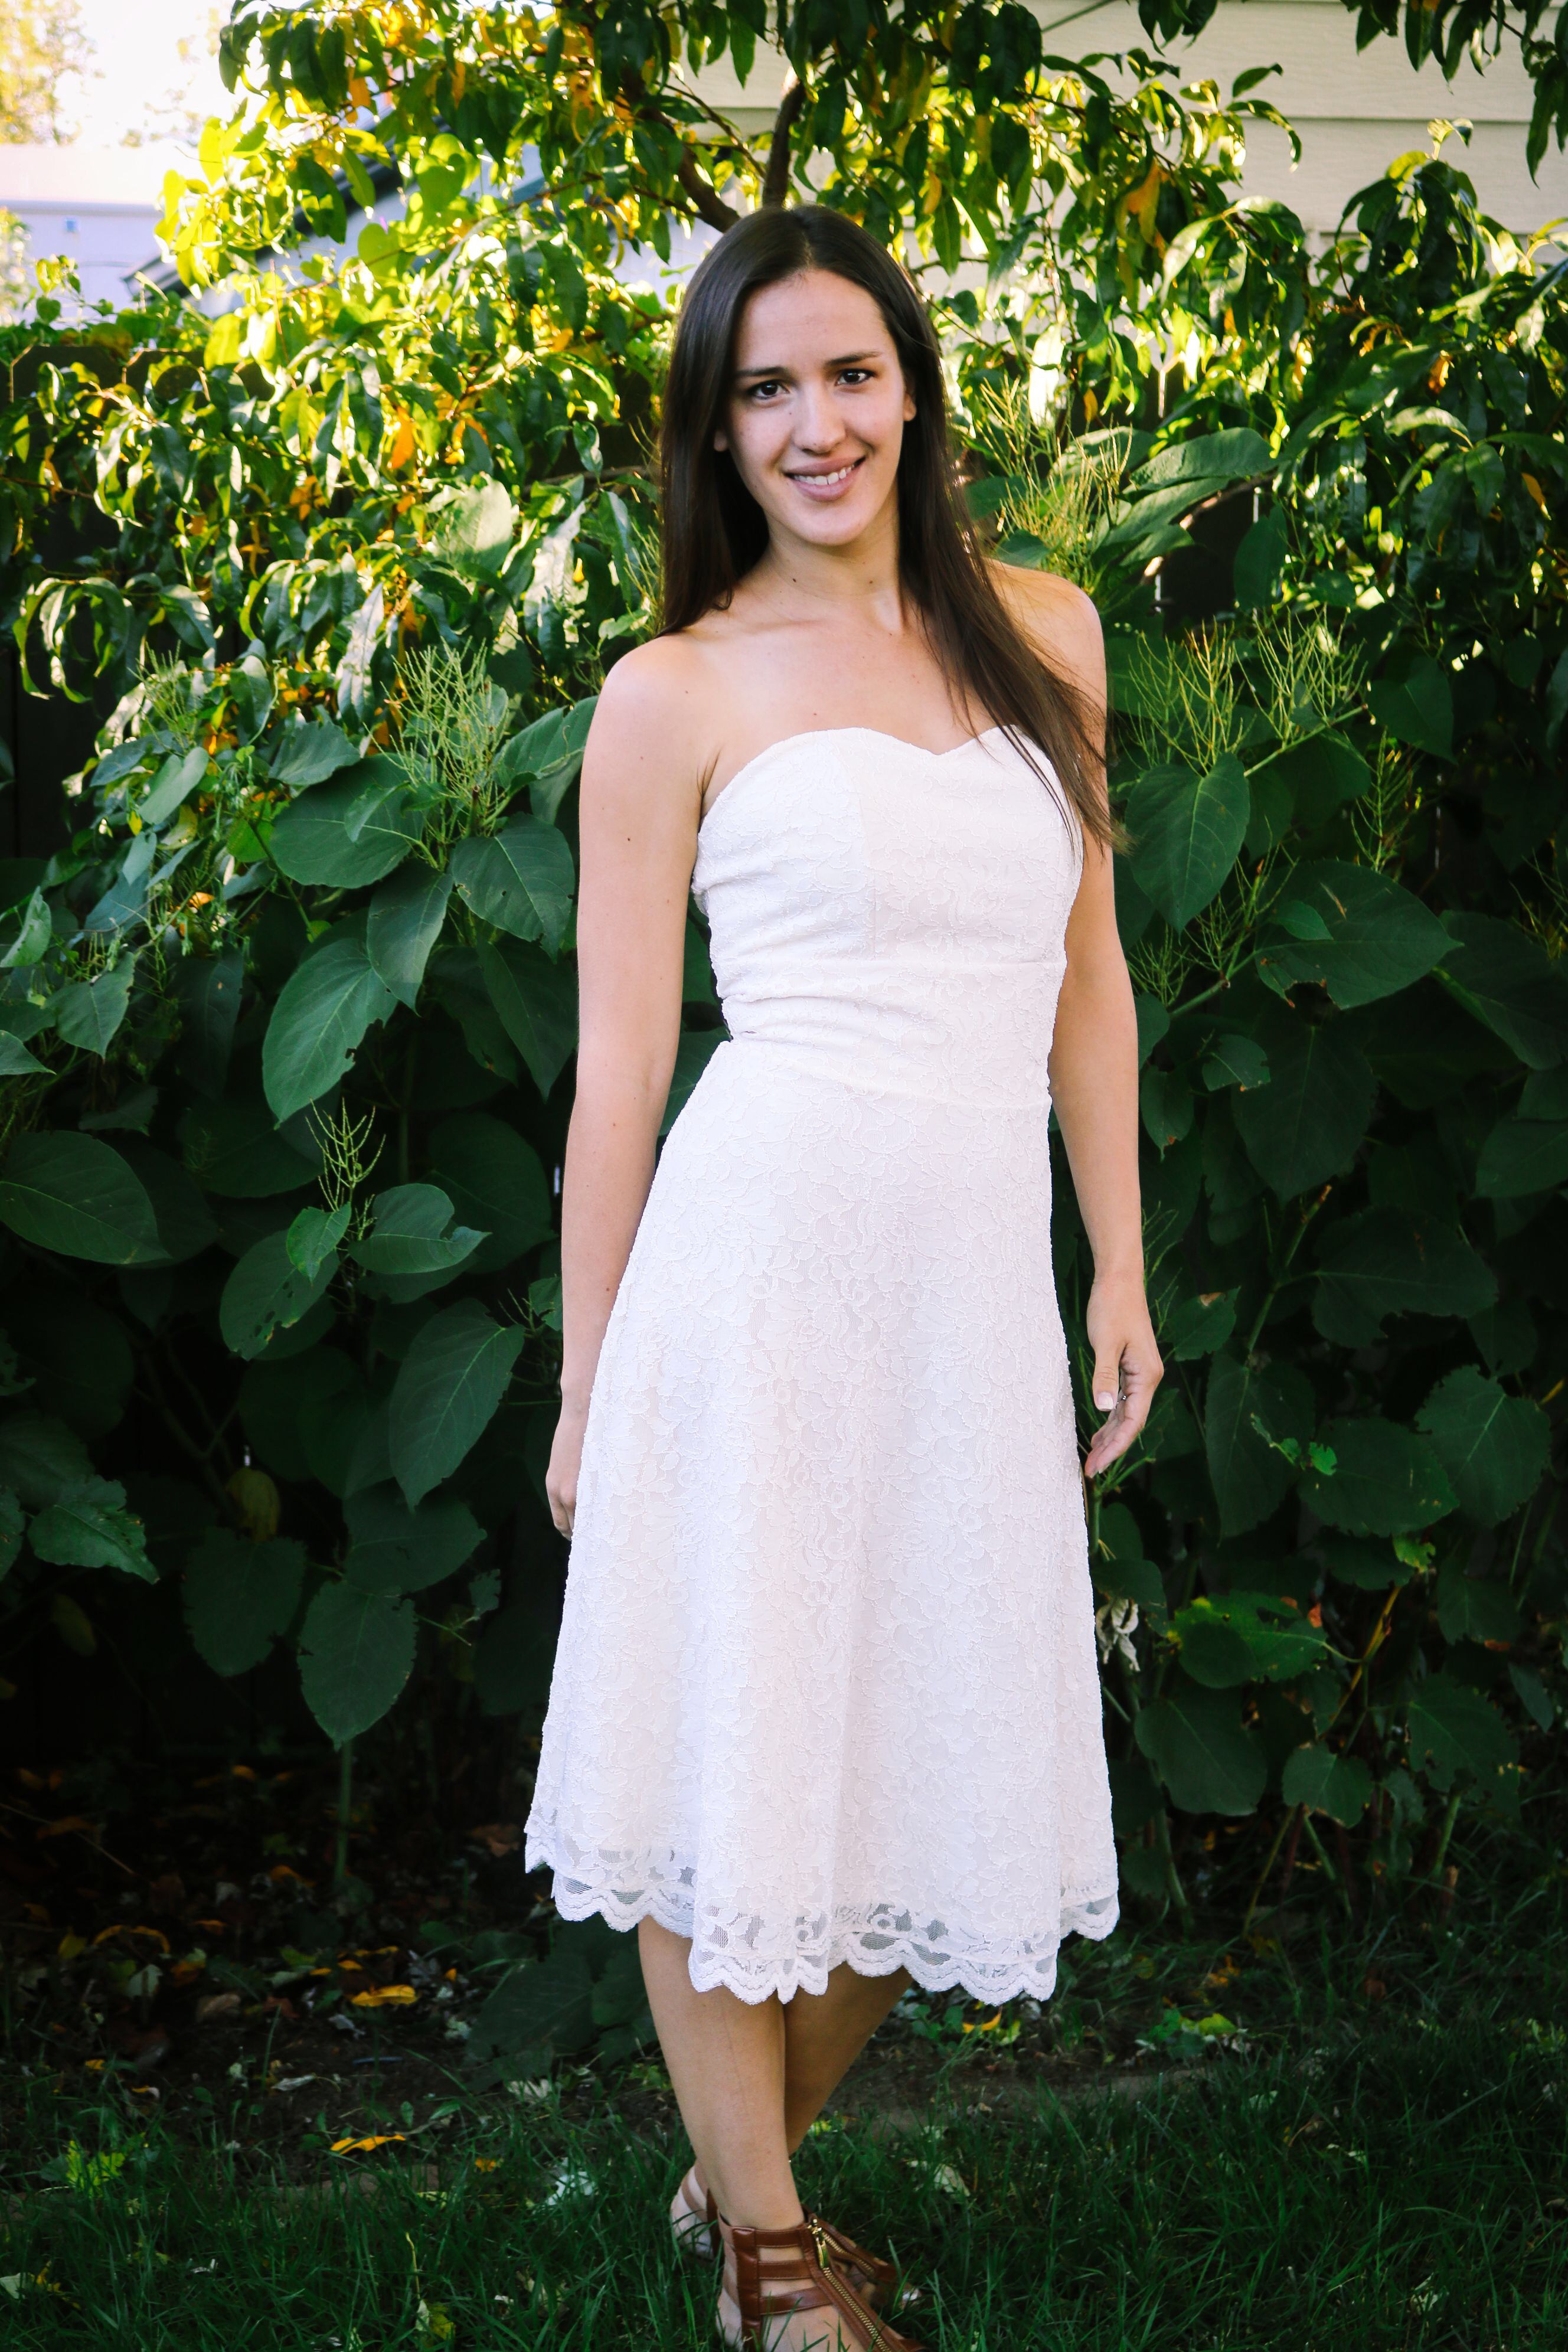
I’m always looking for ways to learn new techniques and skills so when I saw that the Juliette was a woven pattern with boning and an invisible zipper I knew I had to do it. My previous woven experience consisted of one dress and a few little boy shirts. The best part of pattern testing is it forces you out of your comfort zone. This one was definitely way outside my comfort zone!
The great thing about this pattern is how many options are built into the pattern. It goes from an A to an E cup and from 00 to 26. So there is a fit for just about everyone! My size was a 2 A cup and I did not add any length to the pattern, usually I add one to two inches but did not need to on this pattern. This pattern also comes with a multitude of style options including 6 different neckline options and 4 different sleeve lengths.
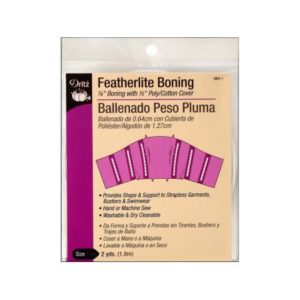
I have done zippers before, although not an invisible one, so the part I was most scared of was the boning. (Note: boning is only required in the strapless version) I used featherlite boning purchased from Joann’s. Featherlite boning has a fabric casing around the plastic which you sew, you do not need to sew the plastic. It was surprisingly easy to use.
My one tip for boning is make sure that you cut it so that it does not extend into your seam allowance. On my first version of the Juliette I extended it all the way to the edge of my fabric and it did not lay right at all.
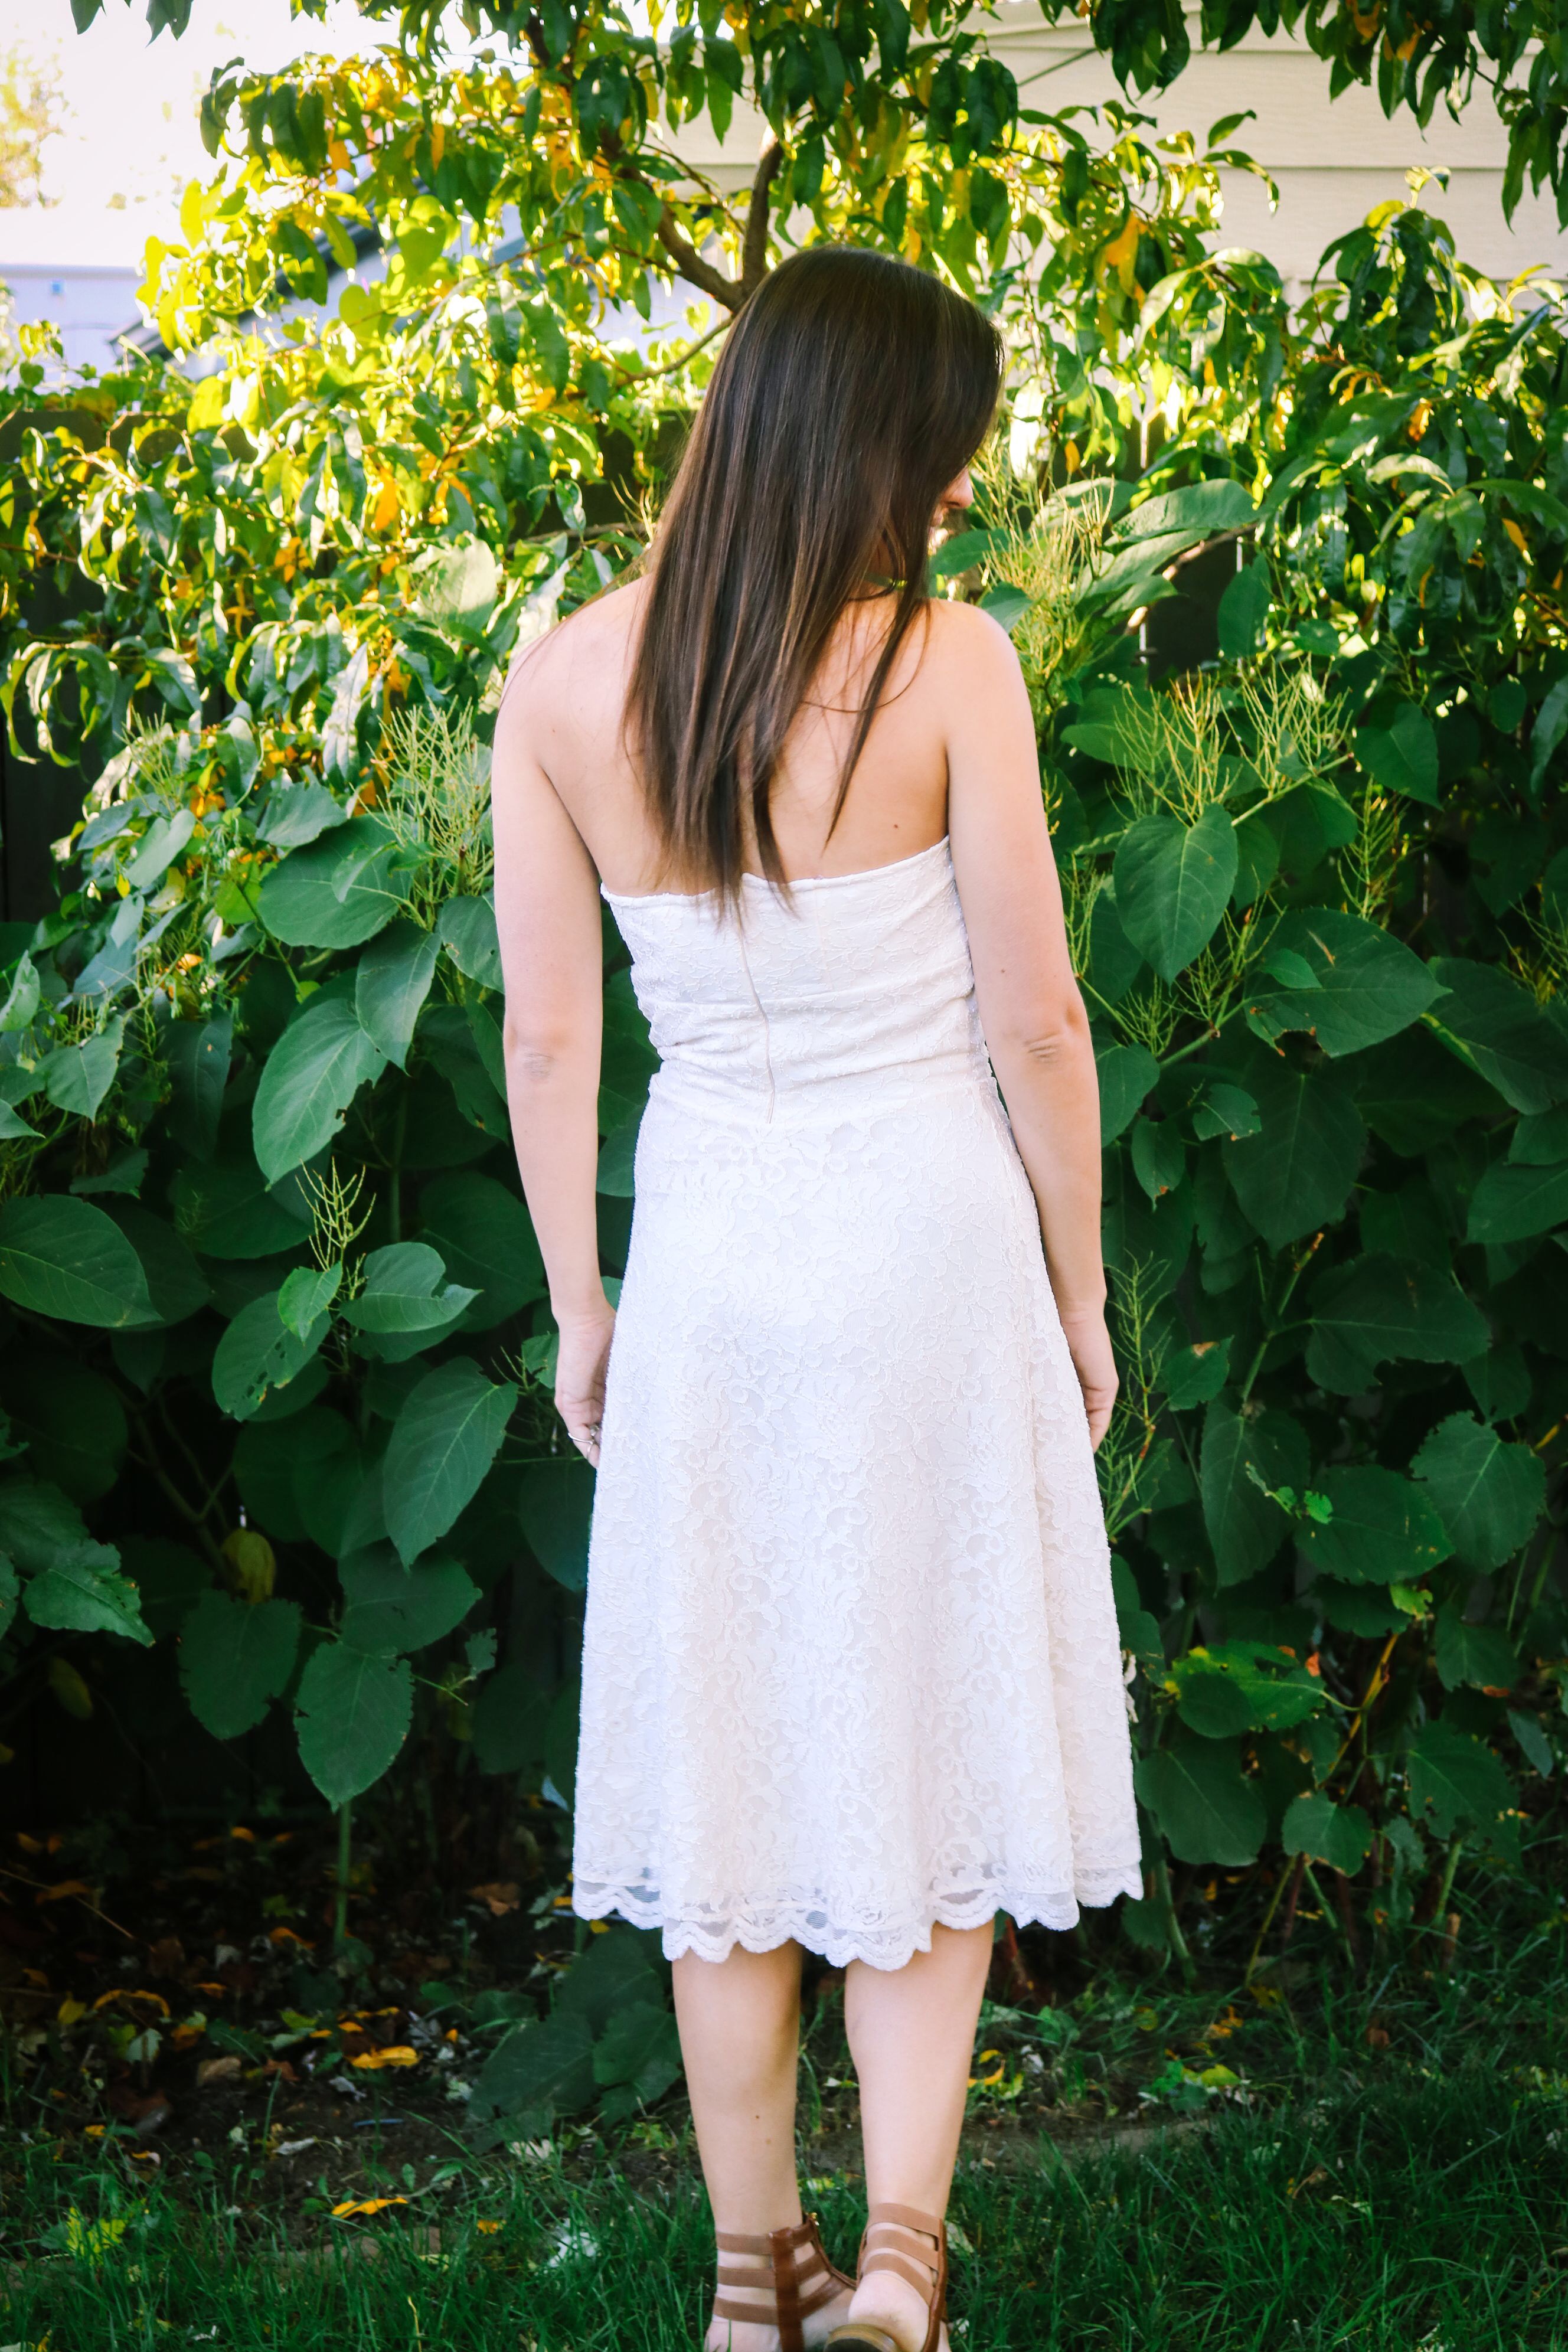
For my final version of the Juliette I decided I wanted to do a lace overlay using this gorgeous border lace that I got from Joann’s. Doing the lace overlay was pretty easy. I simply cut two layers of the lining fabric and one of the lace. Then I basted the lace layer to one of the lining layers and pretended it was one piece moving forward.

The trickiest part was figuring out how to use the border lace for the skirt. I knew that I wanted to have the bottom of the skirt as the border but the way the skirt is cut didn’t line up with the border. So I ended up cutting off the border lace edge from the fabric about 3/8″ above the edge of the border. Then I cut out the skirt pieces and reattached the border edge to the bottom edge of the skirt. I’m so happy with how well it ended up working, bonus was that I didn’t have to try and hem the lace!
I highly recommend the Juliette pattern, it is such a classic and elegant pattern that is perfect for the holiday season and beyond!
If you are interested in checking out the rest of the tour the links are below.
Monday
Sew Sew Ilse – Kutti Couture – Sea of Estrogen –Lunatiek – Flaxfield Sewing
Tuesday
Tip Stitched – Lunatiek – Nini and Ash – Margarita on the Ross – Sew You Think You Can Sew
Wednesday
Diskordia’s Curvy Sewing – Kelly’s Sewing Creations – Flaxfield Sewing – Katie Sews Things– My Little Lady and Gentleman – Sweet Meadow Threads
5 Comments
Pingback:
Tamara Straetemans
I absolutely love your dress!!! I can keep looking at it!!
sewyouthinkyoucansew
Thank you so much! I can’t wait to get to wear it for more than just pictures 🙂
Pingback:
Pingback: