Designing and Sewing Custom Fabric
My first introduction to sewing was when I somehow stumbled upon KNITorious Fabric who happened to have the most perfect fabric for my husband. I got the idea in my head to make him and my kids matching shirts with it for Father’s Day. Thus began my obsession with sewing and fabric. I’ve always been fascinated by the idea of custom fabric and wanted to design my own.
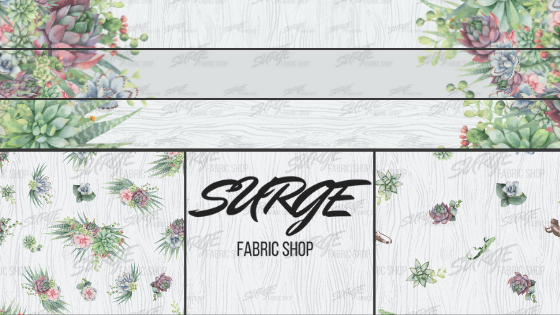
So when Kayla of Surge Fabrics asked if I would be interested in designing some new custom prints for the shop I jumped on the opportunity. While thinking about my inspiration for this first round I kept coming back to the idea of mix and matching the prints together, which is why they can all be used together or separately. Or make coordinating outfits for the whole family that don’t all have to be with the same exact print!
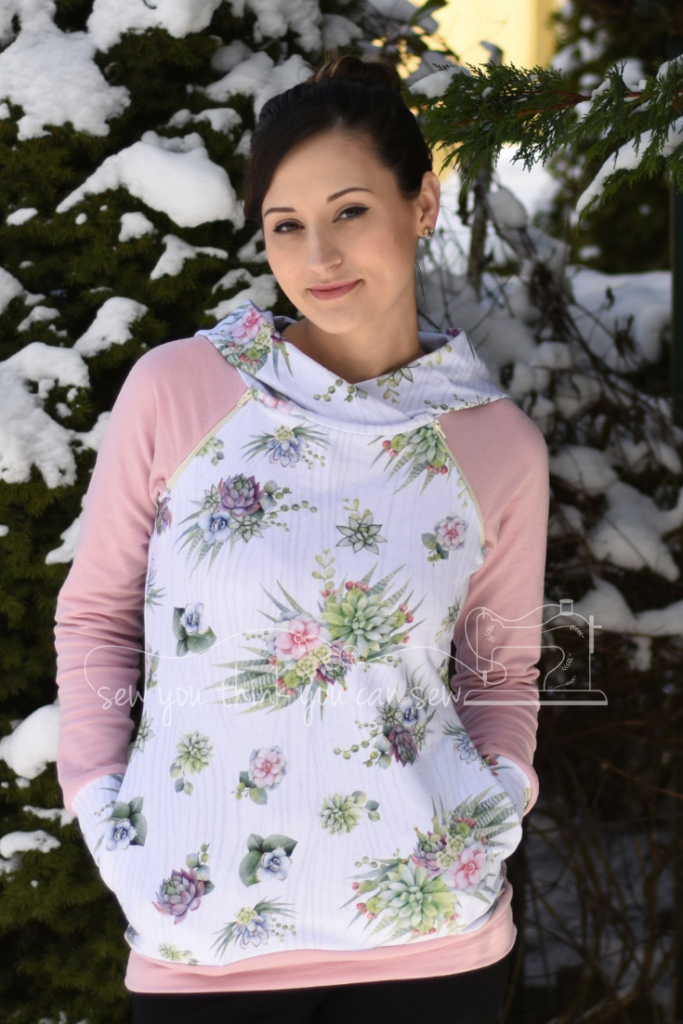
With spring finally here I decided that I wanted to try to combine two of my favorite things, florals and succulent prints. Which is how I ended up with the main print design, it’s structure is the traditional floral layout but with gorgeous succulents instead of flowers. Kyema made this gorgeous nursing friendly hoodie with it, I’m so happy seeing my design come to life!
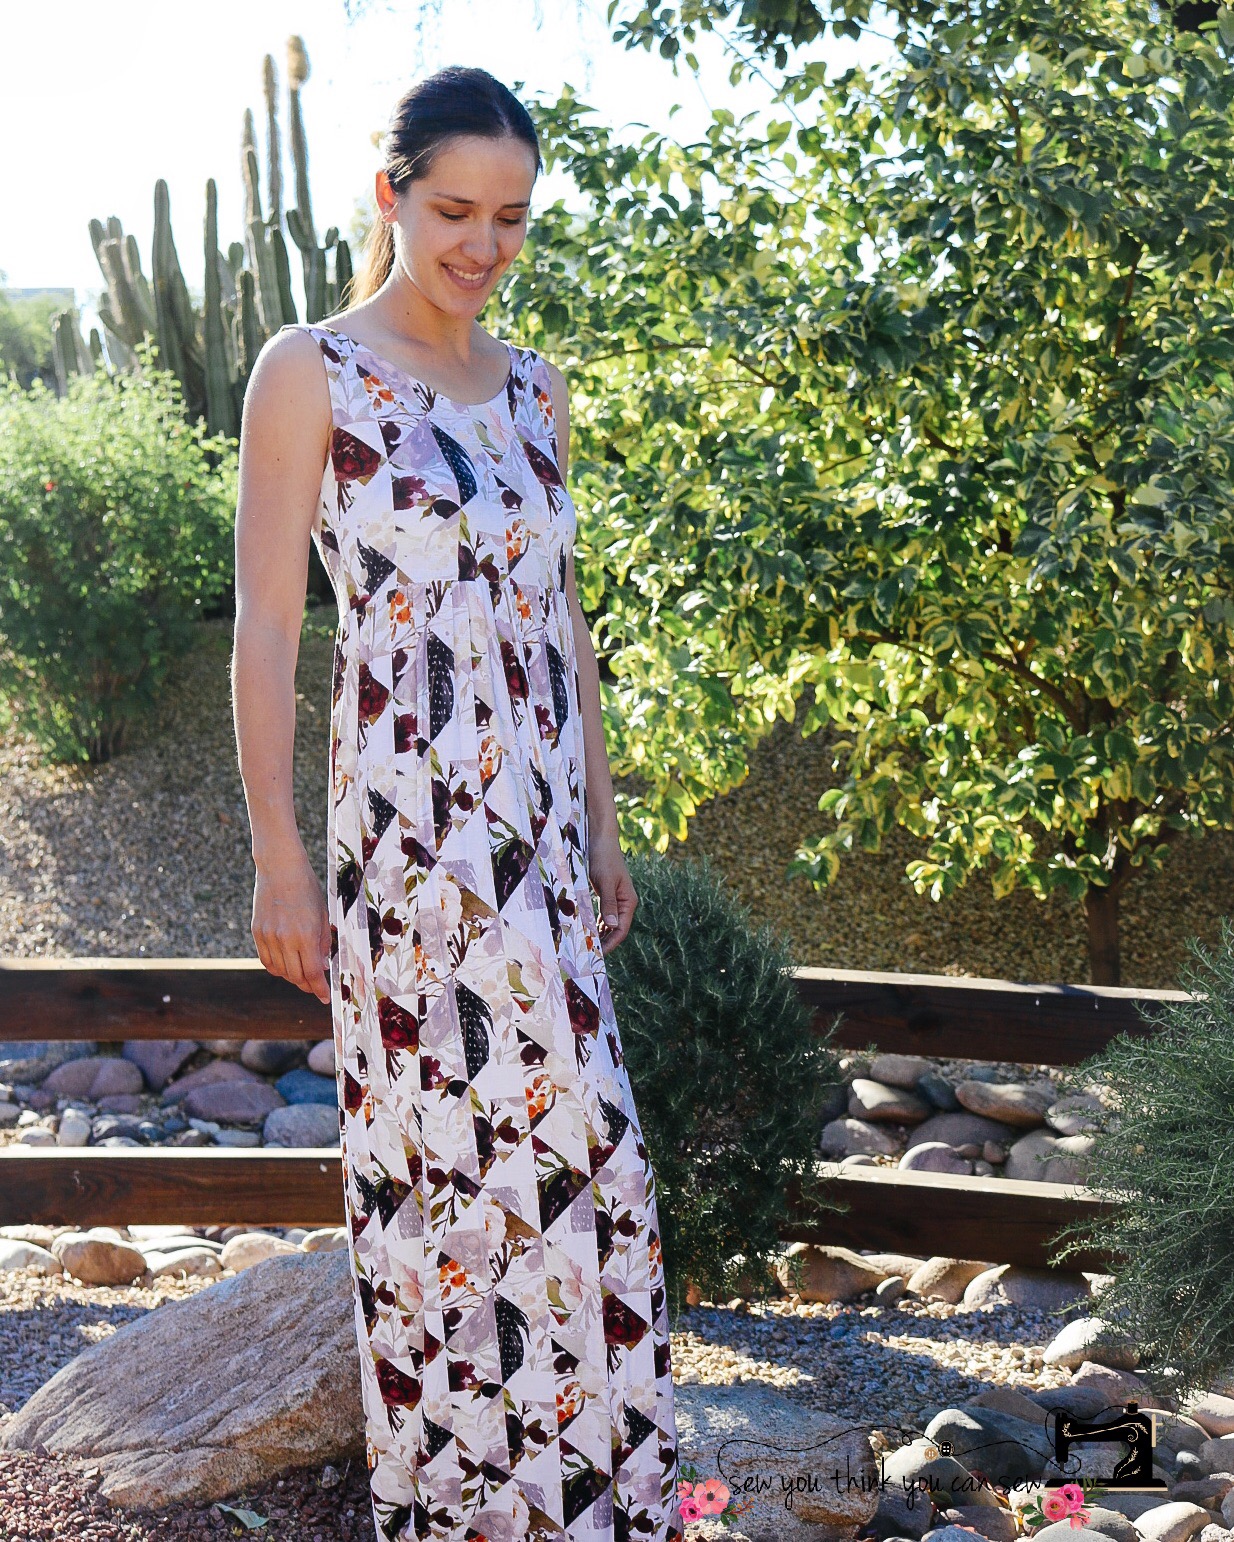
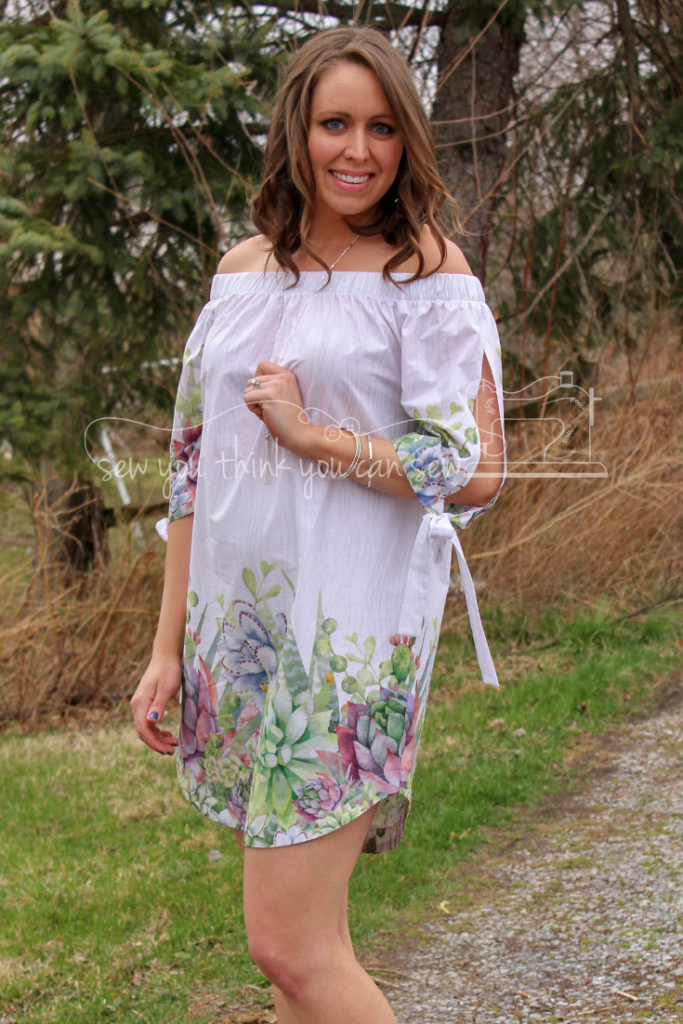
My favorite part of the collection is the border prints. I made three different layouts so that depending on your needs the woodgrain direction is going the correct way. Want a dress with the border at the bottom? Use the horizontal woodgrain like Amanda did here. Can you believe she managed to fit this dress out of one meter of fabric?! There is also a vertical woodgrain (grain runs parallel to the border) perfect for hoodies or leggings and a solid grey background option too.
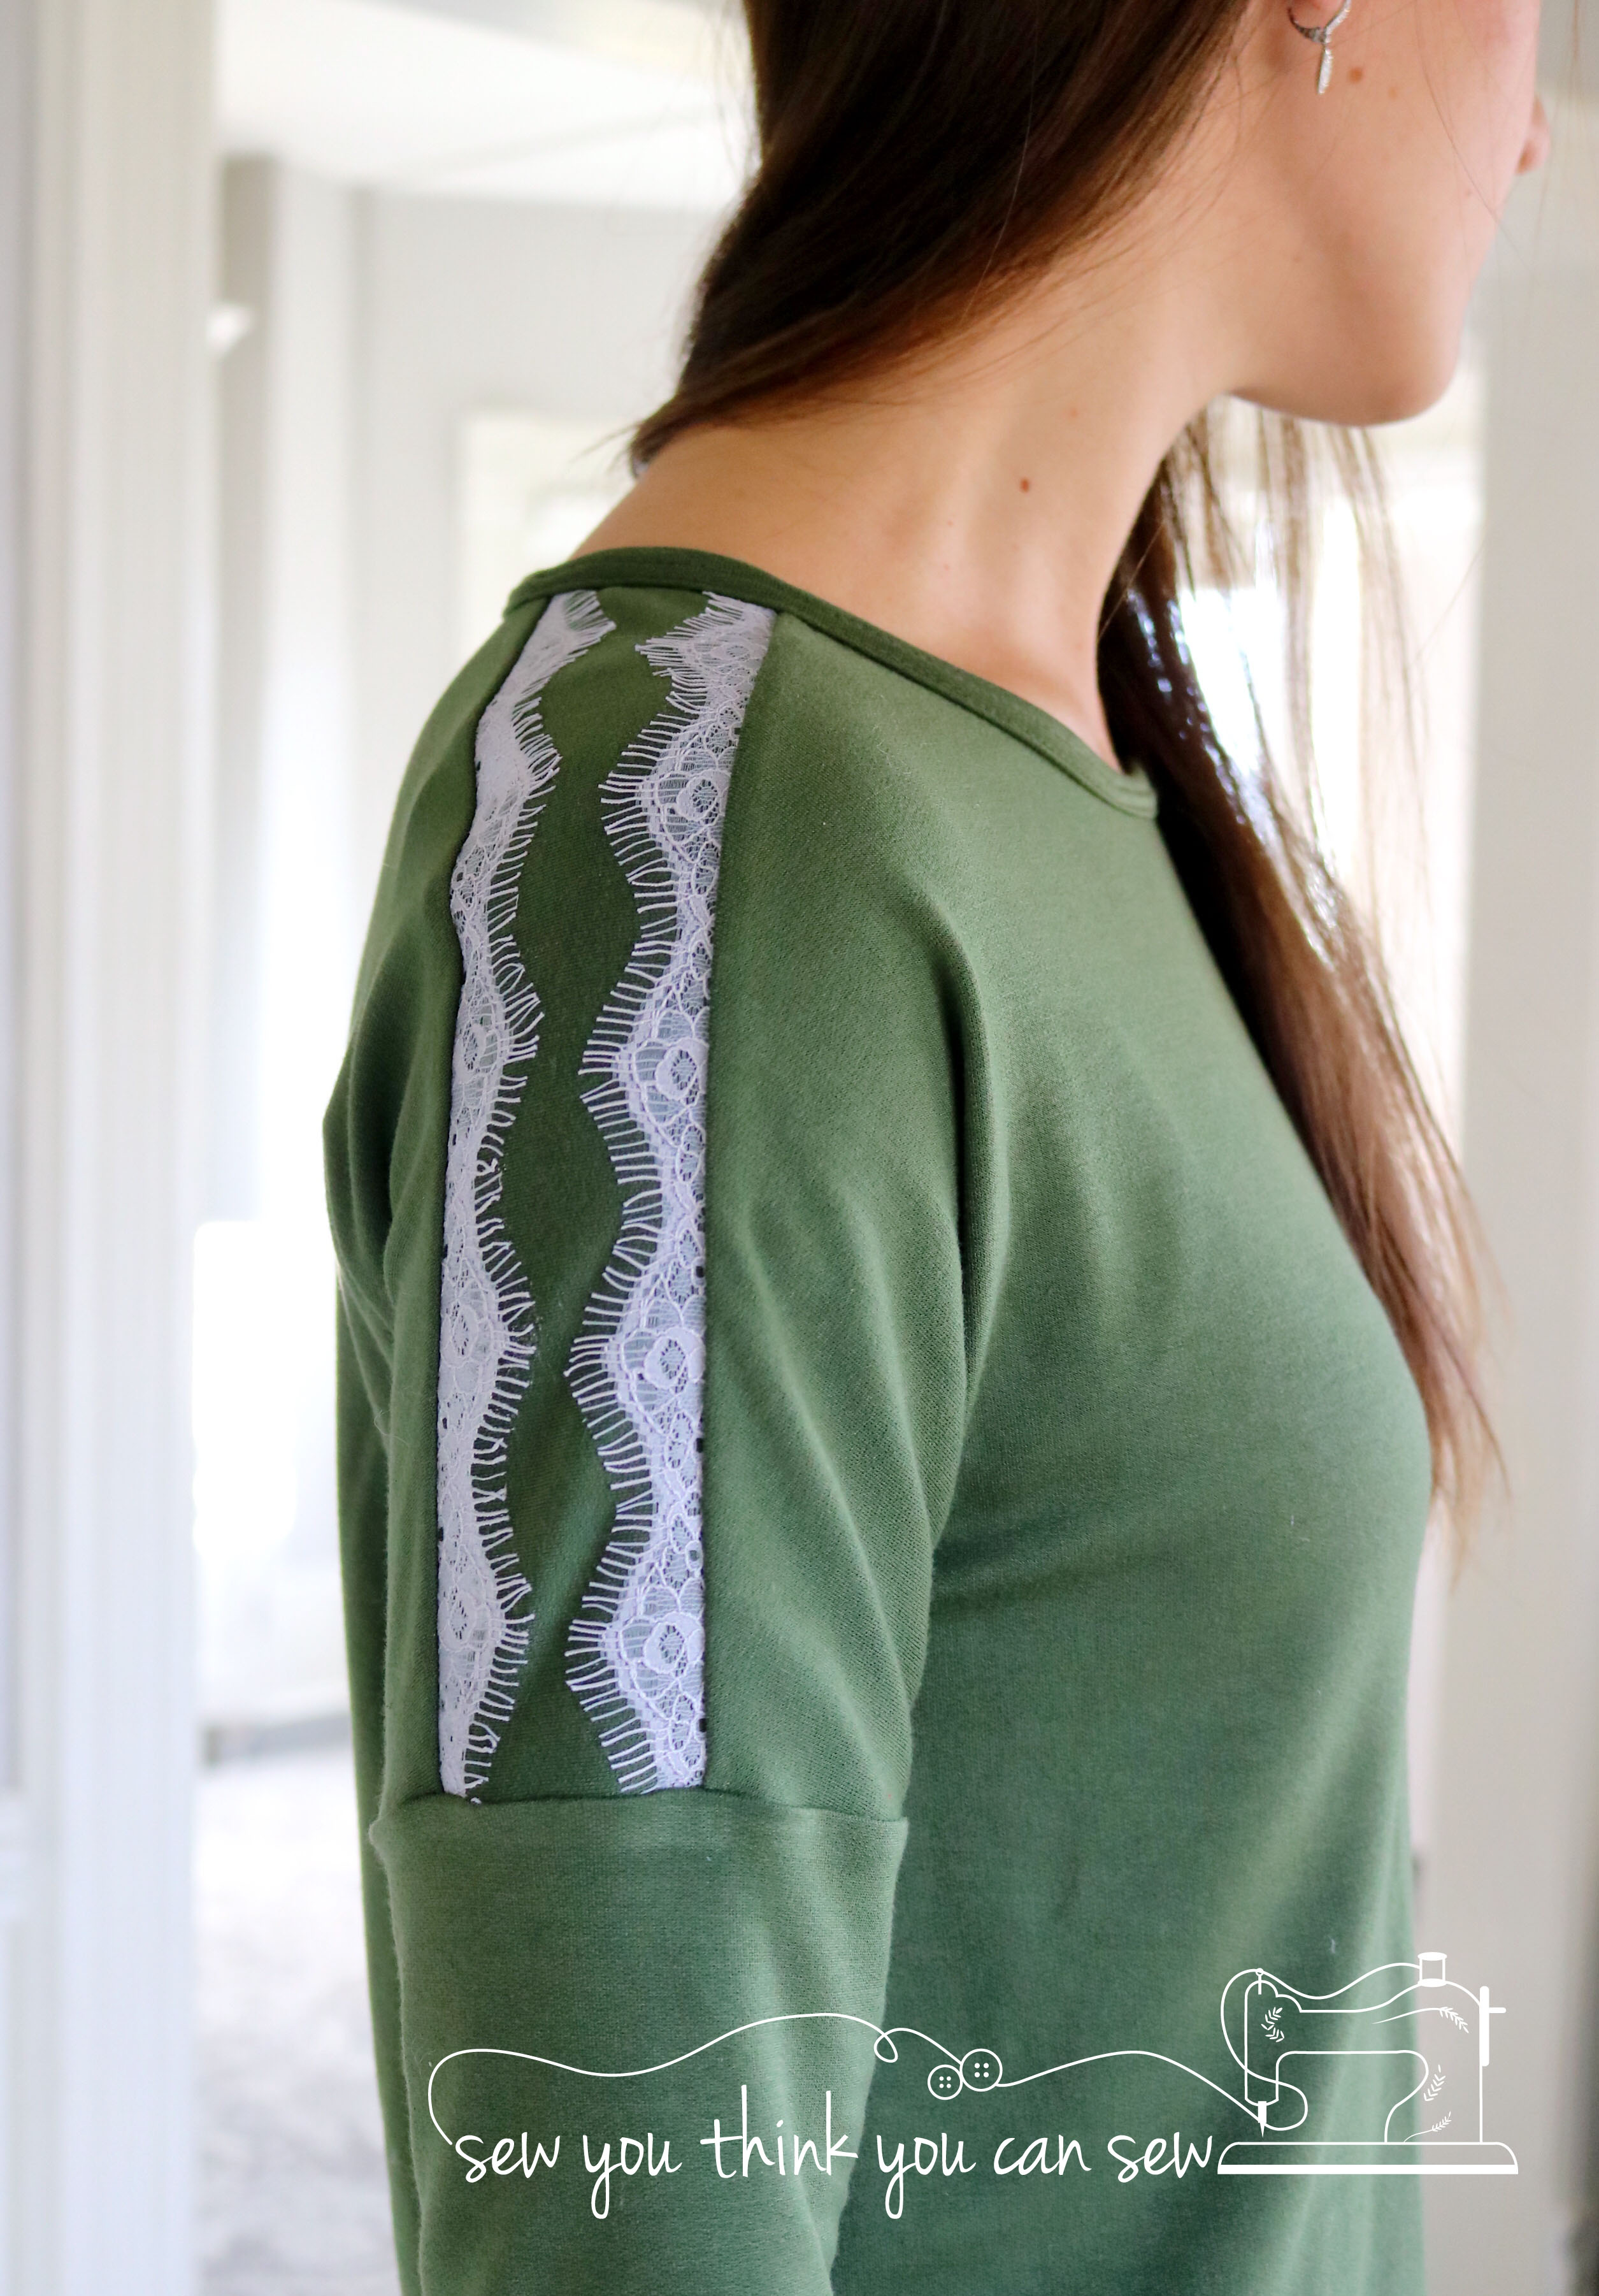
We did two rounds of strikes for our first offering of our own custom fabric line. There was a bit of a learning curve with sizing the prints and borders. For the first round, I sewed up the border print on cotton spandex french terry. The final version of the border print changed in that the succulents are slightly smaller but overall the design is the same one I had in my head while envisioning using it on this fun Dia Sweater from Misusu Patterns.
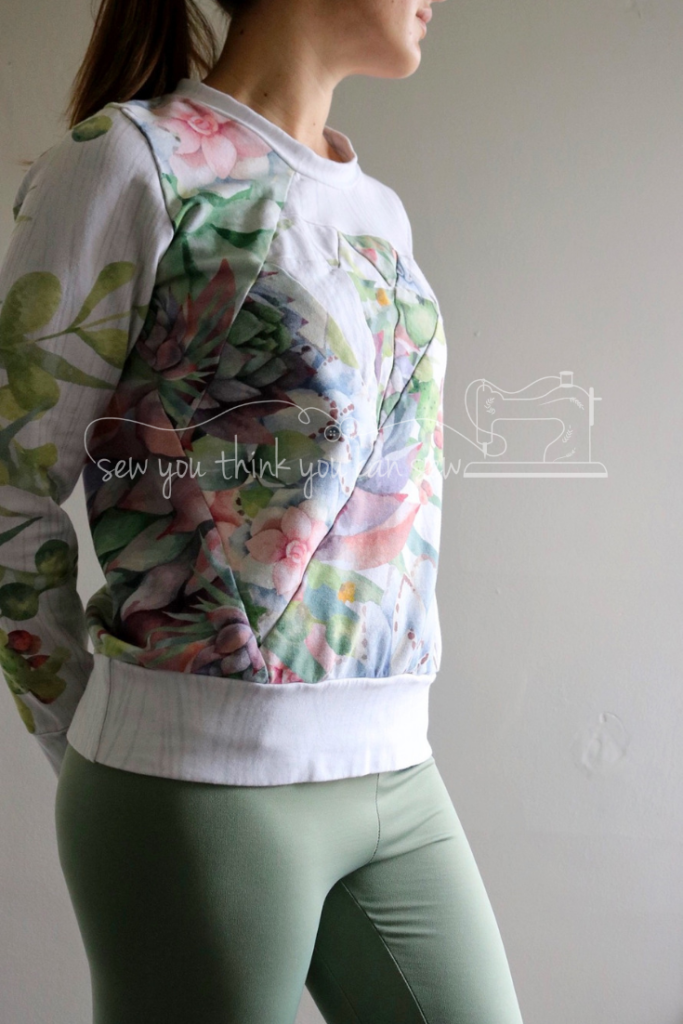
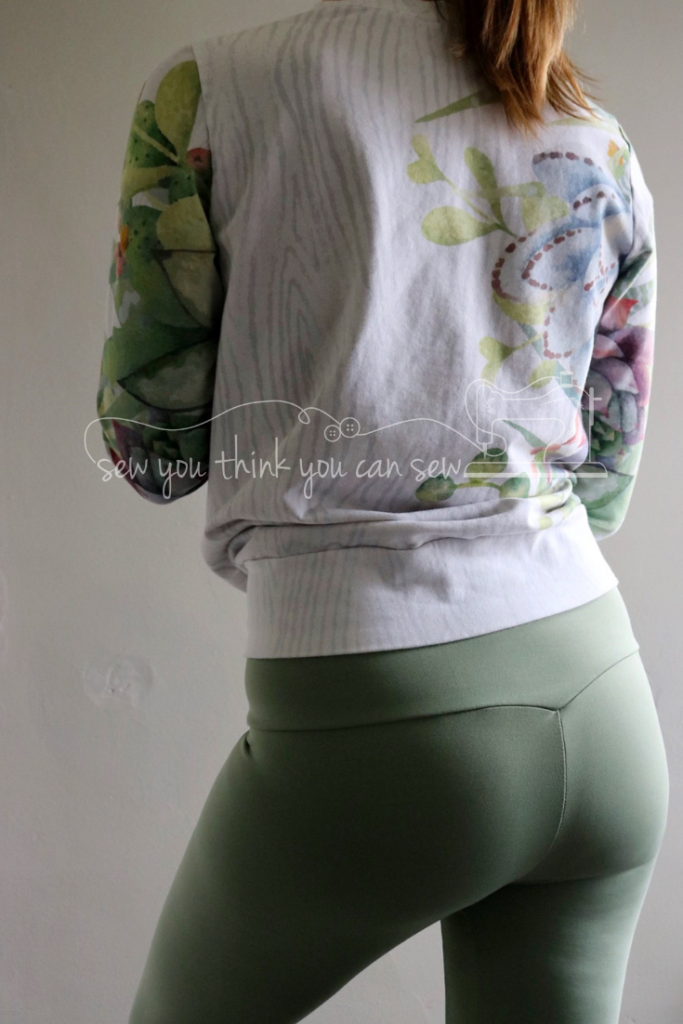
I love how the diamond design turned out with the border print. It was fun to experiment with laying out the fabric in different ways. I paired it with Sage Brushed Athletic leggings, I used the Super G pattern from Greenstyle Creations with a hack Melanie Burns recently posted on adding the v back from the Chelsea Pants.
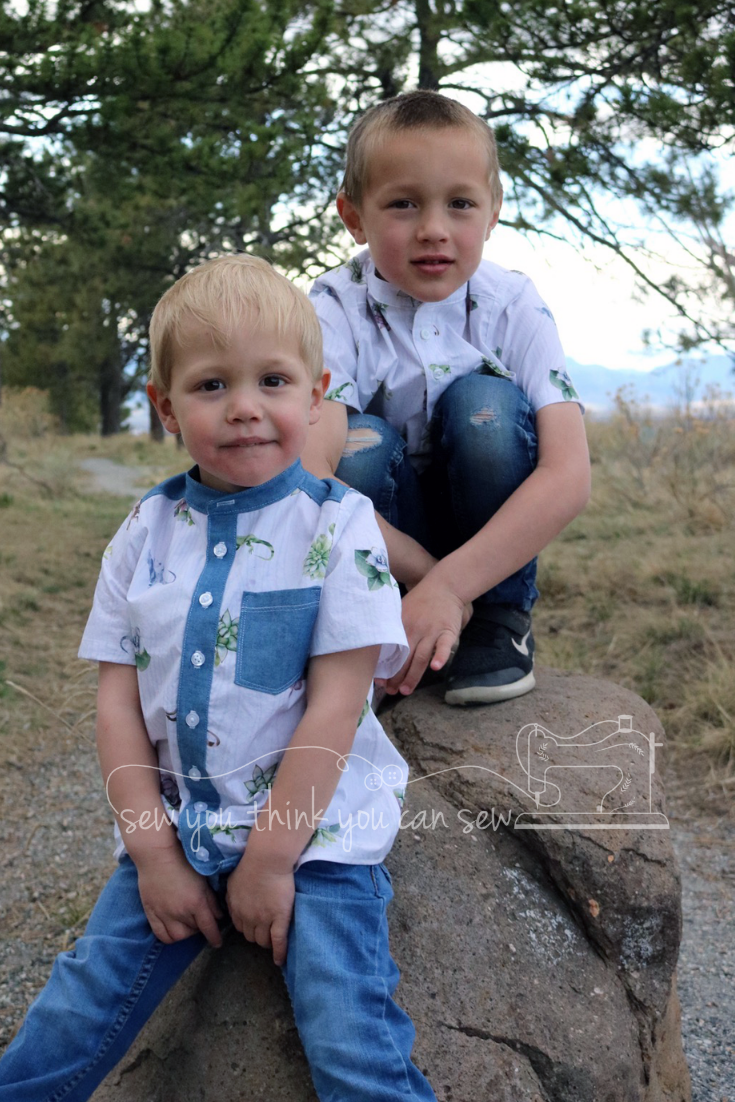
When I made this collection I wasn’t expecting my kids to react like they did. They were both so proud of me for doing something I have always wanted to do. Being able to show them how to take an idea from concept to reality was a great experience.
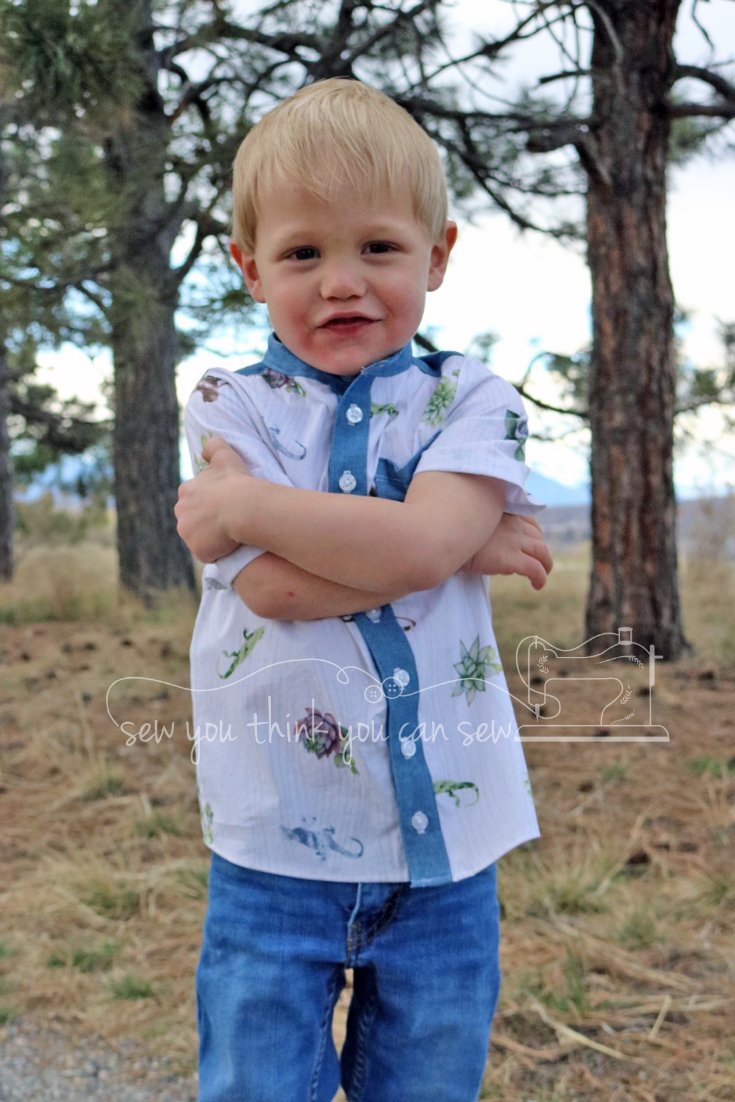
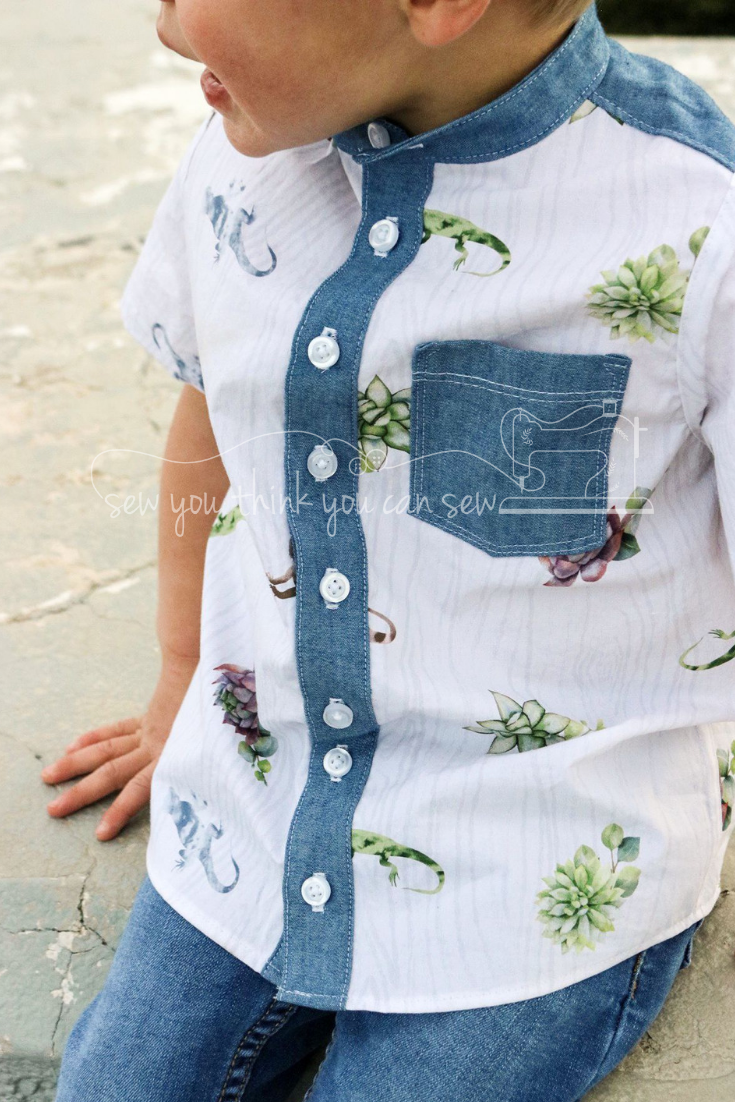
When the prints arrived in the mail my oldest kept telling me how happy he was for me. So of course I had to use some of my gorgeous strike offs to make something for them. I used some of the poplin lizards and made them Sunset Shirts from Made by Jack’s Mum. I have owned this pattern for almost 3 years now with the best of intentions. This was the first time I worked up enough courage to make actual button up shirts.
The construction wasn’t too bad, I took my time and was actually super happy with how my topstitching turned out! But then I got to the buttons… I have never been happy with how my machine does buttonholes… and I needed to make one million for the shirts. So I watched a ton of YouTube videos and messed with my settings a bunch and finally got a decent buttonhole!
But then came the buttons, my hand sewing technique is atrocious so I was terrified at the thought of spending hours hand sewing buttons only for them to look awful. Kayla mentioned seeing a way to use your sewing machine to sew buttons and so I went back to trusty YouTube and had my mind blown. Within 10 minutes I had sewed on all the buttons. Bonus – they were sturdier than they would have been by hand!
I recommend you watch this video for learning how to do it, but the basic steps without an auto button feature are:
- Turn your stitch length to zero
- Select zig zag stitch
- Mess with the stitch width till it fits the gap in your buttonholes
- Cry tears of joy as you magically sew on a button
I hope that this collection of fabric brings you as much joy as it has to me. They will be available on pre-order this week. Final day to purchase will be April 21st.
There are three base fabrics to choose from, cotton spandex french terry, cotton lycra and poplin. Click here to go to view the entire collection on the Surge website.