Sewing with Velvet
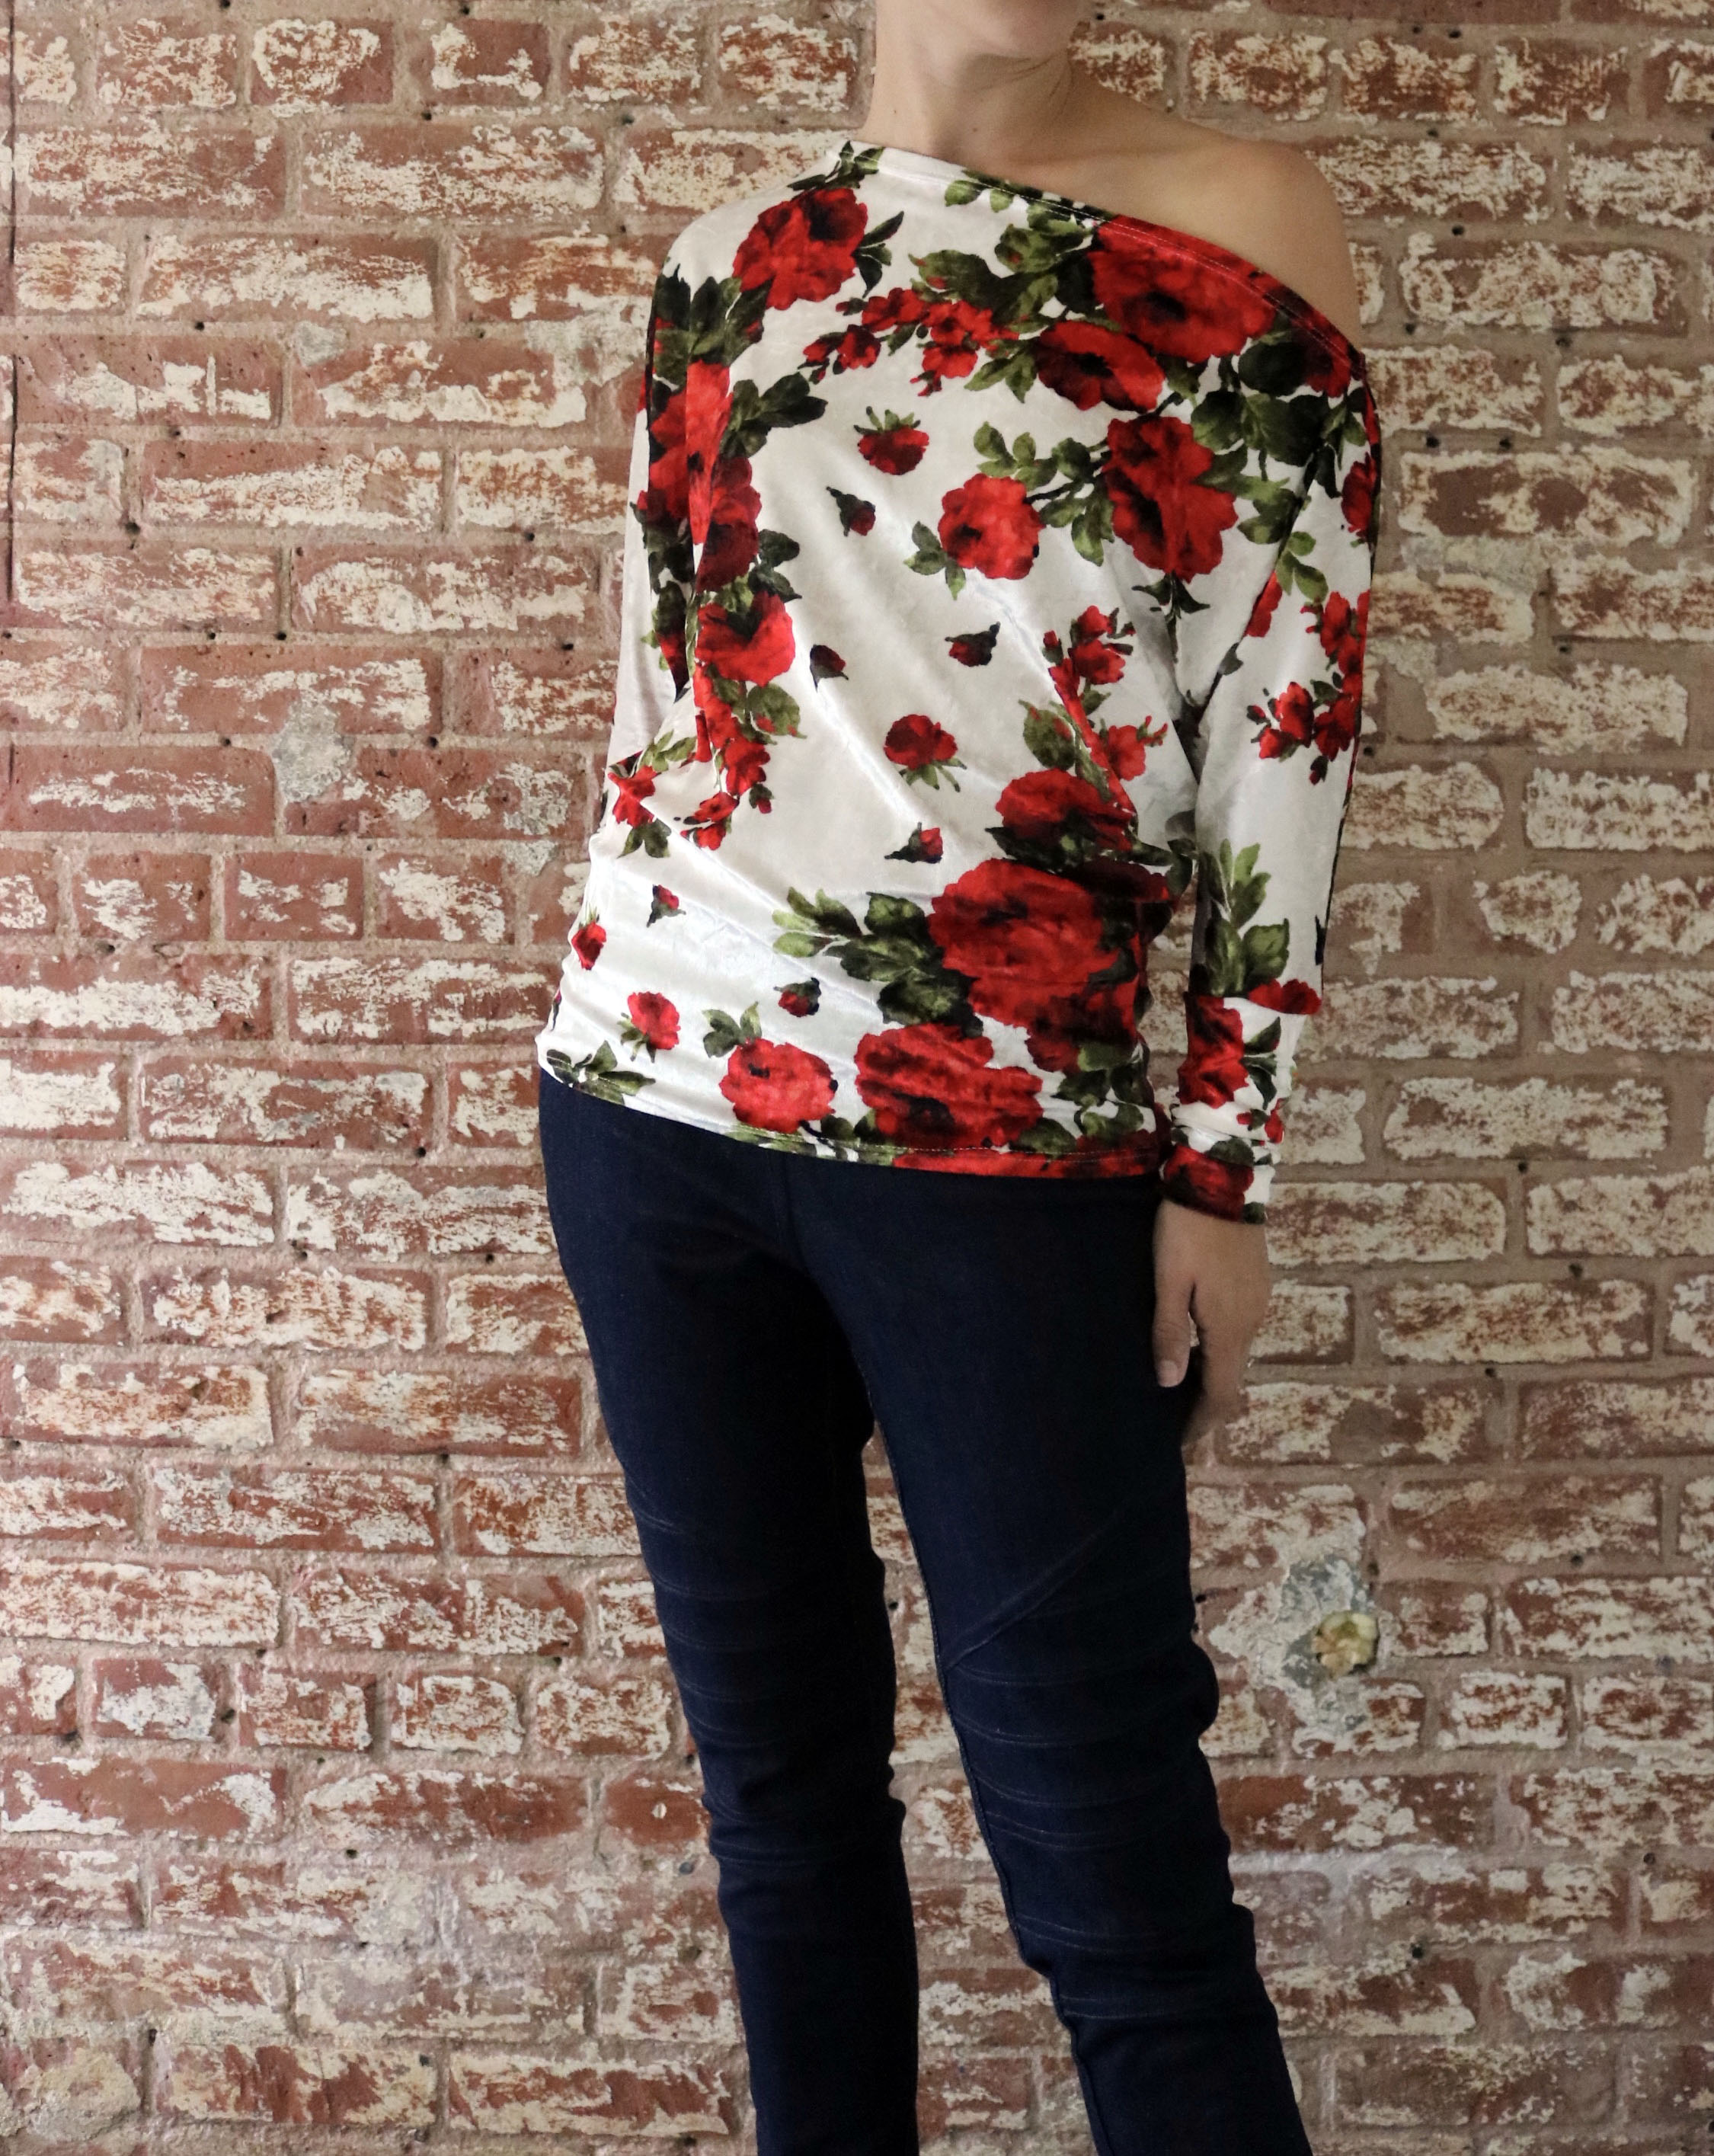
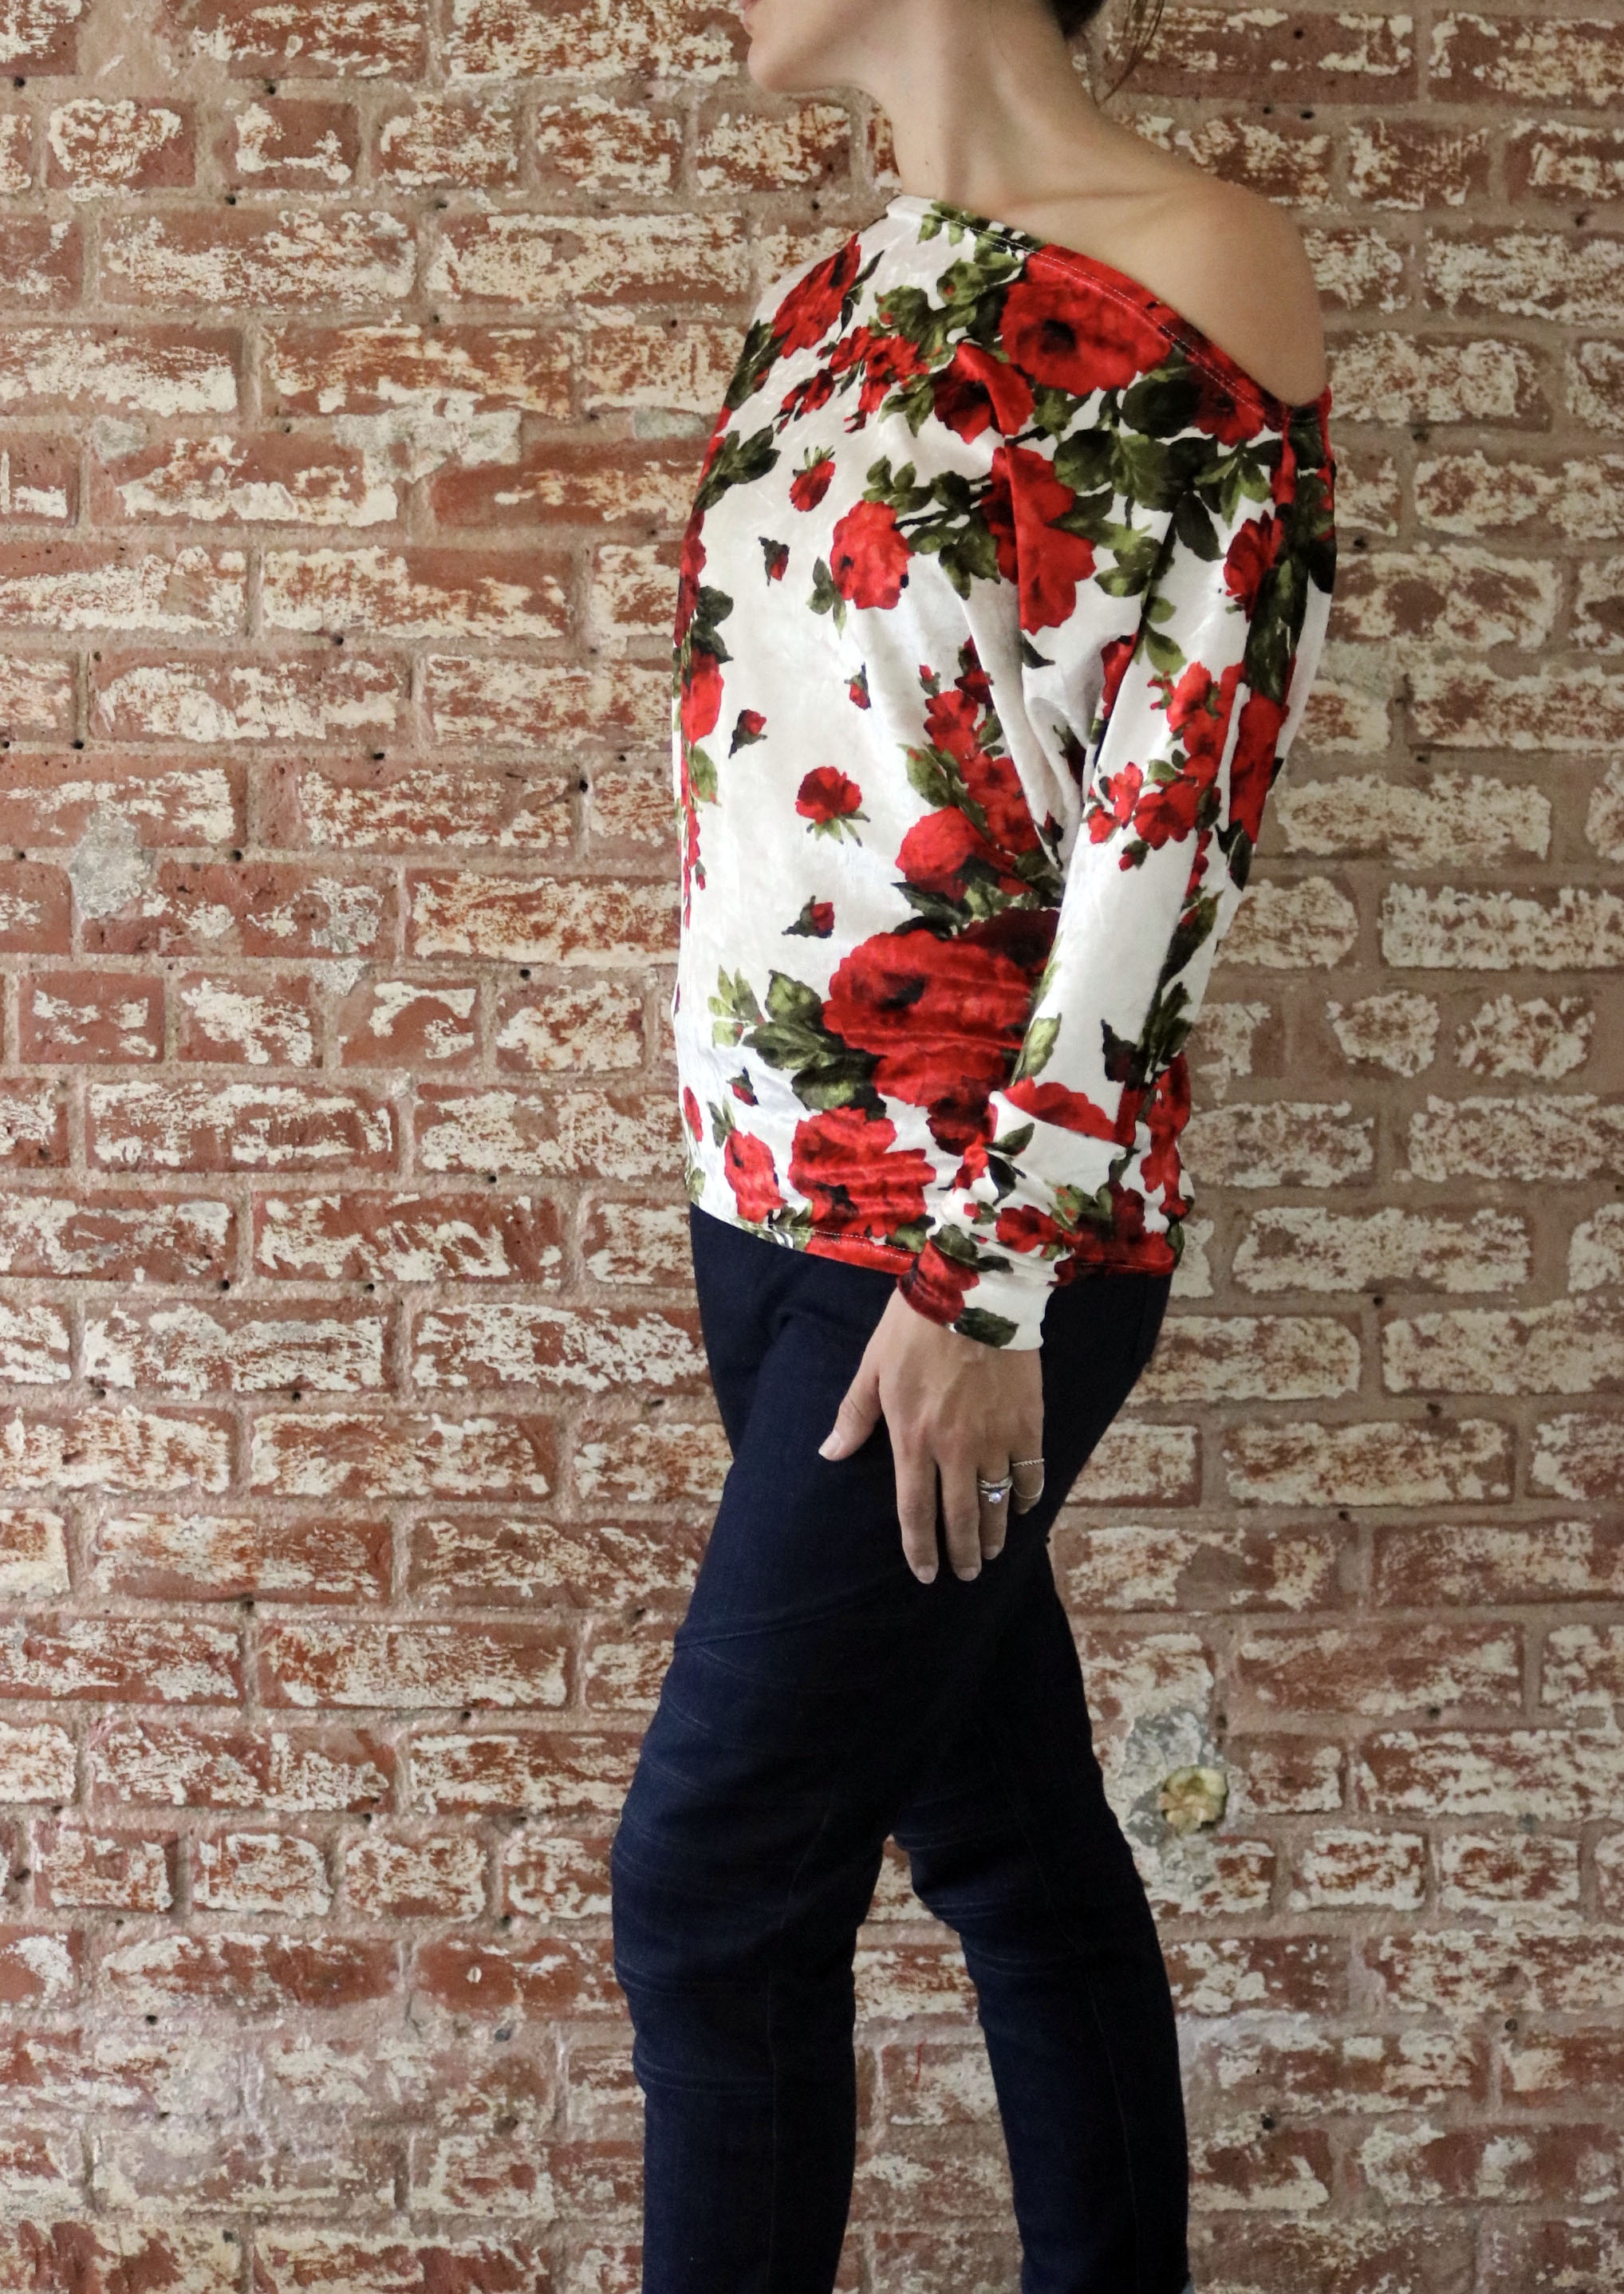
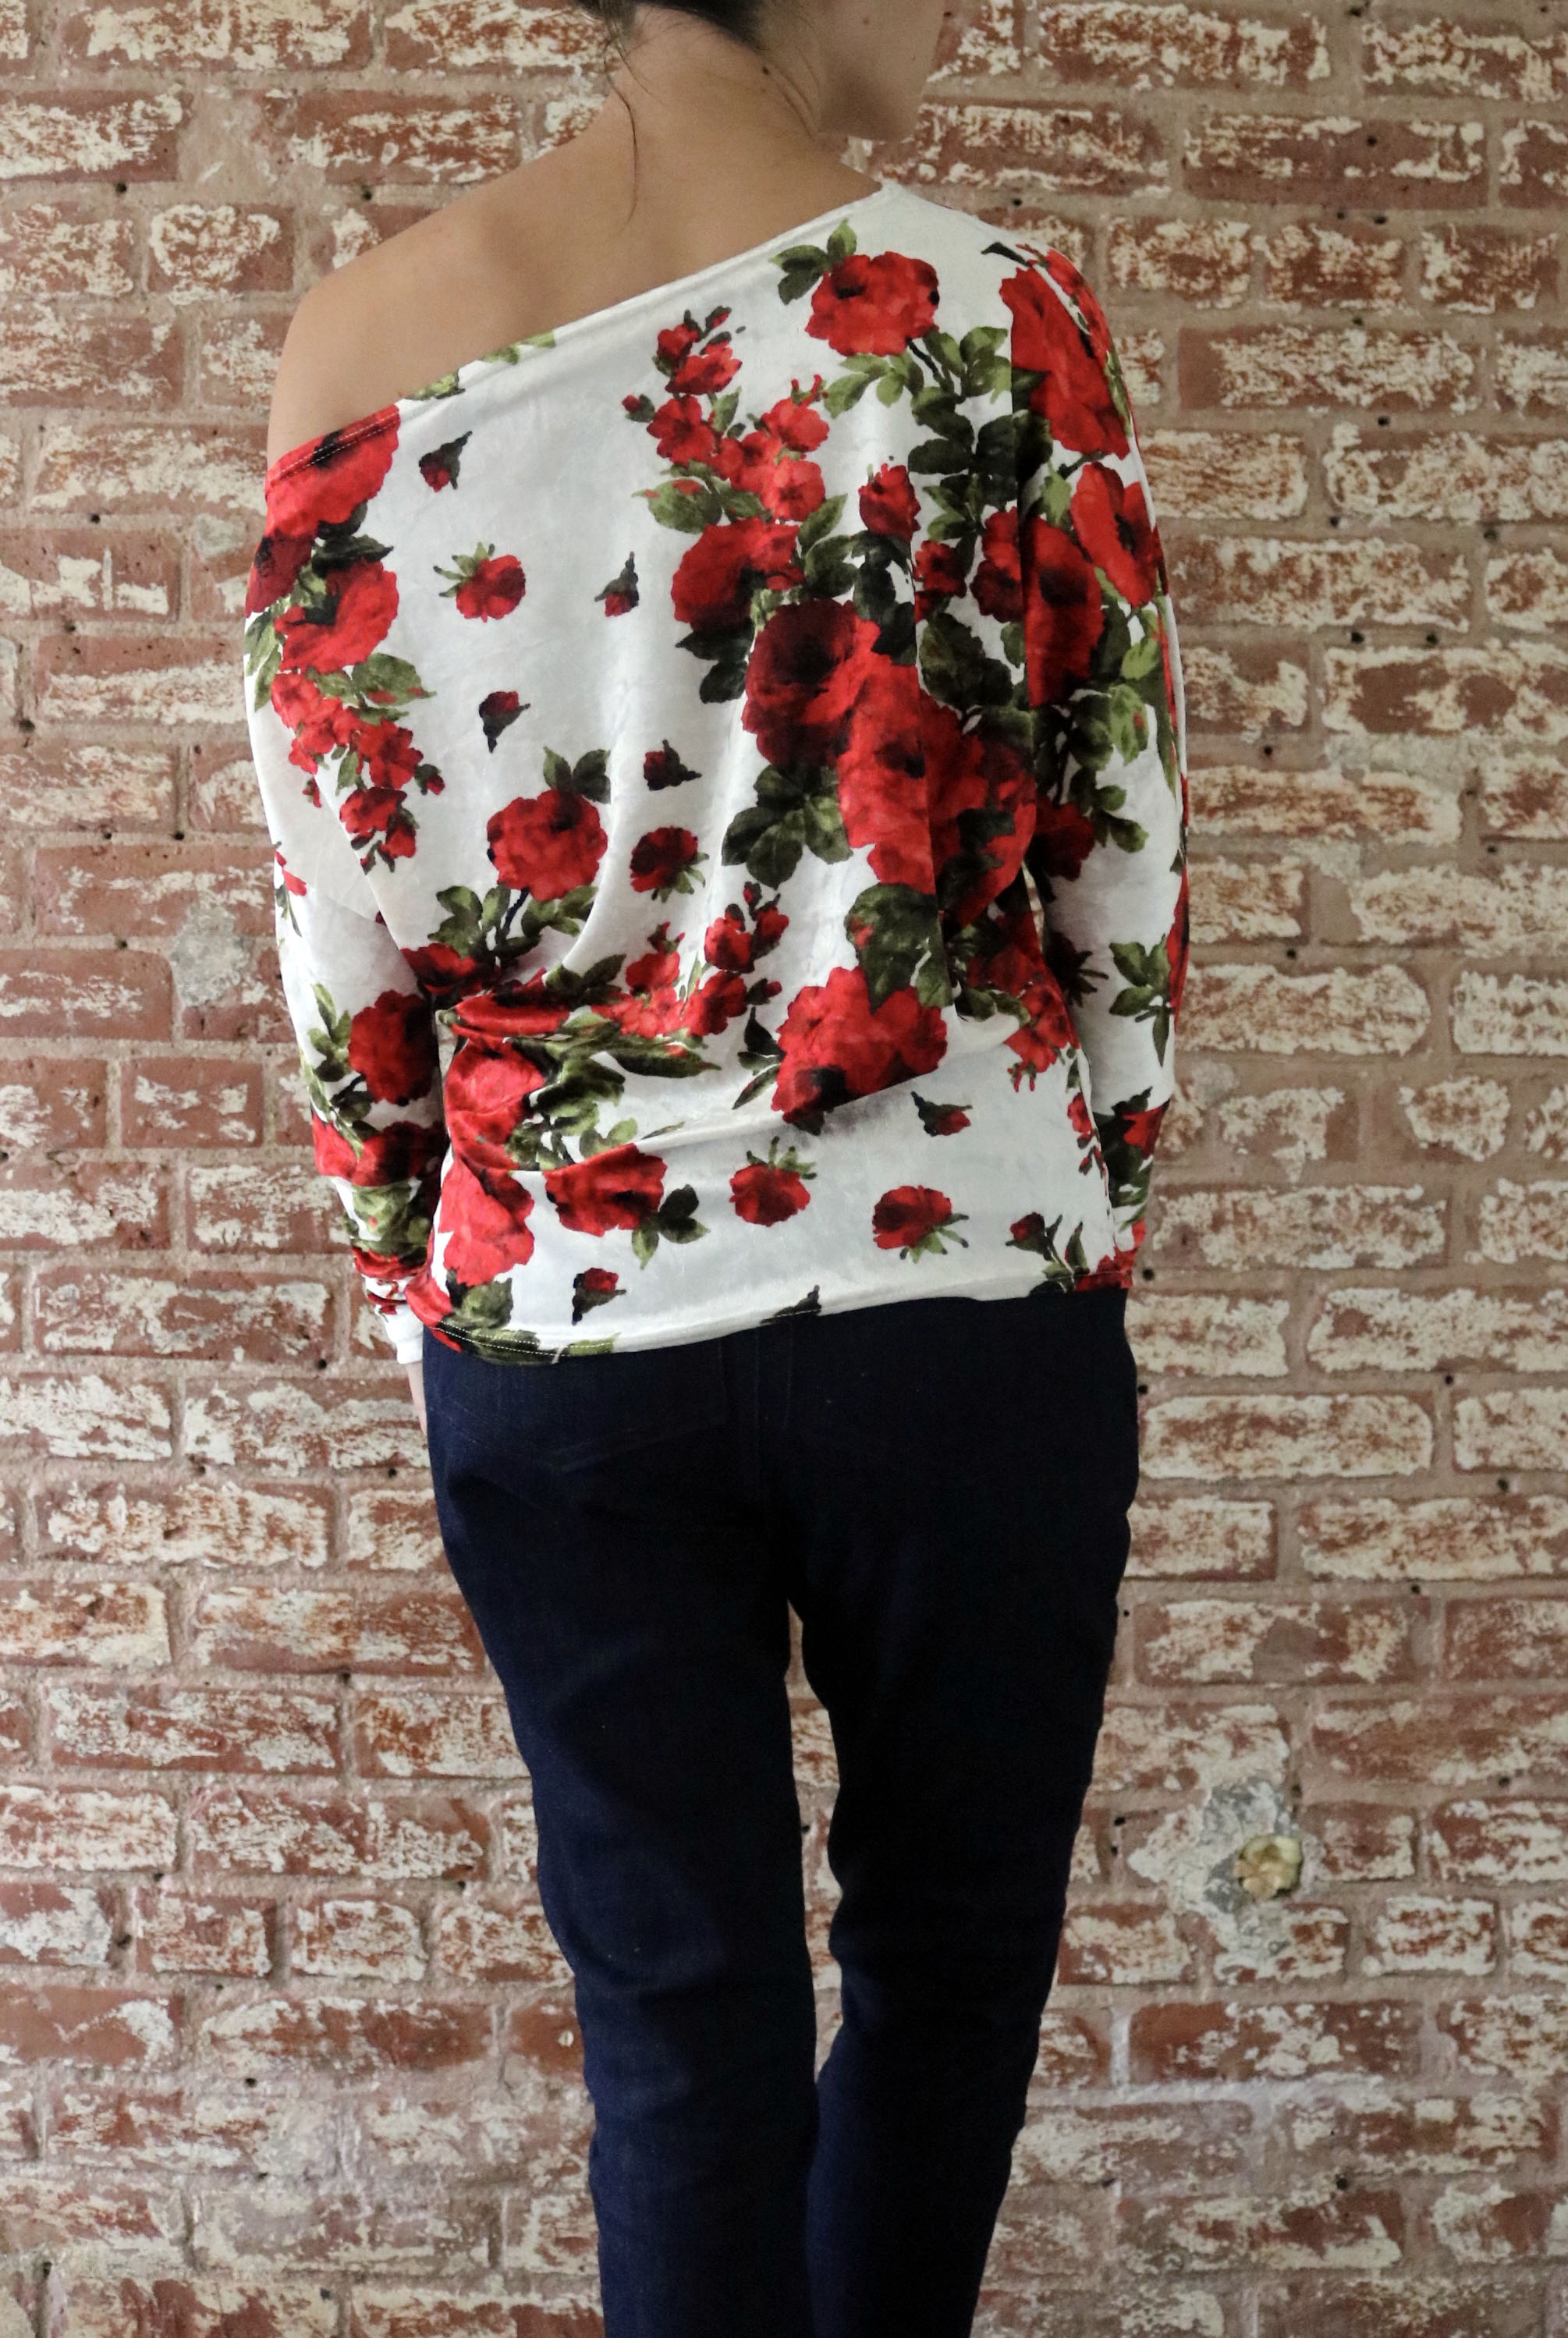
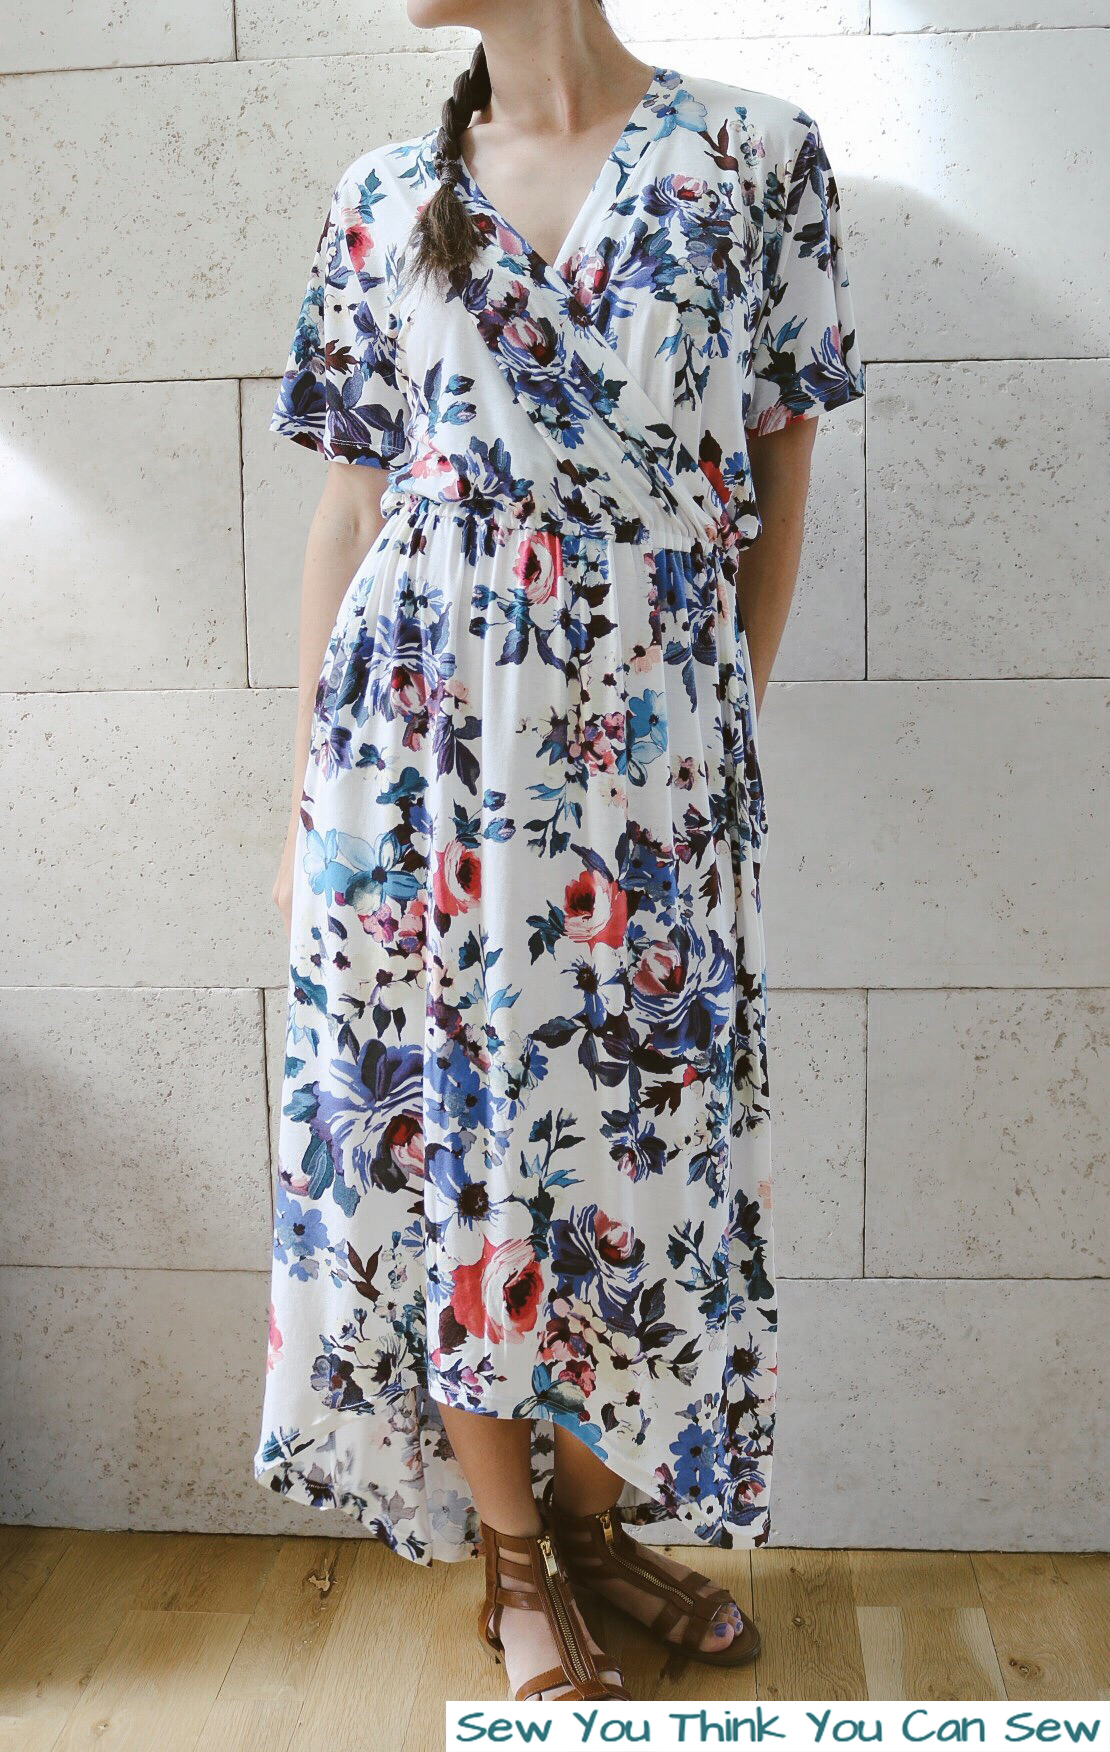
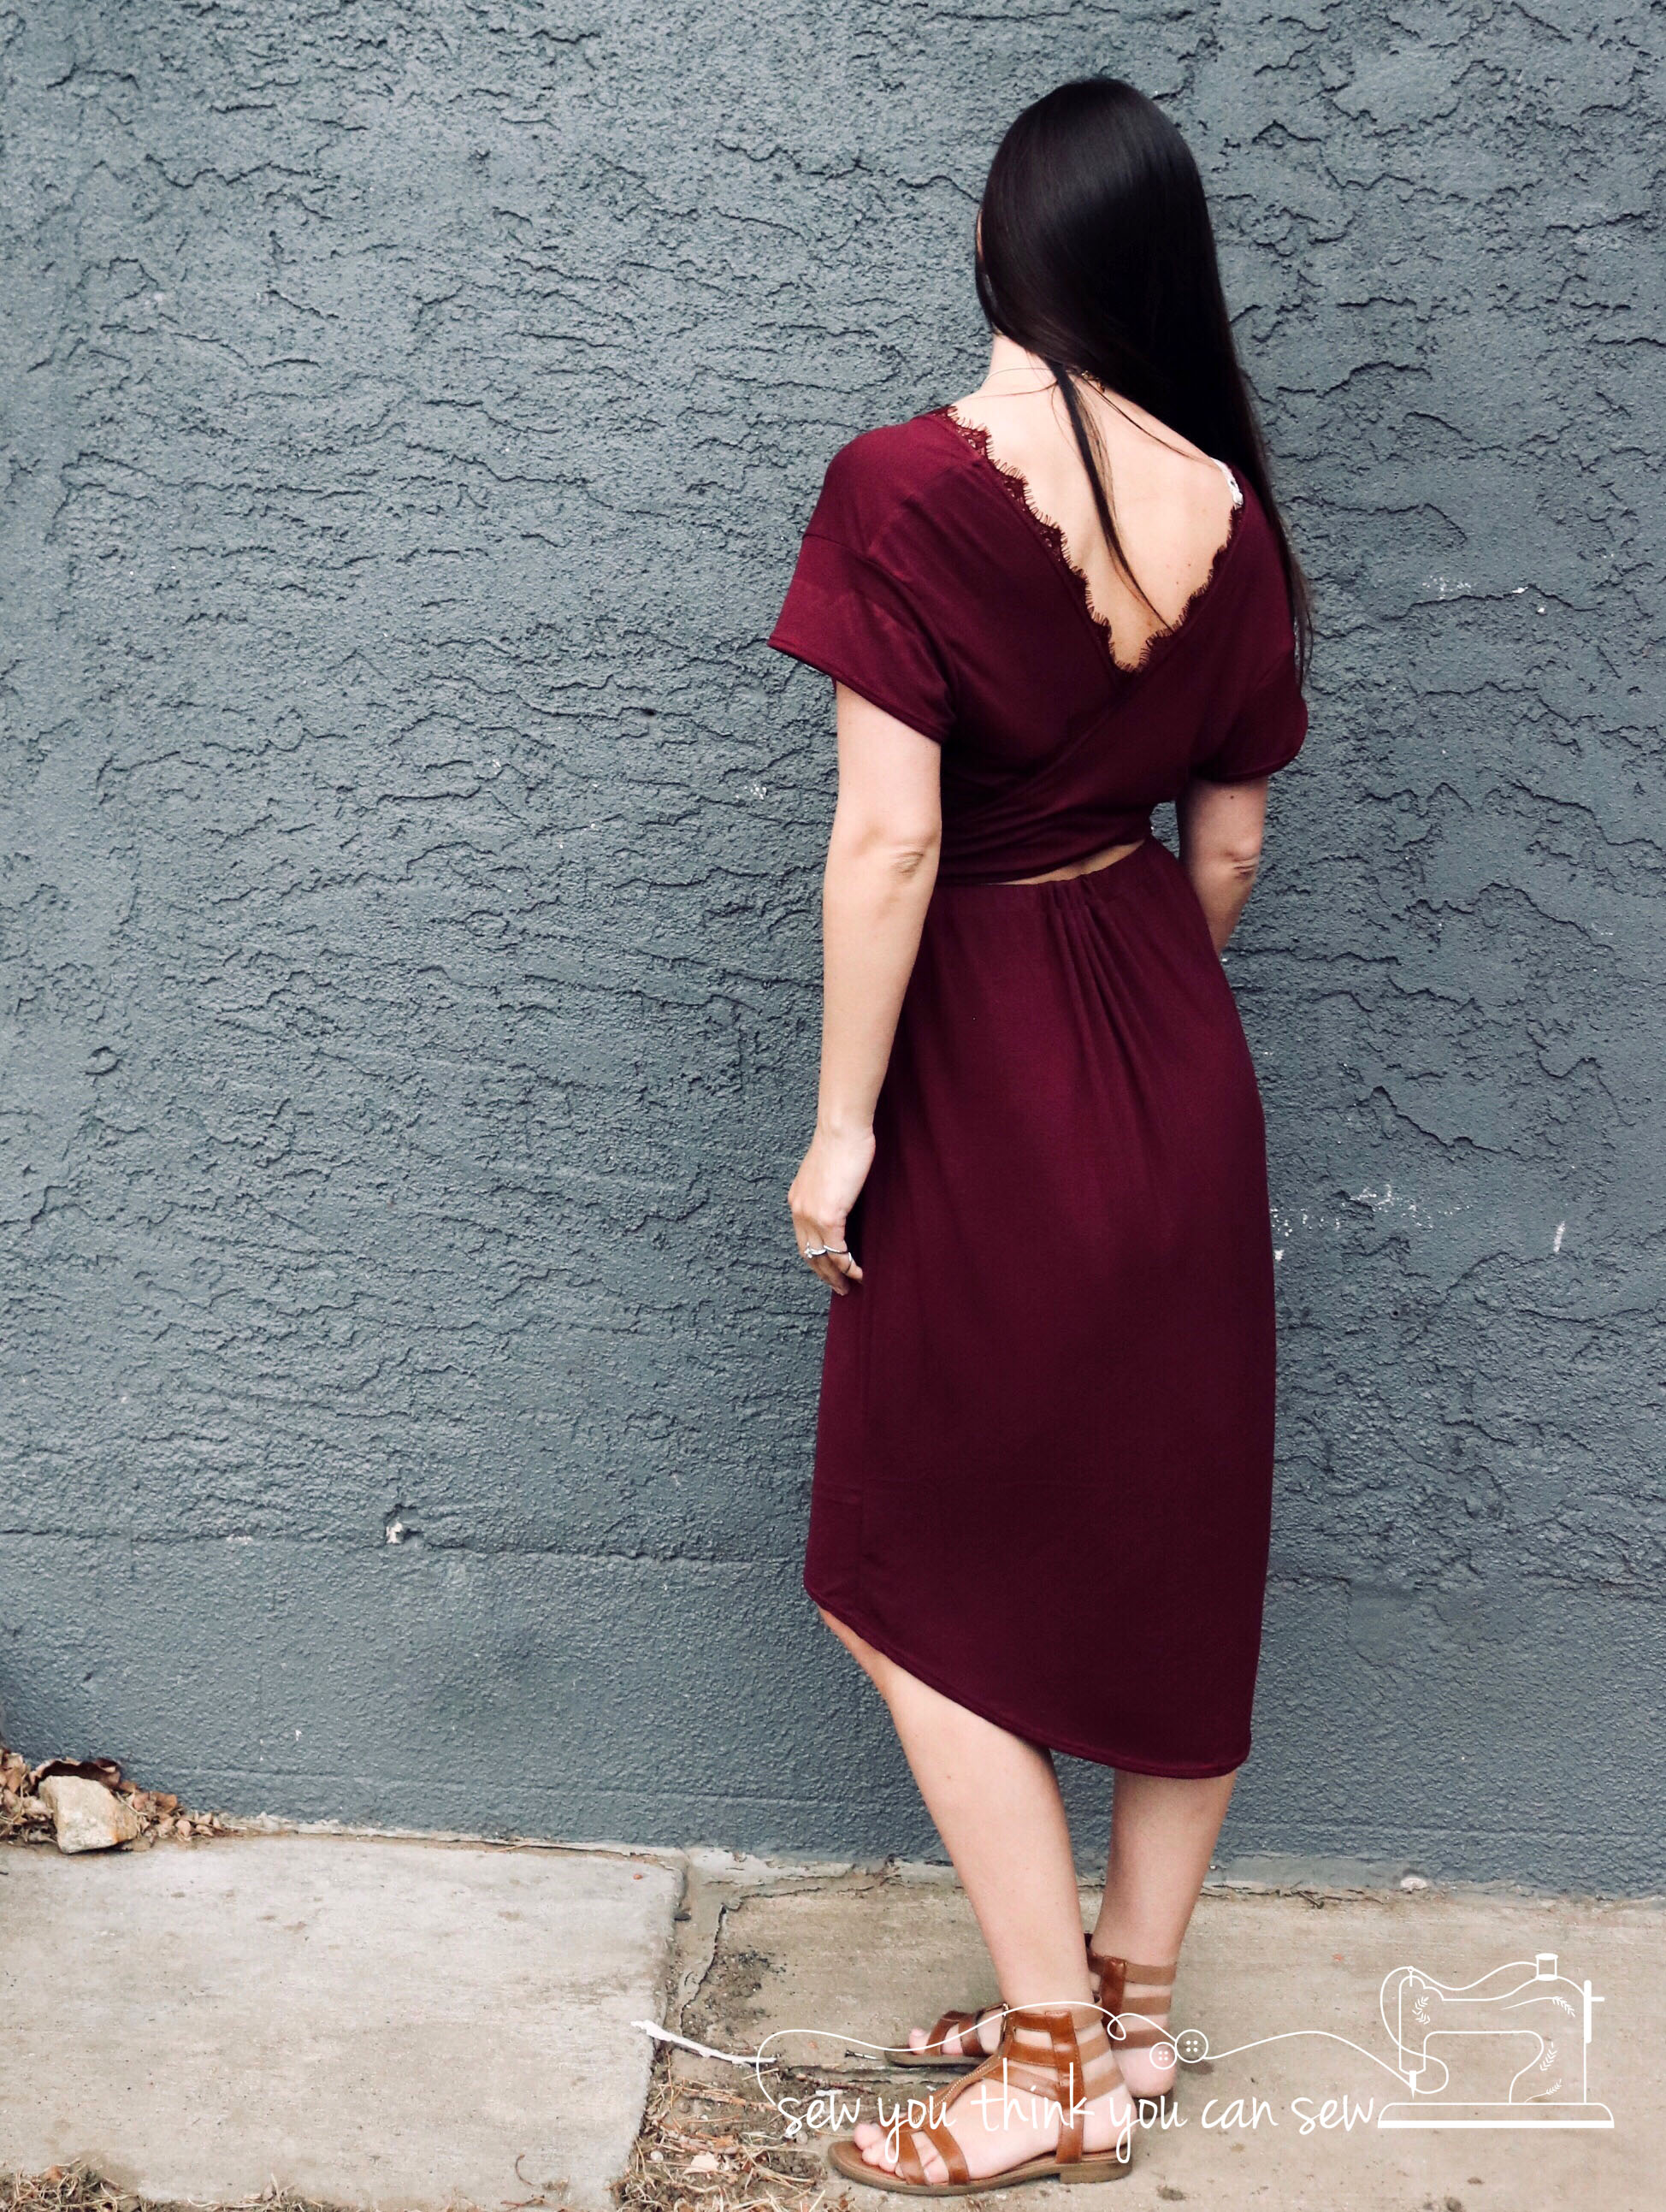
I fell madly in love with Surge Fabric‘s collection of stretch velvet and had to have them all! (If you use my link and sign up for a rewards account you can get 10% off your first order) I knew right away that I wanted to make the new Hideaway top from Striped Swallow Designs with my Romance velvet. It was the perfect pattern for the velvet.
I paired my Hideaway with a pair of Moto Skinnies from Laela Jeyne Patterns. This was my first time sewing “real” pants, instead of leggings and joggers. I really enjoyed all the detail involved with making the flat felled seams. I can’t wait to make my next pair!
When my velvet showed up I was so excited to sew them I jumped right in. Turns out I should have done some research prior to sewing as I made several mistakes with my first project. I really struggled sewing it mostly because it is so dang slippery! I spent a lot of time with my seam ripper.
I have compiled my favorite tips and tricks for sewing with velvet to hopefully save you some of the pain I experienced!
Cutting and Preparing Velvet
Velvet is a directional fabric so it is important to cut all of your pieces going the same direction. Feel the fabric going up/down and then down/up. Up/down is smooth and down/up feels rough. This is called the nap, make sure you cut so that your fabric feels smooth from the top to the bottom of your dress/top. By cutting this way you will ensure a uniform look, also the fabric has much more luster this way and the color really pops.
When cutting lay your fabric out so that the wrong/underside is facing up. This will help minimize the slipping of your fabric.
With velvet it is best NOT to cut pattern pieces on the fold. So take the time and retrace your pattern pieces so that you are cutting flat instead of folded.
Use lots of pattern weights to hold the fabric and pattern pieces in place while cutting.
Sewing
Typically I am a big proponent of clips, but with velvet the secret is lots and lots of pins! Clips allow the fabric to slip out of place.
I know most of you aren’t going to follow this advice, but taking the time to baste your pieces together will save you a lot of time seam ripping! Trust me on this one, I spent quite a bit of time with my seam ripper! Hand basting is best, it doesn’t have to be perfect just a big stitch to hold it in place.
If you decided to skip my advice above, at least use a temporary spray adhesive in the seam allowance. This will help reduce the slippage as well.
Loosen the tension on your machine one notch.
Ironing
Do not use an iron on your velvet, instead if needed steam your fabric. NEVER touch the fabric with an iron, you will be sad.
I hope these tips help you avoid some of the cursing I went through sewing velvet my first time! Happy sewing!

5 Comments
Tiffany
Dumb question, did you still pre-wash?
sewyouthinkyoucansew
Not a dumb question! I did prewash on cool and then tumble dried on low. You can also hang dry. Just be careful not to wash with any other fabric the first time, I washed my husband’s pants with it and they look like they got glitter bombed!
Morgan
Yeah. I learned that lesson too. Burgandy “glitter” on everything. Cutting on the fold and clips letting everything slip was not fun as well. I’ll definitely try basting next time!
sewyouthinkyoucansew
Haha the “glitter” wasn’t anything I would have thought about before! Let me know how your next time goes, I am getting ready to make a holiday dress with some hunter green!
Pingback: